Once you’ve ground the blade to to about the right angle then you need to hone it in order to create a keen edge. The experience of generations of craftsman has shown that grinding the blade at 25° and honing a few degrees steeper – around 30° – is a good practical approach for many woodworking tasks. As we learned in the earlier posts, it is not important to get these angles exactly right.
Honing, sometimes called whetting, is the act of abrading the edge with increasingly fine abrasives until the edge is sharp.
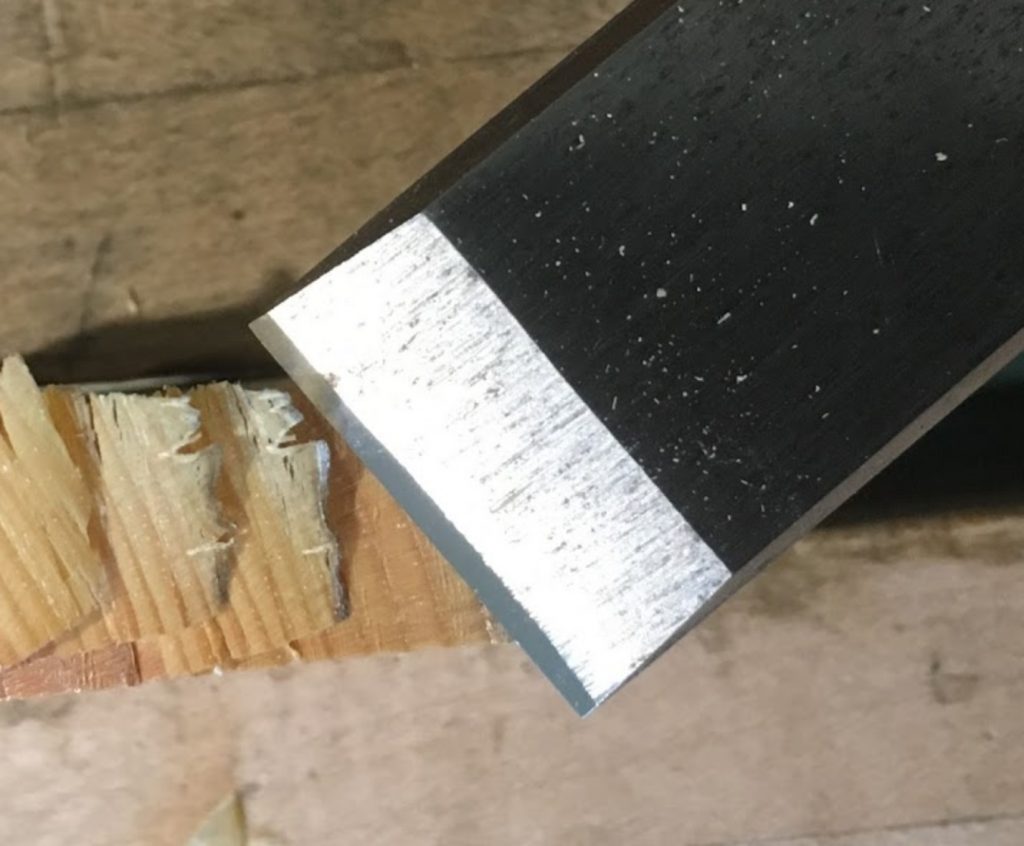
As you abrade the surface a wire edge will be created on the tip of the blade. Once you can feel this burr across the width of the blade you can remove it by turning the blade over and pulling it a short distance on the honing stone until the burr breaks off. It is the successive removal of ever finer wire edges that gets you an increasingly sharp edge.
That’s it – it really is quite straightforward!
Having said that, the sheer variety of strongly held opinions on the “right” way of going about this basic task can detract from the core concepts which are actually very simple.
Read on for a short (and incomplete – you could write a book on it – indeed some people have! ) survey of the literature. As usual there is merit to all of the approaches, so you need to pick one you feel comfortable with and stick with it until you get the hang of it.
Honing guides
You can use a honing guide to hold your plane iron (or chisel) at exactly 30°, or whatever angle you are aiming for.
You may find this helpful at the start – I did – as it will eliminate some of the problems that can be introduced through your initial inexperience, but I think you will most likely put it to one side once you have got a few blades sharp and can identify a properly sharp edge.
Having said that, some people prefer to use a guide - even though they are more than capable of honing without one - just because it always produces an exact and repeatable result.
There is no need to buy an expensive one, the cheap and cheerful and handmade versions work fine. Naturally, I did not follow my own advice, and treated myself to an expensive honing guide from Veritas at the start of my sharpening “journey”. I still find it occasionally useful, for instance when sharpening a small and fiddly blade or re-establishing a bevel on a damaged one, but rarely use it now. The veritas guide is excellent, however, much cheaper versions are available (search for eclipse honing guides) and will do the job just as well.

Honing guides will produce a precise and flat honed bevel on your iron. You can try and aim for the same precision by hand but it is tricky and the natural tendency is to create a gradually rounded bevel. This is harmless, although you need to take care not to “round over” the edge (see this post for an explanation of why).
Here is an example of a chisel I honed with a guide compared to one that has been done freehand:
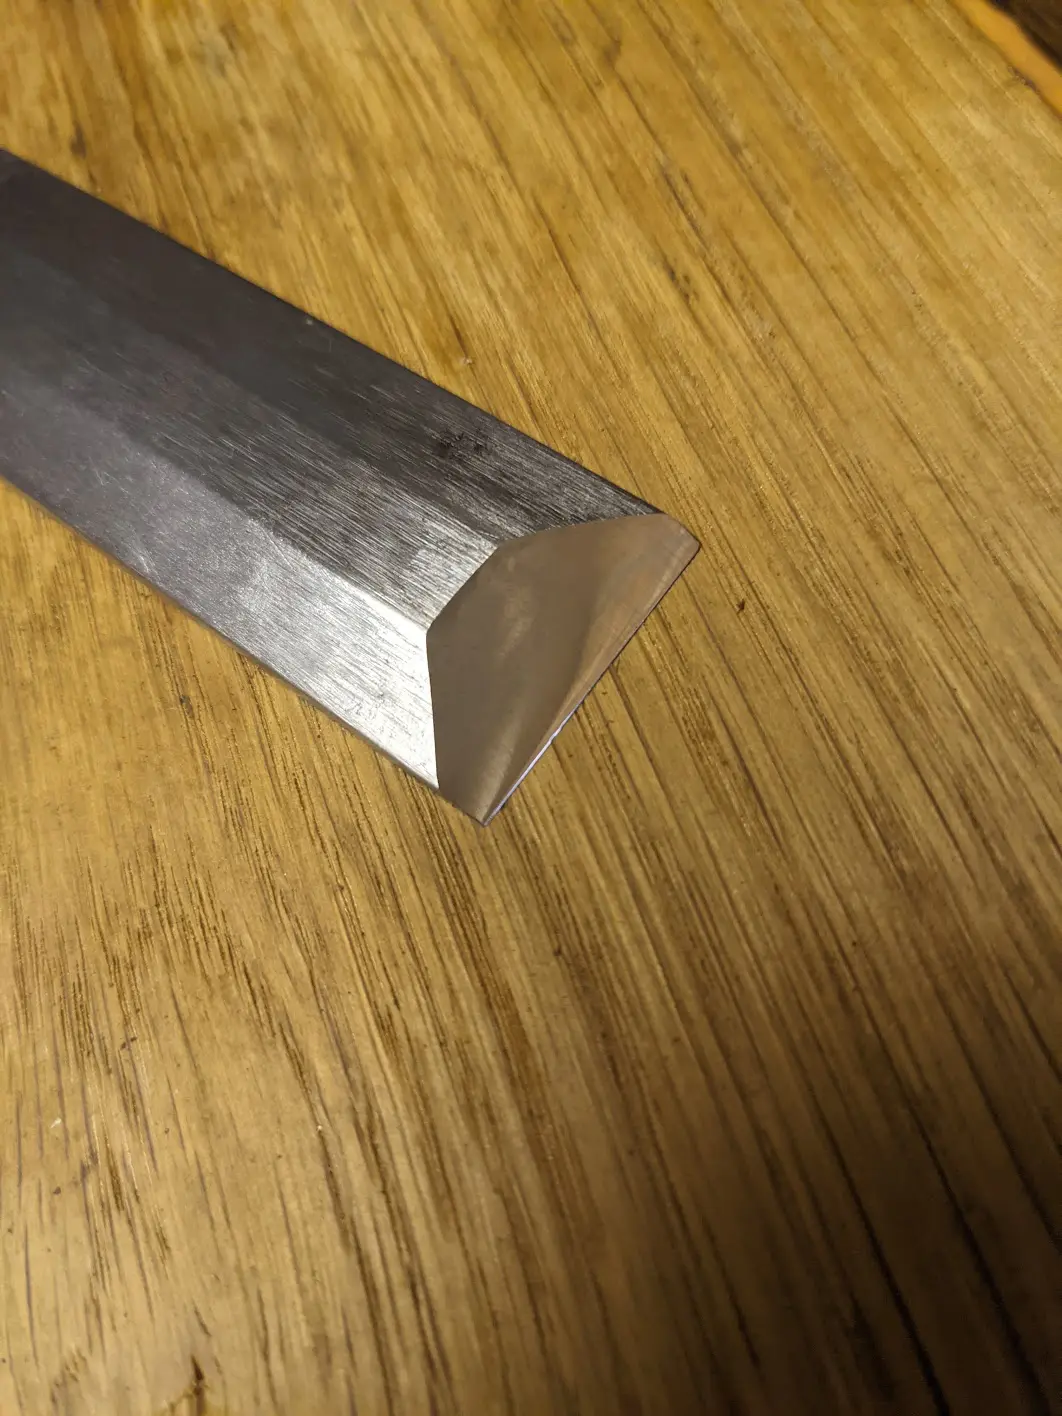
Bevel shape
Paul Sellers makes a virtue of the normal tendency to establish a rounded bevel and creates an deliberate rounded bevel on all his edge tools (note that in everyday use there does not seem to be any particular advantage to having a rounded bevel as opposed to a flat bevel, it is just convenient given the natural motion of your arms when sharpening. The only time I have seen it claimed as a benefit is on mortice chisels, where having a distinctly rounded bevel helps to lever out waste from the mortice).
Abrasives
You are going to have to pick your abrasive before you can start. If you will be doing a lot of sharpening then you should consider buying one or more honing stones.
There are three types of sharpening stones: oil stones, water stones, and diamond stones.
Diamond stones are amongst the most expensive sharpening mediums and are used by lots of professional woodworkers. They can be particularly useful if using some of the hard wearing modern steels. However, there are plenty of other choices of (either man-made or naturally occurring) that will do the same job for much less money.
Hones are generally graded from coarse to fine – most people will need both a coarse (for rapidly grinding material from the bevel) and a fine to finish the cutting edge.
Diamond hones will last a long time and do not require any maintenance, other stones will wear to a greater or lesser degree and are unlikely to stay very flat (although, as can be seen by the large number of very “dished” vintage sharpening stones still in existence, this does not stop them being used to keep tools sharp).
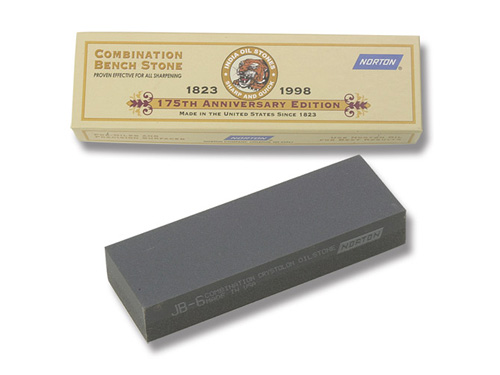
It is possible to spend a lot of money on sharpening stones but many people get by quite happily with a Norton combination India stone. This is a man made stone and has one coarse side and one fine side. You can get them new for about £30 in the UK (and for far less secondhand).
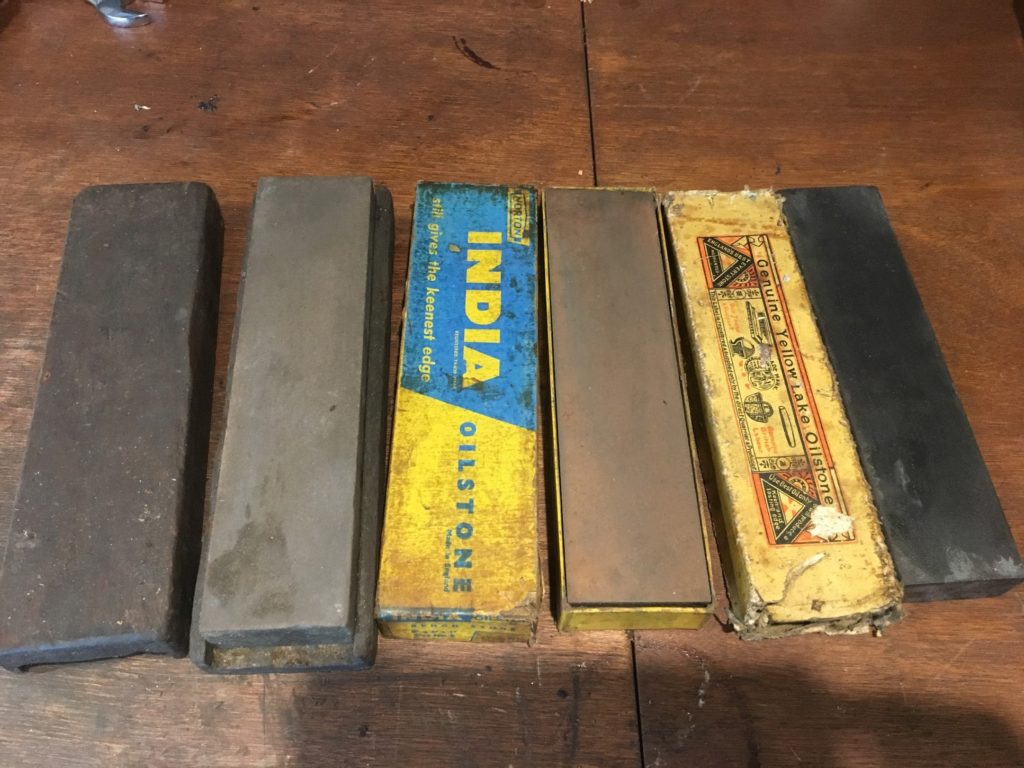
This type of honing stone is called an oilstone because you generally use a light machine oil (e.g 3-1) to lubricate the stone and to float away metal particles so that the surface does not get too clogged up. There are various naturally occurring stones that are sold for honing and large numbers are available on the second hand market. However, unless you happen to find one in its original box then it will be pot luck on how coarse it is.
There are many other types of stones available and one type – Japanese waterstones – have a loyal following, As the name suggests these are used with water rather than oil. I have not tried them simply because of the faff factor of having water in my plumbing-free workshop.
experiments with abrasives
My initial choice of abrasives were DMT diamond stones. I bought an extra coarse, coarse and fine but could easily have got away with just the last two. There is not a lot to say about diamond stones other than the “fine” stone is not all that fine, and apparently it is possible to dislodge the diamonds from the metal backing if you press too hard (you do not need to apply a lot of pressure, just be firm enough to keep an even pressure during the stroke).
This post was a long time in the writing and during that time I have experimented with several different oilstones. I put aside the norton combination stone after my uncle Andy gave me his Grandfather’s old oilstone (shown on the left below). Andy’s grandfather was a carpenter so I thought it was worth persevering with – it turned out to cut quite fast (but not as fast as my coarse diamond stone).
I then saw an old Yellow Lake hone on ebay for £10 and on a whim thought I would give it a go. Yellow Lake was a brand name used by Salmen and it was quarried in Melynllyn Yellow Lake Hone Quarry near Conway in Wales (apparently llyn melynllyn is welsh for yellow lake). It is very hard and fine and is goof for the final stage before stropping (it is much finer than my “fine” diamond stone). In order to complete the set I got a £5 norton “medium” which does indeed seem to be somewhere in between the other two.
I am quite happy to use these in preference to the diamond stones. So, if you are prepared to experiment on ebay you may get yourself a good sharpening setup for not a lot of cash.
Washita
Later on I made one more oilstone purchase, which I suspect will be my final one, a washita. Washita stones are famous and quite collectable, and I was lucky to get this one at a reasonable price.
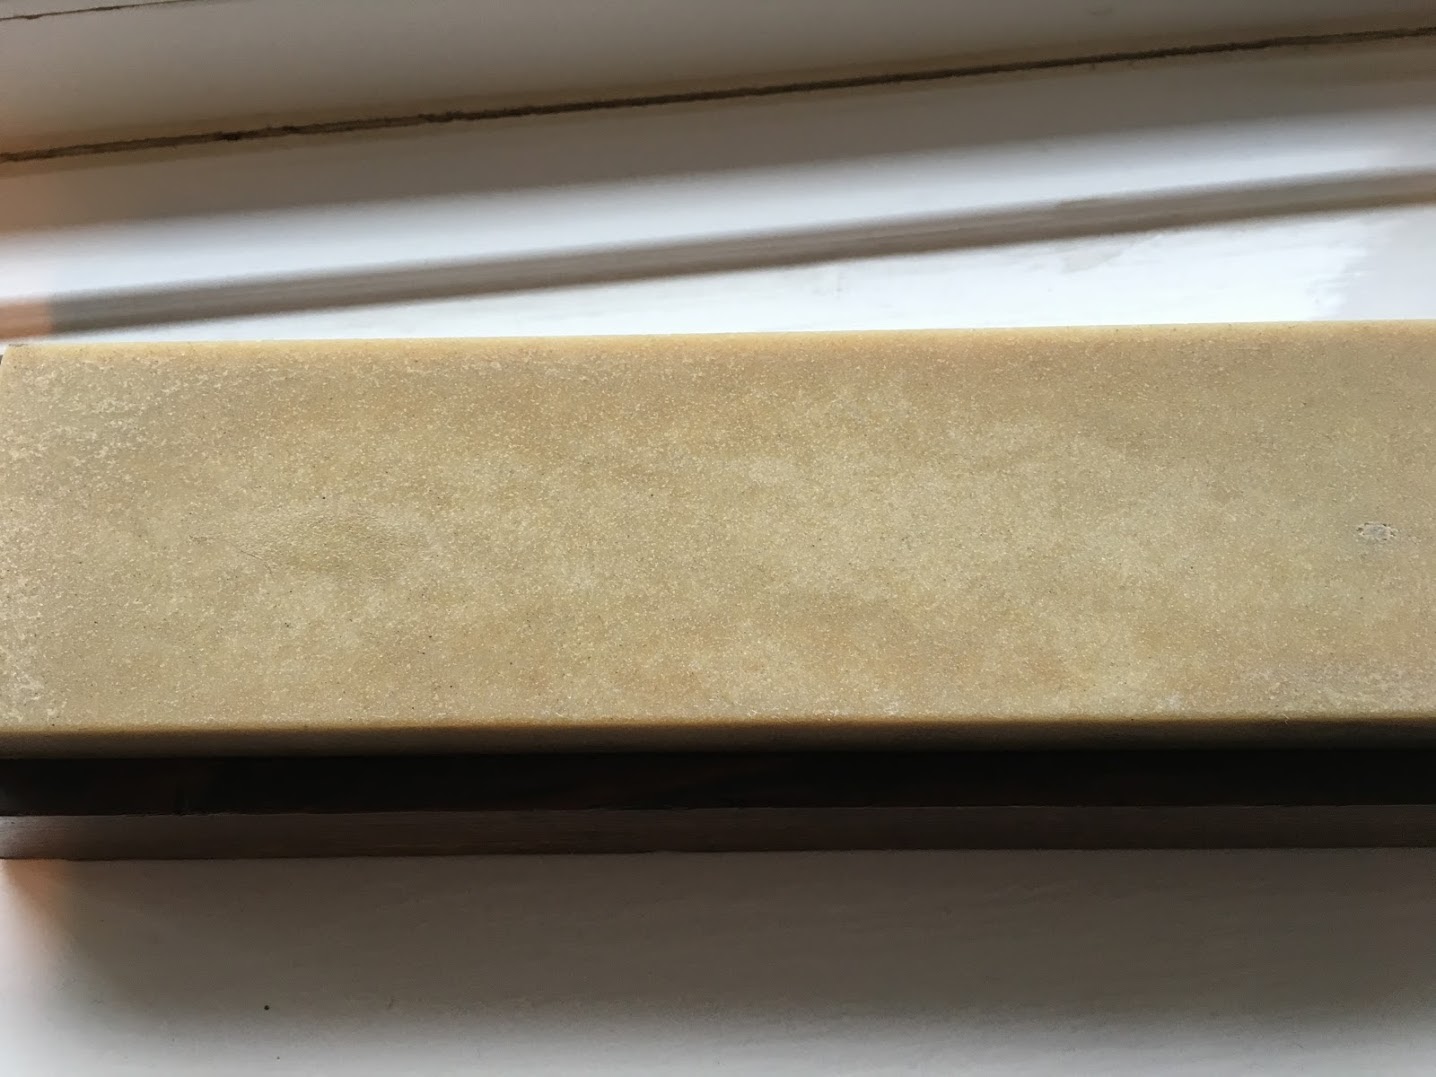
With a bit of practice – and the use of a leather strop (see below) – this stone has the magical property of being just coarse enough to do the job of grinding the bevel while also being fine enough to do the honing of the edge. Being able to do all the work with a single stone is a big plus and I now use it almost exclusively (the only exception is where I am having to remove a lot of material, for instance because of a large chip in the edge, when I reach for the coarse diamond stone).
I should point out that nearly all of my chisels and plane blades are second-hand and are made from “ordinary” high carbon steel that is relatively easy to sharpen.
Modern high-end planes sometimes come with irons that use hard steel alloys (e.g A2) and are also quite thick (in subsequent posts we will look at different blade constructions: steel choice: thick vs thin and laminated vs unlaminated – which all have a bearing on sharpening)
The combination of thick irons and hard steel makes for more work when sharpening, and this will mean you may have to experiment with sharpening media until you find something that cuts quick enough for your liking.
Scary sharp
If you don’t fancy spending your hard earned cash on stones you can get the same result with sandpaper.
The idea of using sandpaper to sharpen things is not new and no doubt tradesman – having found themselves away from home without a honing stone for some reason – have resorted to using bits of sandpaper to improvise a sharp edge since time immemorial (and sandpaper has been around longer than you might think).
However, advances in sandpaper technology in the past few decades made possible the creation of extremely fine abrasive paper that could in turn be used to create very fine cutting edges. This in turn started something of a craze for using sandpaper for sharpening rather than stones, and the approach was given a name: Scary Sharp.
The term seems to have been coined in a tongue-in-cheek post that appeared in the long-gone rec.woodworking forum back in the mid 1990s.
The approach gained a lot of attention and you will find much information (and some pre-packaged “Scary Sharp” kits) on t’internet. Out of curiosity I tried it with some (pricey) 3M adhesive backed lapping film stuck to my bit of plate glass and it does indeed work effectively, if you ignore the extra hassle of sticking down bits of sandpaper every now and then. Quite possibly it creates a superior edge than stones and a strop (see below), but I can’t say that I could tell the difference.
Having said that, although using sandpaper is an excellent way to have a go at sharpening with a modest up-front investment – and certainly worth a try if you are starting out – you may find it is not cost effective in the long term.
removing the wire edge
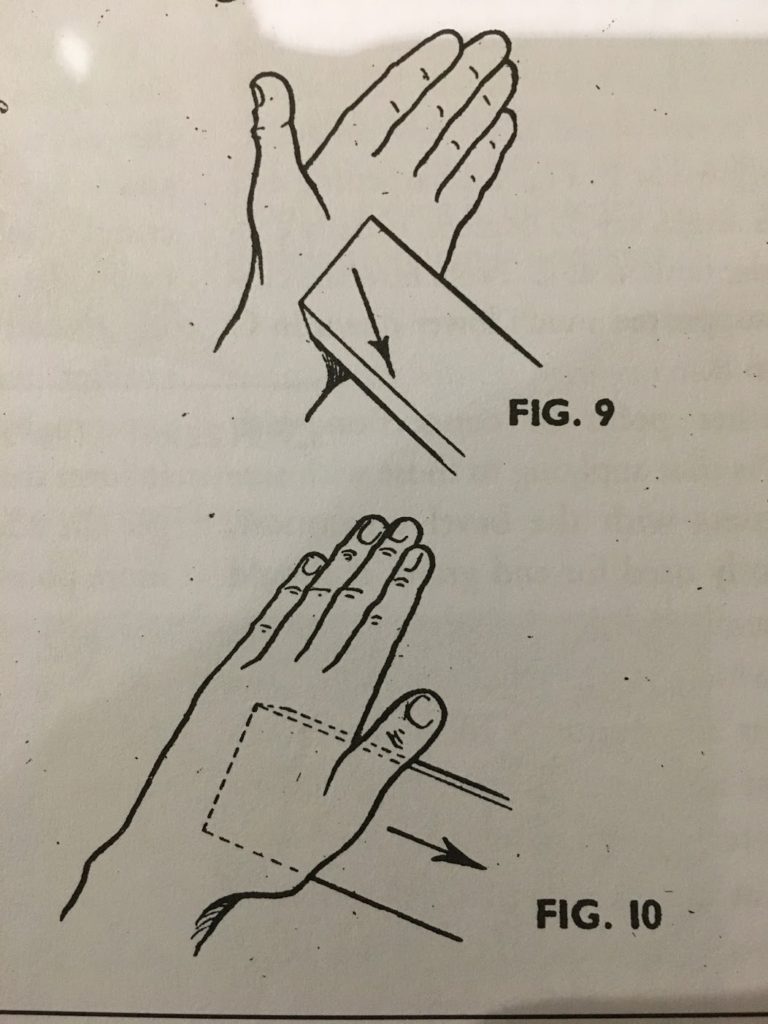
As mentioned earlier, as you hone you will raise a wire edge on the very tip of the blade. As soon as you have raised a wire edge across the full width of the blade then you know you are done with that stone and can move to a finer one. You may not be able to see the wire edge, but you will be able to feel it by gently brushing your thumb across the flat face of the iron towards the tip.
The wire edge can be removed by placing the flat face on the stone, being careful not to lift it, and pulling it towards you or by making small sideways motions. Sometimes, particularly when the wire edge was created on a coarse stone, it will cling to the edge and this action simply pushes the burr to the other side. In this case I normally use the palm of my hand to rub each side of the blade (carefully!) until the wire edge is removed.
Although this is probably not an ideal solution from an ‘Elf and Safety perspective, don’t be surprised when you find yourself doing it without thinking…
It does seem to have been common practice in times gone by – here is a pic from an article in the woodworker from the 1940s showing the same:
stropping
Once you have worked through however many stones you are using - and you can easily get away with one coarse and one fine - and have finished on the finest one, you can – if you wish – do one last step and use a strop. A strop is a piece of leather stuck to a bit of flat wood that has been treated with a very fine abrasive compound (I rub on a bit of pink polishing compound – cost 9 quid and there is enough to last for years).
In theory if you use a fine enough stone as your last step then it is not necessary to strop, but if you do not have a very fine stone you can use the strop to refine the edge. I found the use of a strop the key to getting a really sharp edge. I think it has something to do with the fact that the leather has some give in it and this helps remove some of the final scratches, no doubt compensating for my less than perfect technique.
You can see Mr Sellers using one in the video above – the only tip I have is to hold your iron at a slightly lower angle than when you were using the stones. The reason is that the leather tends to rise up around the blade as you pull it towards you and can round over the edge slightly if you do not lower it slightly to compensate.
conclusion
Quite a lot of nonsense gets written about sharpening – the volume of which I have no doubt just added to – but essentially it simply involves rubbing edge tools on increasingly fine abrasives.
It really is not a difficult thing to get the hang of so don’t be put off by the vast amount of information on this subject in books and on the interwebs, just have a go – you will get the idea in no time at all.