
Well known UK woodworkers like Paul Sellers and Richard Maguire do a great job of showing how to build a workbench with a minimal set of tools and without an existing bench. I was lucky to have a bench already, but Sellers and Maguire both go through their instructional videos using a couple of sawhorses...
Well known UK woodworkers like Paul Sellers and Richard Maguire do a great job of showing how to build a workbench with a minimal set...
English workbench

The bench is finished! I am very pleased with the holdfasts, they were made by Simon James and I got mine from Classic Hand Tools, delivered next day at the very reasonable price of £49 for the pair including delivery.
Some people have trouble using holdfasts on thin tops, I experimented on the front apron...
The bench is finished! I am very pleased with the holdfasts, they were made by Simon James and I got mine from Classic Hand Tools,...
English workbench

Tradition has it that you should either use a 50/50 mix of boiled linseed oil* and turpentine or not bother with a finish at all. I still like to do a bit of tool fiddling now and then – which often involves some grubby metalworking – so I decided to put a finish on mine to...
Tradition has it that you should either use a 50/50 mix of boiled linseed oil* and turpentine or not bother with a finish at...
English workbench

As I mentioned earlier, my brilliant plan of drilling separate holes for the guide rods and screw for the vice was not a success. The holes have to be positioned exactly right and, although I had the holes in the right place, it seems I had not drilled them completely square and the rods were...
As I mentioned earlier, my brilliant plan of drilling separate holes for the guide rods and screw for the vice was not a success. The...
English workbench

I have now flattened the top and rear apron – it took about an hour and forty five minutes (for the rear I just took off the grungy surface but made no effort to flatten it). This is in addition to the time I spent previously removing the high spots on the top and doing the...
I have now flattened the top and rear apron – it took about an hour and forty five minutes (for the rear I just took off...
English workbench
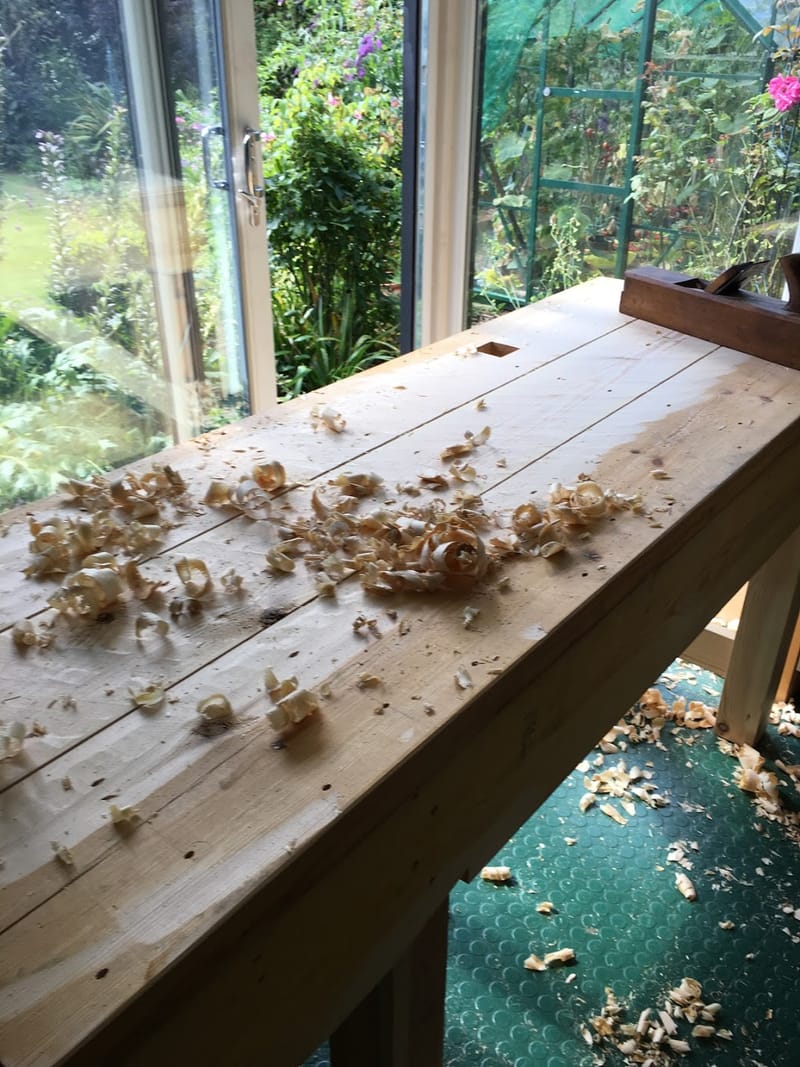
I did the initial flattening of the top in about 40 minutes – I used my wooden jack plane to take off the high points and then the wooden jointer to work across the grain. The result is not pretty but is reasonably flat, and I will clean it up on another day.
The apron took...
I did the initial flattening of the top in about 40 minutes – I used my wooden jack plane to take off the high points and...
English workbench

Today’s update consists entirely of making holes – hole 1 is for the bench stop, hole 2 (more of a trench really) is to accommodate the top of the rear jaws of the vice.
My brilliant plan for the vice is to fit it on the inside of the apron and, so it will sit...
Today’s update consists entirely of making holes – hole 1 is for the bench stop, hole 2 (more of a trench really) is to accommodate...
English workbench

Earlier today I flattened the undersides of the 3 boards that will make up the top. It did not take long – an advantage of the planked top design, since you only have to worry about getting the boards reasonably flat, the idea being that any twist or bowing/cupping along the length will be removed...
Earlier today I flattened the undersides of the 3 boards that will make up the top. It did not take long – an advantage of the...
English workbench

Preparing for the top simply involves getting all the parts that receive the top planks flat and level.
Here is the bench glued and nailed up:
Getting things flat and level means using a plane – or in my case several.
Over the past couple of years I have bought and refurbished a number of old...
Preparing for the top simply involves getting all the parts that receive the top planks flat and level.
Here is the bench glued and nailed...
English workbench

glued and nailed – not a complicated job, but I rehearsed it just in case. What could go wrong I hear you ask? Well, nothing major but my nails were slightly too long and poked out the other side of the legs. I suppose only I will know but they lurk there nonetheless, waiting to impale...
glued and nailed – not a complicated job, but I rehearsed it just in case. What could go wrong I hear you ask? Well, nothing major...
English workbench

The rigidity of an English workbench is provided by aprons: the legs fit inside housings in the apron preventing the bench from twisting.
A possible disadvantage of this design is that the joints can become loose over time and a suggested improvement – from Paul Sellers – is the addition of wedges:
When I have made benches...
The rigidity of an English workbench is provided by aprons: the legs fit inside housings in the apron preventing the bench from twisting.
A possible...
English workbench

The final two things I did over the weekend were to attach the top bearers to the legs and also to clean up my vice, which I bought last April. Once I removed all the crud, paint, dried oil etc and applied some lubricant it works very well and there does not seem to be...
The final two things I did over the weekend were to attach the top bearers to the legs and also to clean up my vice,...
English workbench

I finished the leg brace, and the result is a rather complex looking set of recesses on the front RHS leg – it is not as complex as it looks to do, since you are just doing a series of simple half lap dovetails.
I managed to avoid any major cock-ups today, but to make...
I finished the leg brace, and the result is a rather complex looking set of recesses on the front RHS leg – it is not as...
English workbench

Although the legs looked passable when dry fitted the poor quality timber I used for the legs meant they split as soon as I tried to nail the aprons on.
Following some sage advice on the ukworkshop.co.uk forum I gave it up as a bad job and have started again with decent redwood....
Although the legs looked passable when dry fitted the poor quality timber I used for the legs meant they split as soon as I tried...
English workbench

I prepared the wood needed for the workbench legs – the fence posts were very ropey, and this contributed to my first major cock up. I am gradually getting more confident using a plane to get a board square and straight and this part went okay. Richard Maquire is good at explaining which surfaces need to...
I prepared the wood needed for the workbench legs – the fence posts were very ropey, and this contributed to my first major cock up. I...
English workbench

I am making what has become known as an English workbench. I’m not sure why this term became popular, possibly it is down to Chris Schwartz in his Workbench book where he identifies three broad traditions in bench design: French (oblong table with a heavy top); English (thin planks on top, one or more...
I am making what has become known as an English workbench. I’m not sure why this term became popular, possibly it is down to...
English workbench
