Traditional Methods
The traditional method for grinding a bevel on edge tools uses a mechanical grinder. This is the method typically described in historical woodworking books that explain the the methods of craftsman making furniture and joinery for a living.
Here are some extracts from the literature published in the 18th, 19th and 20th century where this approach to sharpening is described.
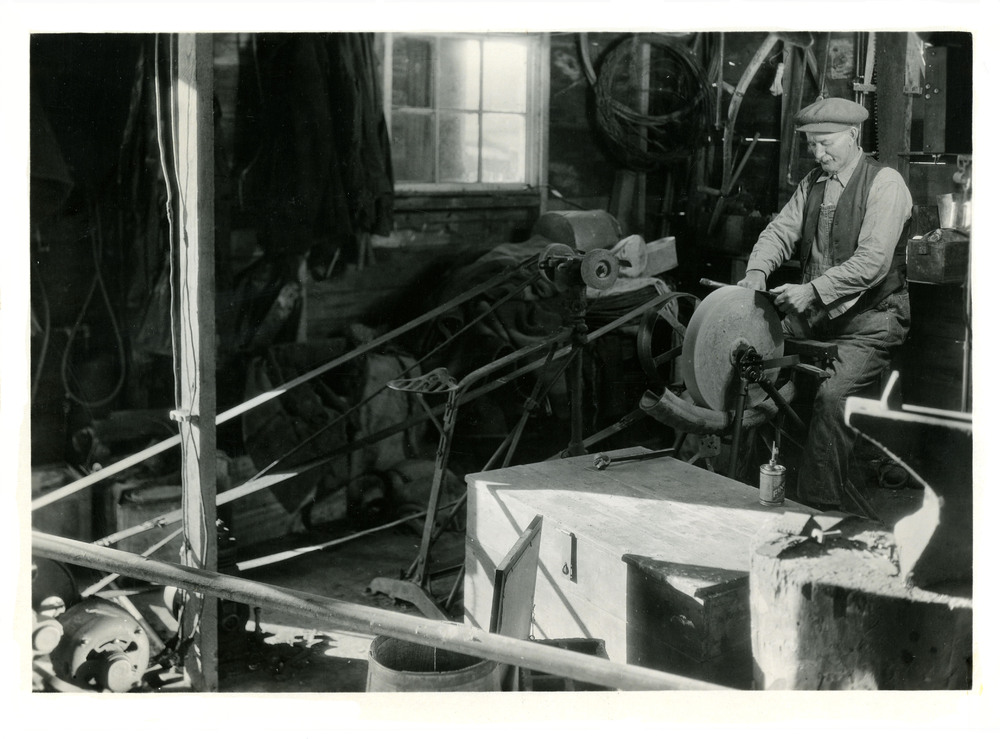
Powered grinders
Steam, water and hand powered mechanical grinders were still in common use in the 19th and early 20th century
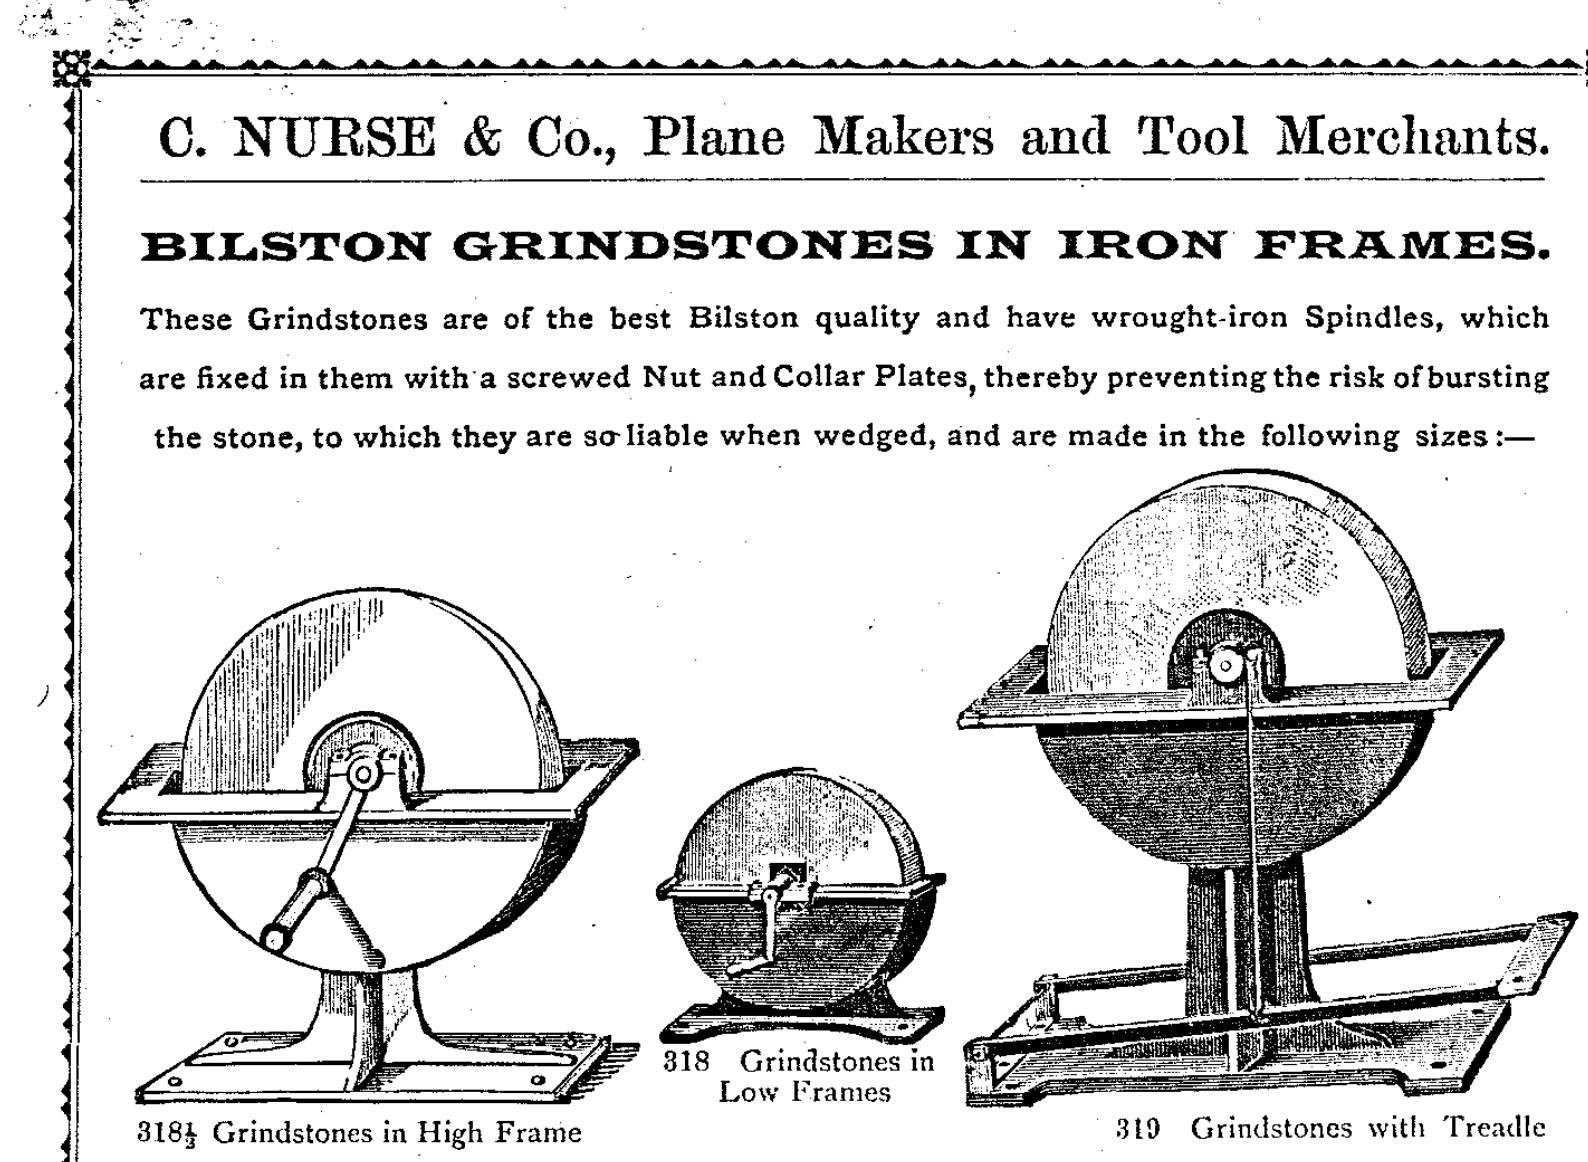
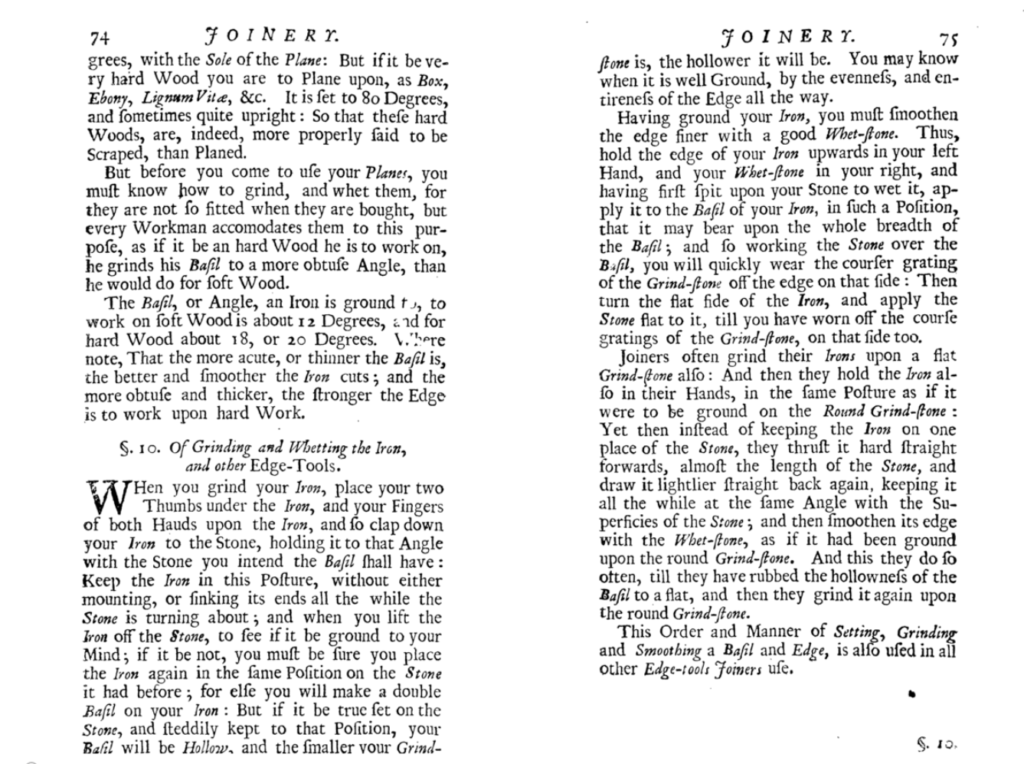
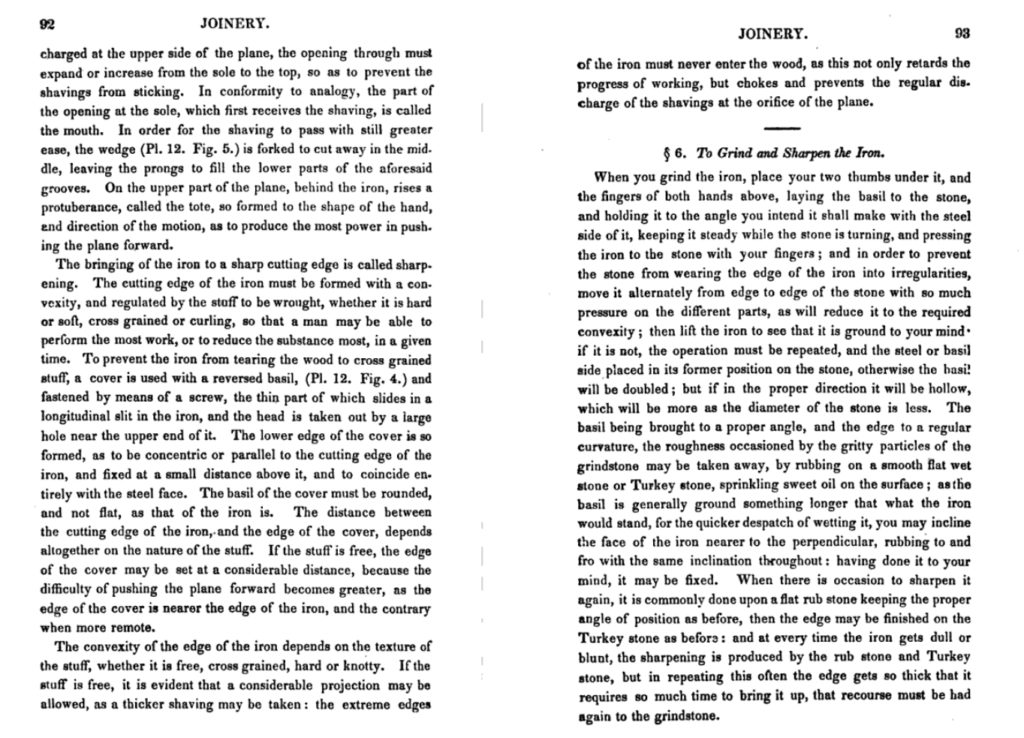
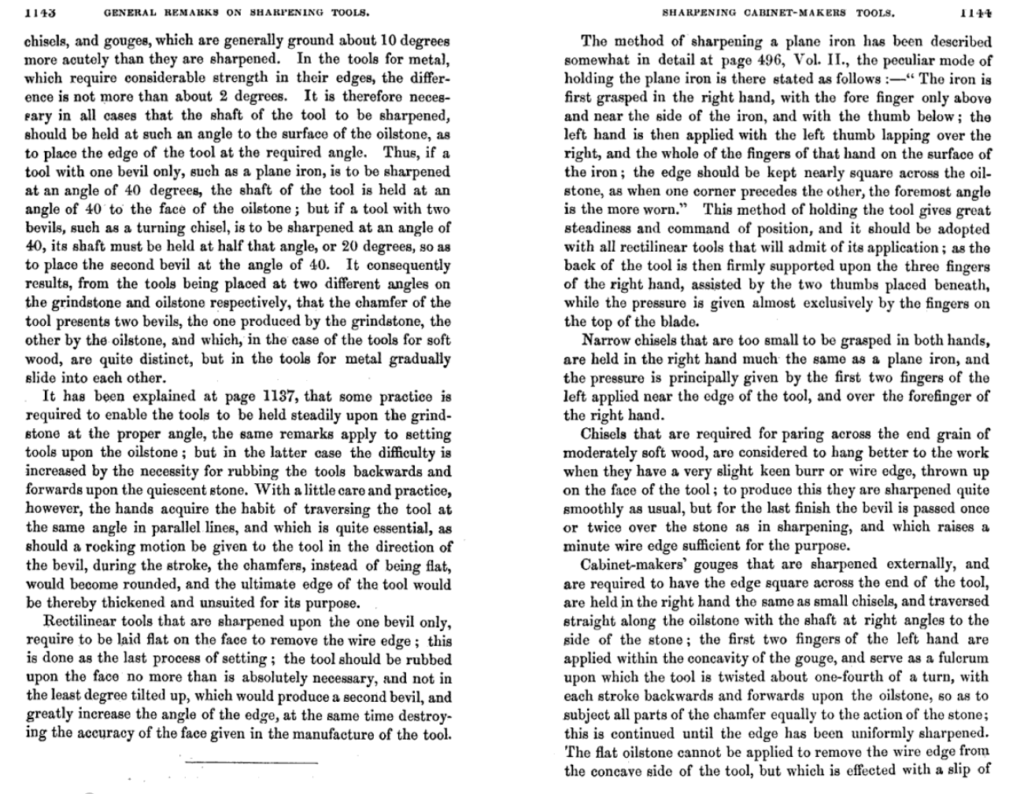
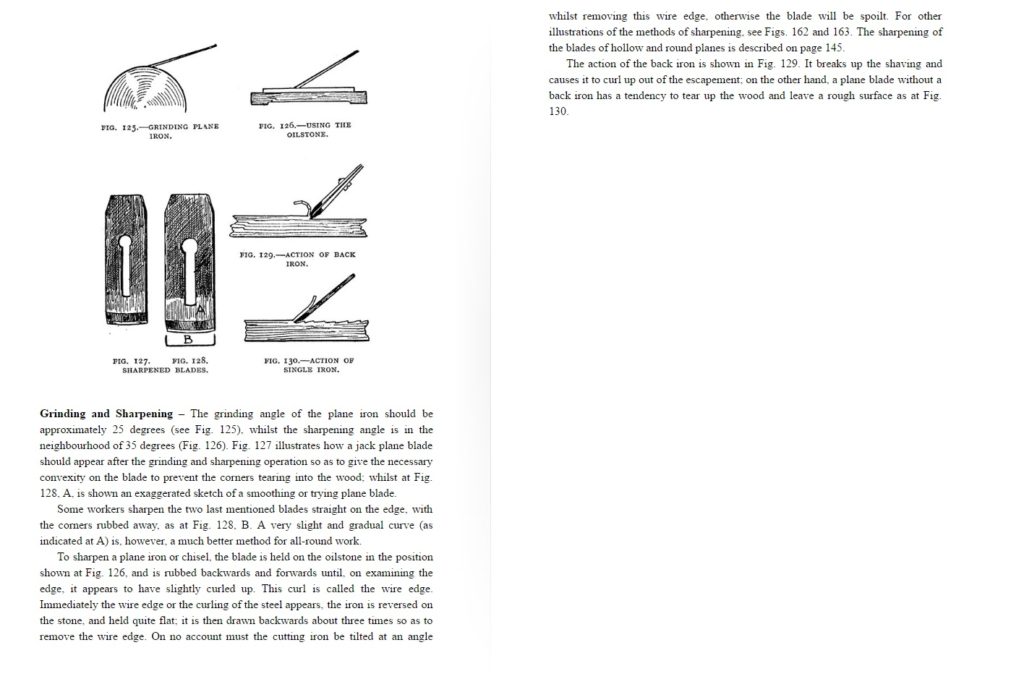
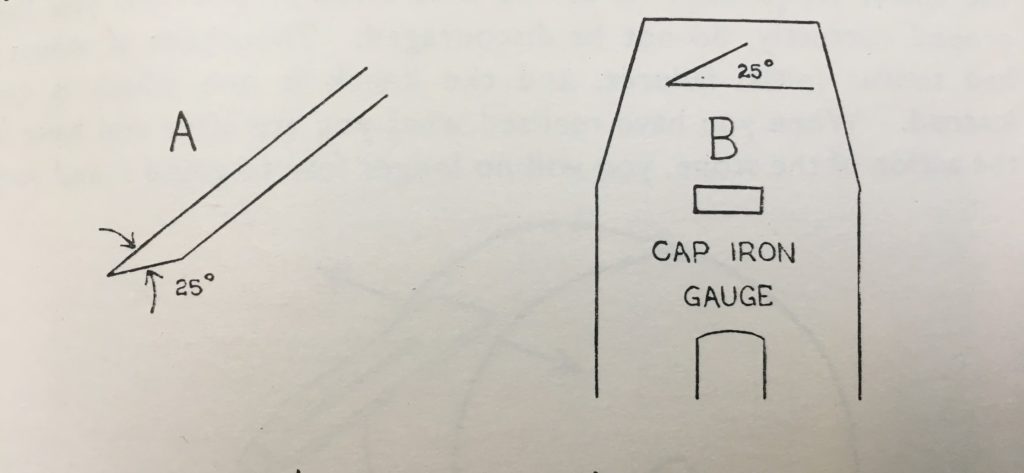
The circular grind stone is used to establish an initial bevel on the tip of the blade. Typically the angle between the face and the bevel is around 25°, as is marked on cap irons manufactured by Record who stamp in the angle as a form of gauge to help you check the angle is about right.
After you have established the primary bevel you go on to hone on a sharpening stone at a slightly higher angle (usually around 30° ). This creates a secondary bevel and can be done by registering the ground edge on the abrasive and then tipping the blade forward a couple of degrees. As explained here the precise angle is not important so long as it is around 30°.
The blade can be honed in this way several times, and each time you do this the secondary bevel gets wider. Tradesmen would regrind the blade frequently because, as the secondary bevel enlarges, more metal must be removed each time to remove the wear on the edge, and the longer the honing takes.
Of course it is not absolutely necessary to use a grinder to establish the primary bevel, you can use sandpaper or sharpening stones of some description.
The advantage of using the traditional approach is time saving – if you have a powered grinder then you are able to reduce the time spent honing by using the grinder to remove a lot of metal quickly.
Overheating
A note of caution on using mechanical grinders: the hardness of steel can be permanently reduced at surprising low temperatures, so you need to be careful not to overheat the blade else you might effect its ability to keep an edge.
The technical term for heat treating metals alloys like steel in order to reduce their hardness is tempering. The blacksmith would aim to get a good balance of properties in the tool – too hard and it will be brittle and difficult to sharpen ; too soft and it will not retain an edge for long. The temper of steel starts to change at around 175°C and this temperature is reached before there are any visible changes to the colour of the metal to give you a clue about what is happening. In practice it is quite easy to exceed these temperatures when using a grinder, for instance, If the tip of your blade turns light blue after grinding, then it has reached about 340°C and you have got it far too hot (340°C is the temper used when creating springs).
Note although I say above that this effect is “permanent”, it may be that only the very tip has been softened in which case it can just be ground off to get back to good metal. A more radical approach is to re-harden the whole blade. This involves heating up the metal to an very high temperature - a process which would normally involve a furnace - and then, after cooling, applying moderate degree of heat, which a skilful workman can regulate by watching the changing colour of the steel. As you can probably guess from the description this is not for the fainthearted!
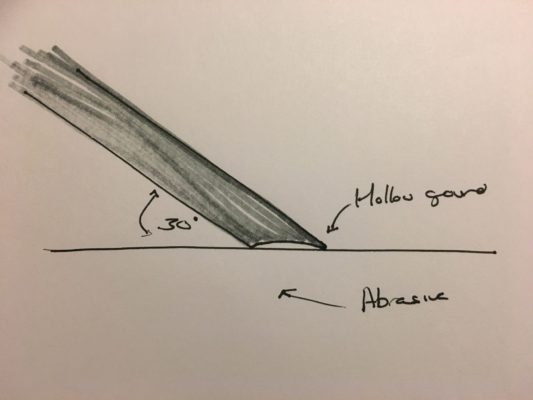
Hollow Grinding
As explained in the old woodworking books above, when you grind the bevel on a grinding wheel the bevel takes on the shape of the wheel and you will end up with a convenient hollow on the bevel. If you grind at around 30° then the two thin edges on either side of the hollow form a useful reference surface that helps set the iron at the intended angle for your honing work. As with the method above, if you regrind frequently your time spent honing will be reduced as you will need to only remove metal from the very toe and heel of the bevel.
Hand grinding
There is another way, which eschews the use of a grinder altogether. No one can claim to have invented this approach, it is just the method that has been taught to generations of apprentices.
The idea is to grind the entire bevel on a coarse sharpening stone, creating a bevel of around 25 degrees and then to create a very small secondary bevel when honing. This process is repeated each sharpening, so the rough ground angle is progressively maintained and, because only a small amount of material needs to be ground away each session, the process does not take long.
This is the approach I ended up using for all my edge tools and it is very easy to master and can be done with a minimal amount of equipment and fuss.
You may still occasionally want to resort to a powered grinder, for instance if you chip or otherwise damage an edge but, by and large, your sharpening activity will consist almost entirely of rubbing the iron up and down on various sharpening stones and will thus be pleasingly low on faff.
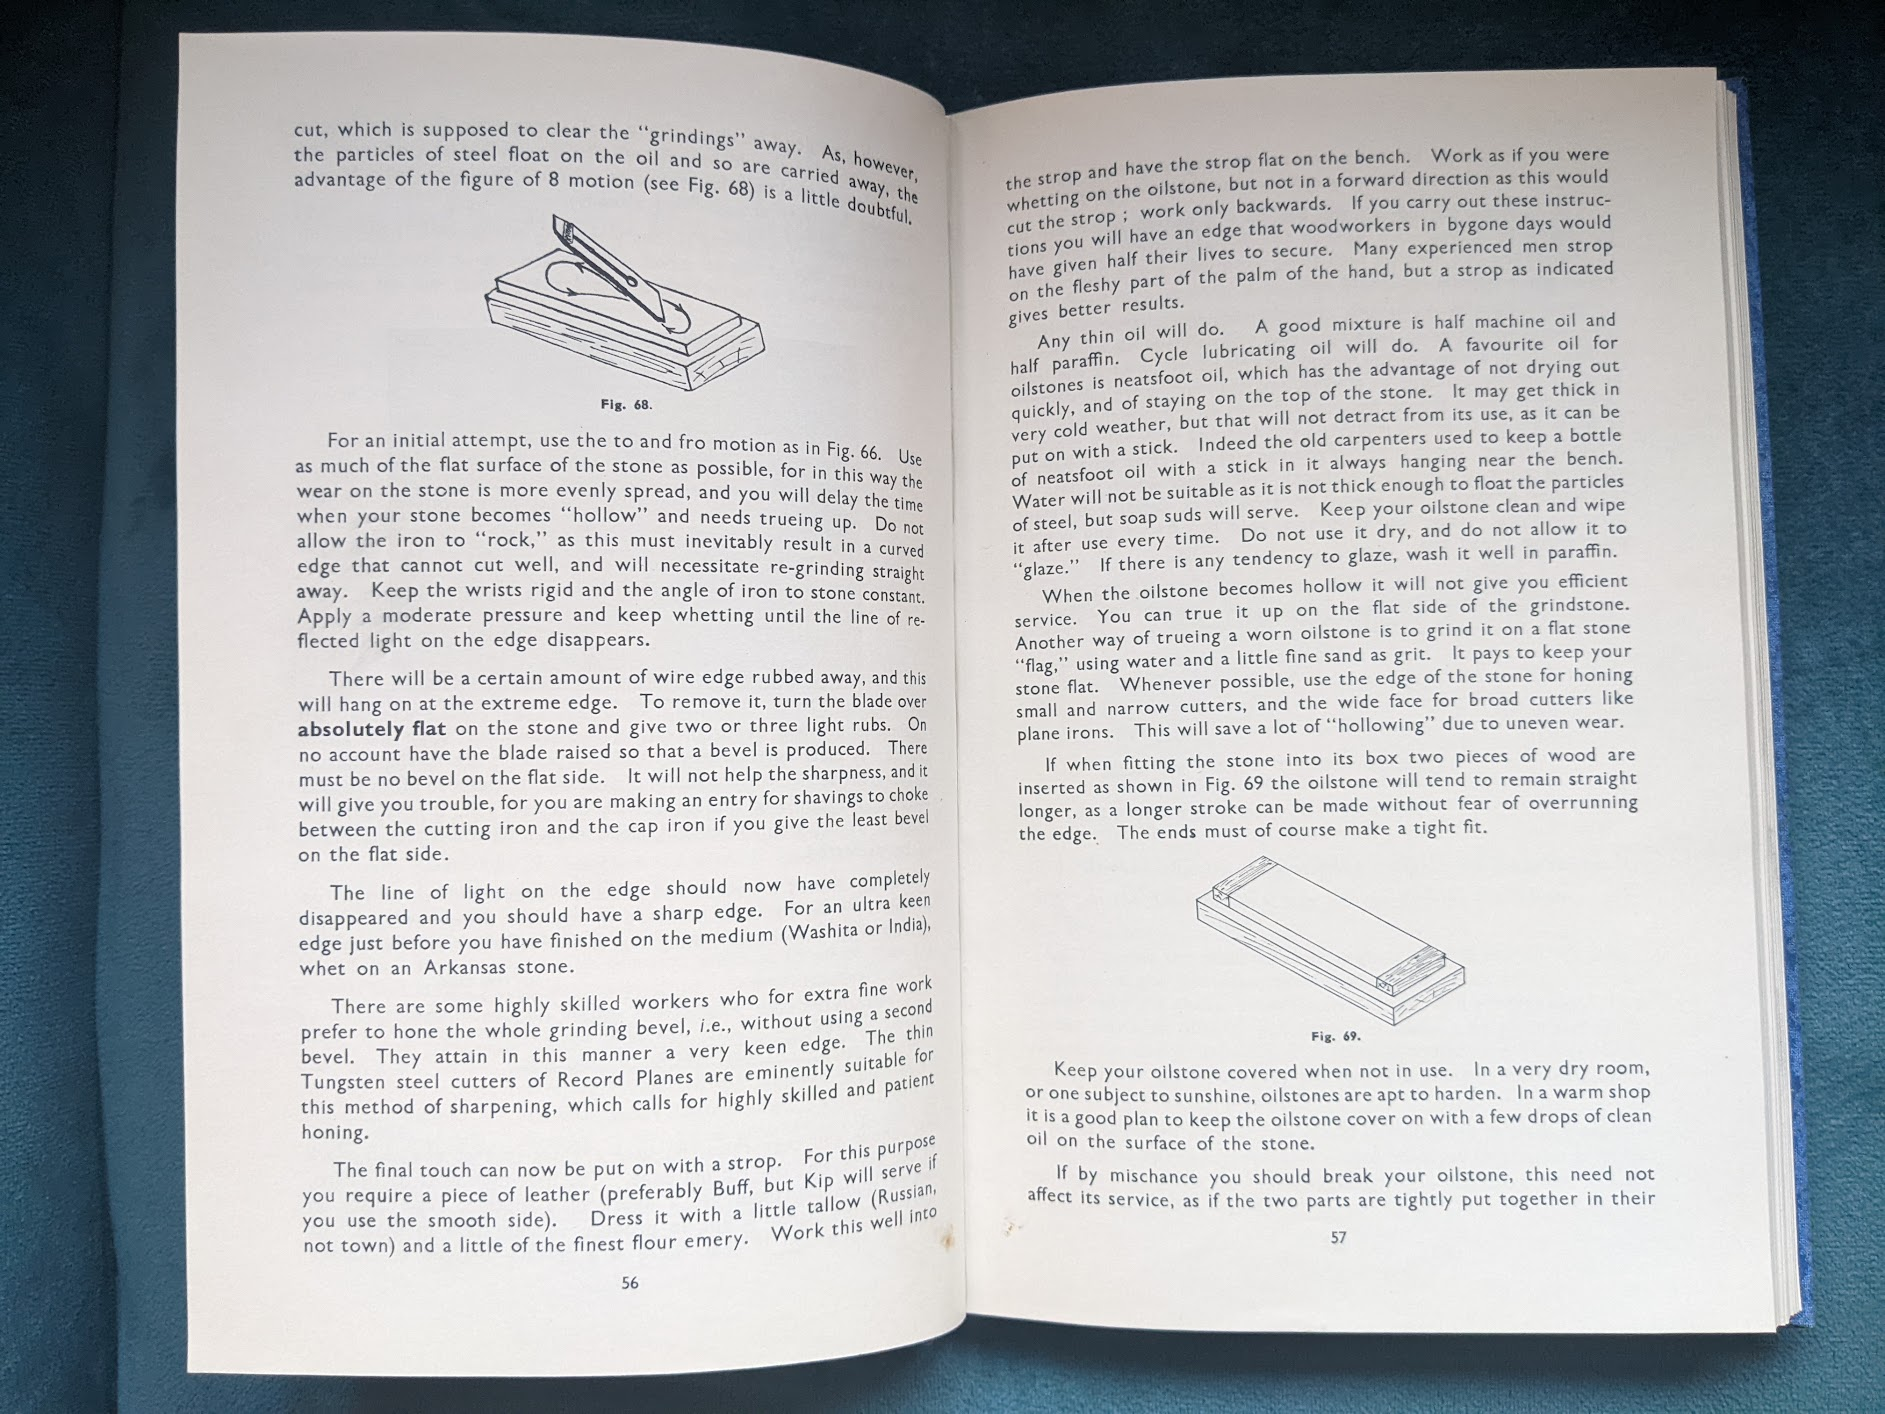
Some people, notably Paul Sellers, advocate using a deliberate sweeping motion to create a rounded primary bevel, and this rounding does tend to happen over time whether you intend to do it or not. I should note there are one or two sniffy comments in the literature that caution against creating a curved bevel, here is Mr Hampton again:
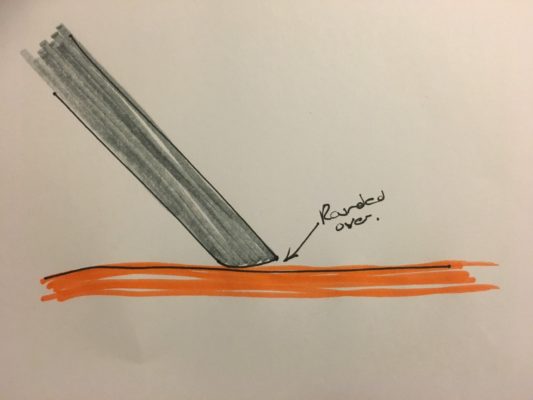
Although not explained in Planecraft, the reason for this admonishment is that if you rock the blade in a way that rounds over the cutting edge then you will eventually create a rounded bevel that touches the surface of the wood before the cutting edge. In extreme cases this can prevent the plane cutting, otherwise it might only work when you push down hard onto the surface being planed – the downward pressure compresses the wood fibres under the bevel such that the cutting edge can reach the wood - however, unless you can keep up exactly the right pressure during the stroke the plane will eventually be pushed up and skid along without cutting or take an uneven shaving.
So you do have to be careful to avoid rounding-over like this when you are sharpening. What you are trying to achieve is an action where you remove more material from the heel of the bevel than the toe. It is a bit hard to explain but pretty obvious when you try it.
Here is a pic illustrating the situation you want to avoid:
anyhow, all these methods work so pick one you like and get sharpening! In the next thrilling episode we will discuss honing.