Here is the finished side table – the ebonizing process shows up a few minor bumps and scratches that were not obvious when the wood was paler, but overall I am pleased with the result.
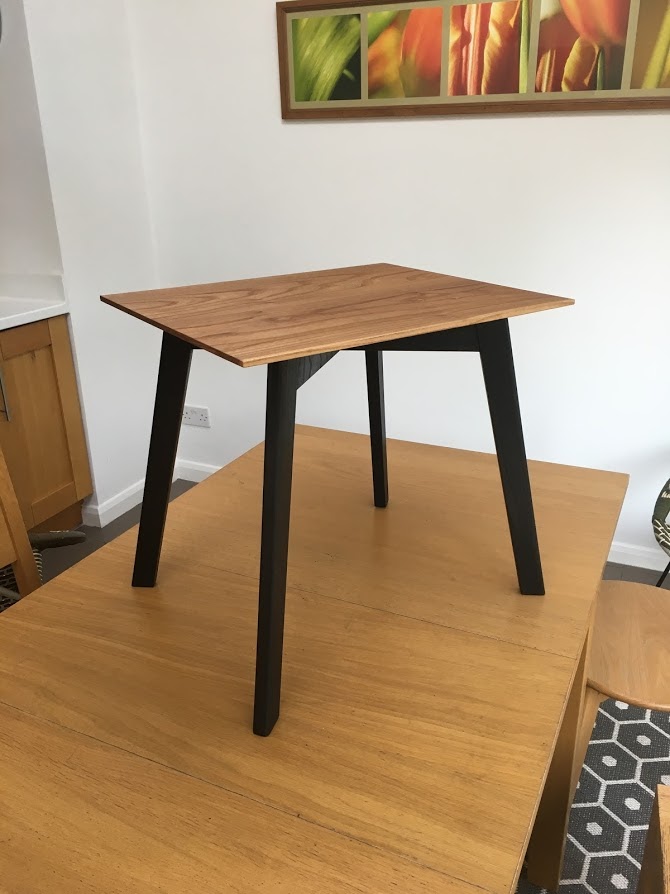
This is a good beginners project I think – it is straightforward but the simple design encourages you to work as precisely as you are able.
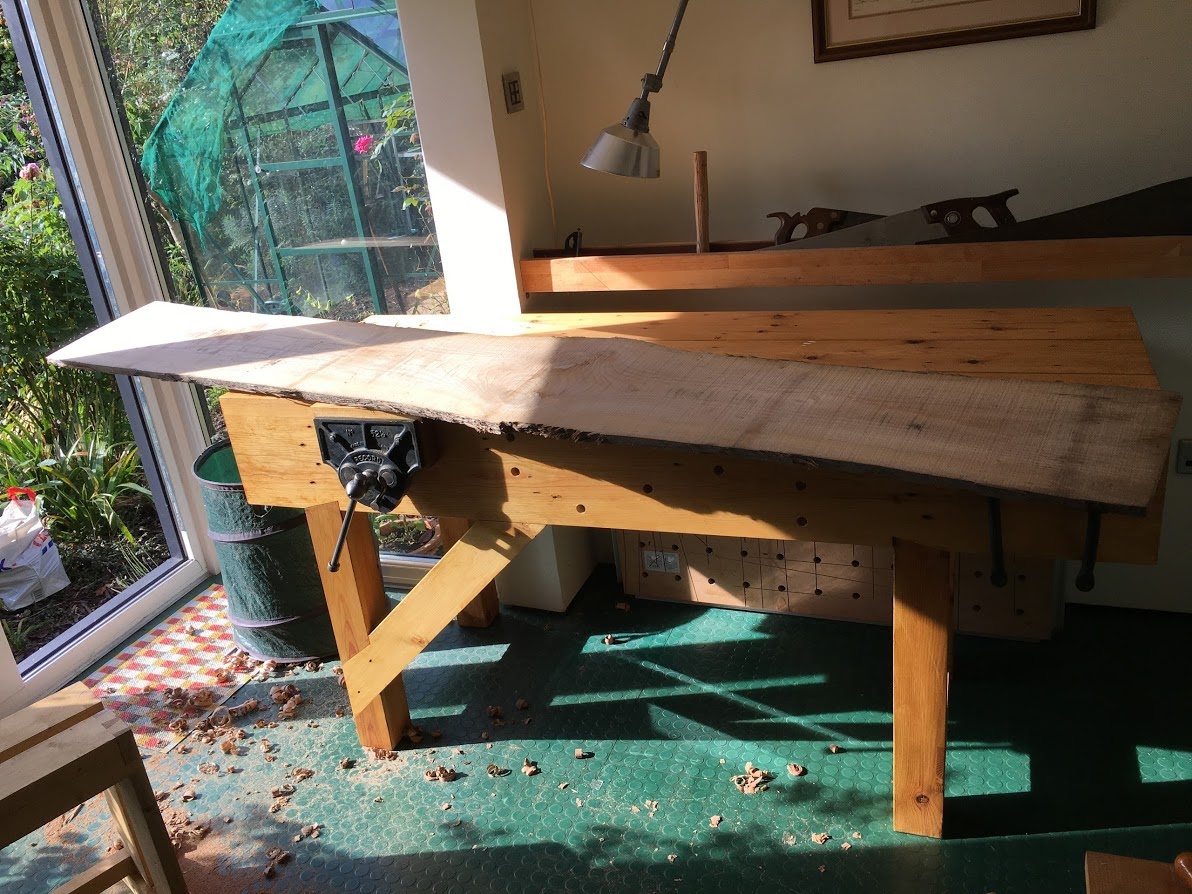
It was also very satisfying to be able to make a useful bit of furniture out of a single piece of rough sawn timber just using hand tools. A good fun project and I learned a lot doing it.
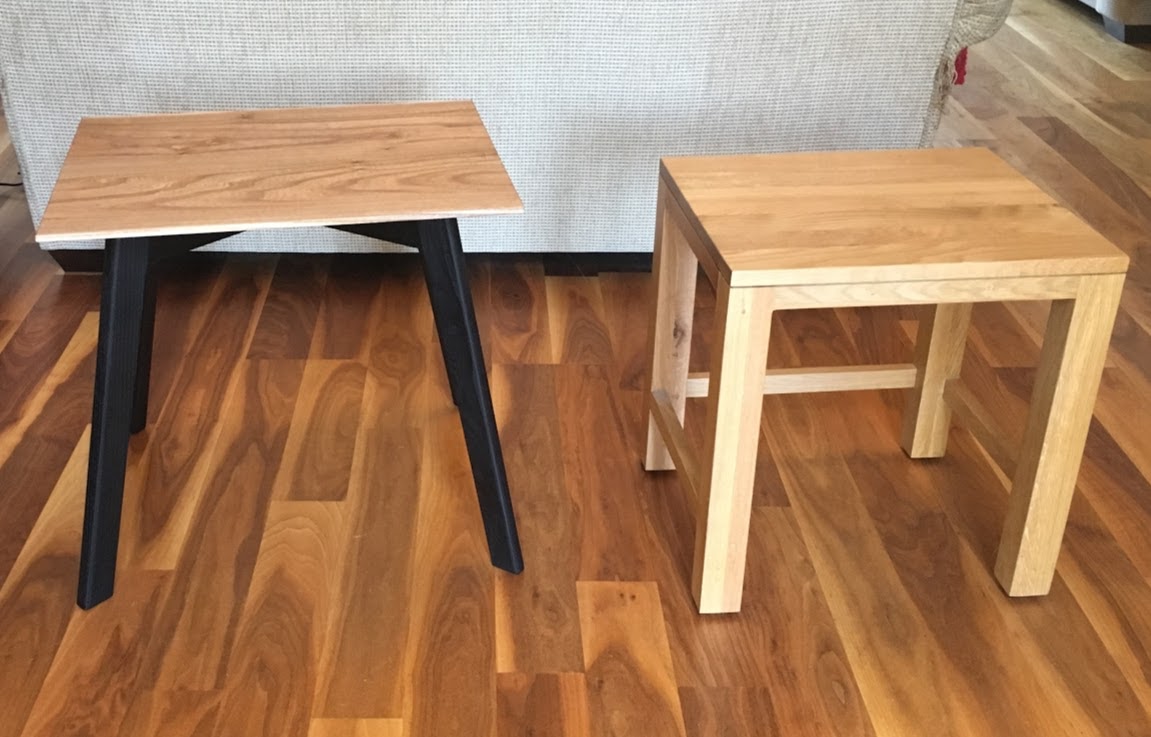
Here is the table next to the one it will replace – I think mine is an improvement, although admittedly I have set myself a rather low bar to jump over:
Finally, thanks again to Richard Maquire for the very good table design and excellent video instruction. For others learning on your own, please consider buying some of his videos – I am sure you won’t be disappointed.