The two cross rails are held by a halving joint. Luckily this does not have to be super precise since a small amount of wiggle room is needed to allow the top to expand and contract (one of my saw cuts was a bit wonky, which should cover it!)
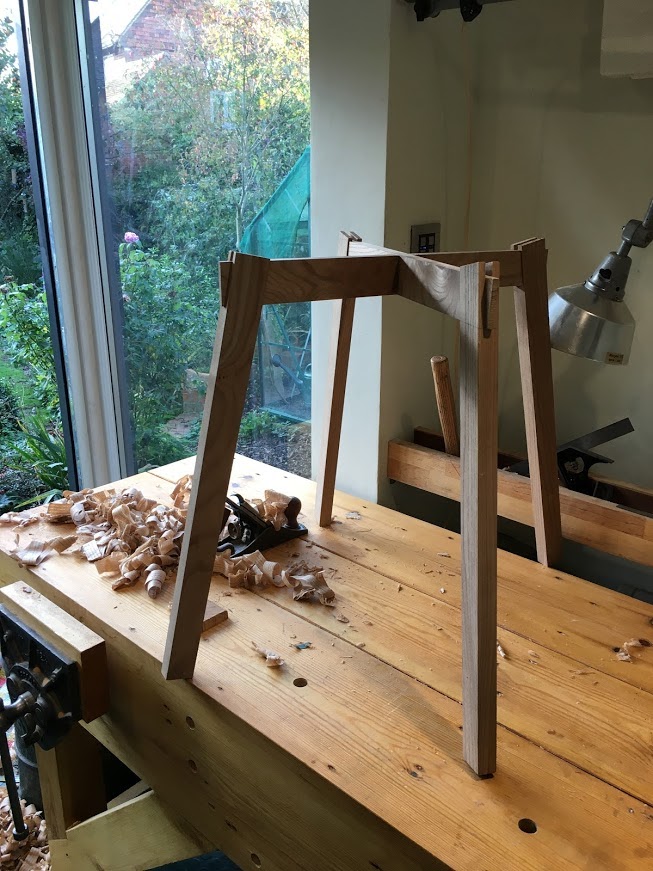
The other job was to taper the inside edge of the legs to make them look a bit more dainty – a simple job with a bench plane.
That’s all the joinery done so hopefully nothing really serious can go awry from this point onwards.
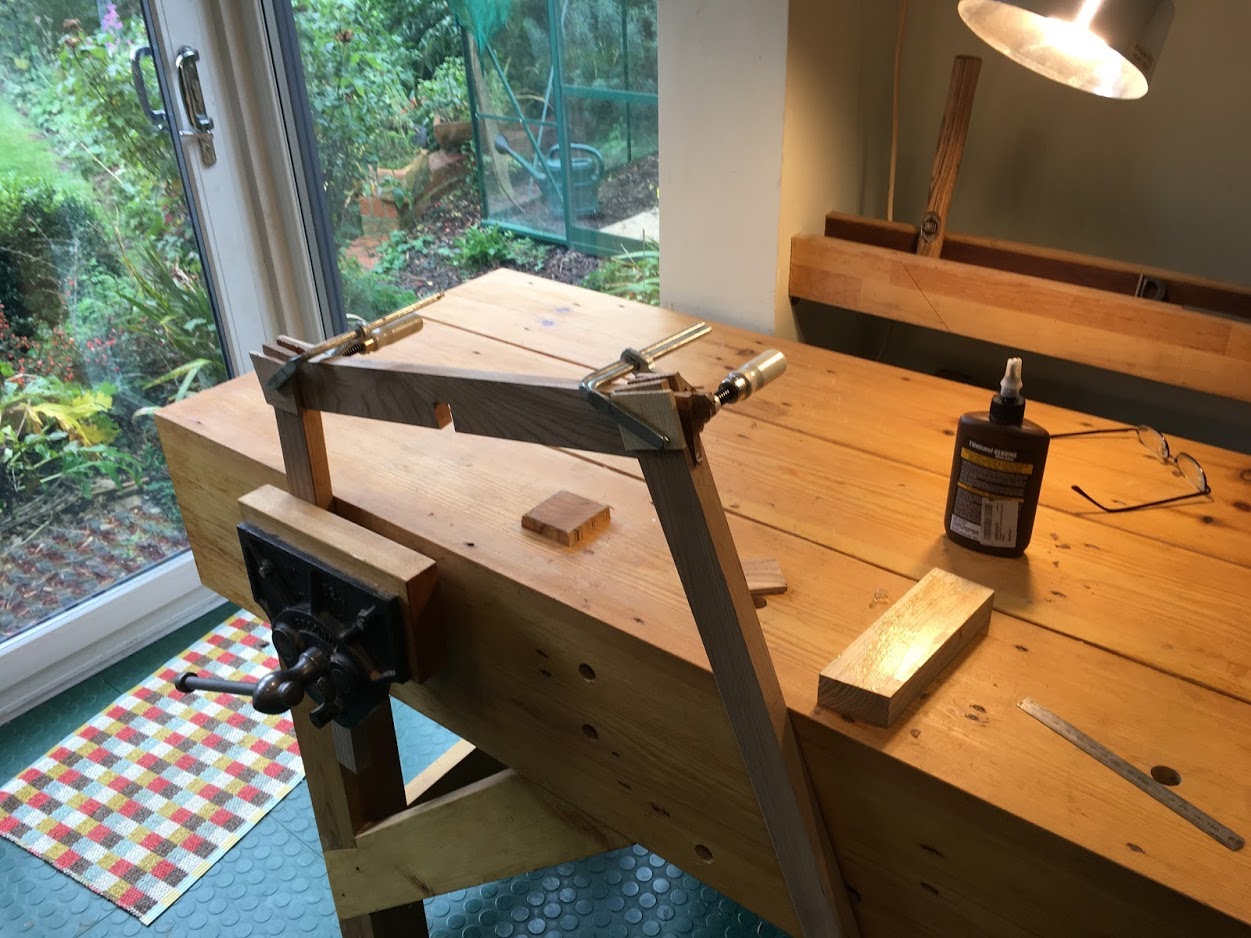
I also glued the legs on – a top tip from Richard Maquire is to use hide glue since PVA can swell the joints and this can can make tight fitting joints (as the bridle joints must be) tricky to fit together. My experience with glue ups is limited to my bench and saw horse where I used PVA, but because the tolerances in the joints on these items are far more “generous” than on furniture this was no problem at all.
I could however feel the difference since the hide glue is not at all ‘grabby’, unlike PVA, and this meant it was possible to get on without the feeling that at any point now the parts would suddenly jam together, forever stuck in the wrong position.
A good side effect of the bridle joints is you end up with lots of small squares of wood from the mortices and these are very handy for protecting your work from clamps, holdfasts etc.