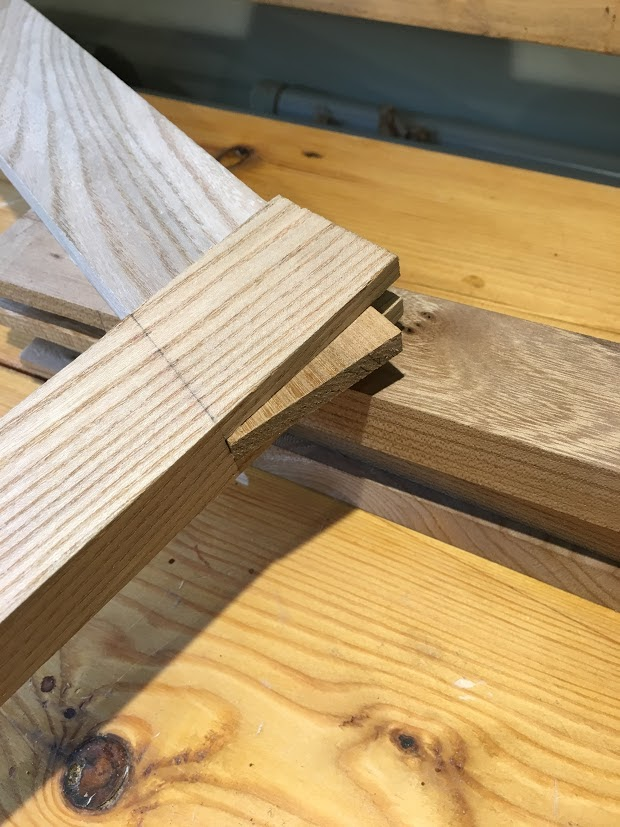
The bridle joint guides are optional, but are simple to make. Despite that I managed to balls up the first set – the errors at least meant I learned how they worked and the second set were done much quicker as a result.
There are plenty of details on the guides in the Richard Maguire video series (which I’d encourage you to buy, the guides are worth the entrance fee alone) and a quick overview in the introduction here.
The saw needs to run against the side of the guide to the depth of the joint so you may find your back-saws are not deep enough. I was left between a choice between my two panel saws – the first (a 1970s Spear & Jackson) would probably have worked, but I concluded it was a bit rough for the job, the second (Thomas Taylor, probably late 1890s) should have been perfect, but unfortunately it still has the last vestiges of a bend + a kink which despite my best efforts I have never been able to completely remove, and this makes it no good for doing anything very precise. A pity as it is a beautifully made saw.
Every cloud has a silver lining, though, and this was a great excuse to get a new saw. Richard Maquire happened to have been experimenting with Japanese saws when doing the side-table vids, so I copied him and got myself a cheapo (20 quid) one to try out.
It is perfect for the job and I really like using it – it seems to work best if you adopt the stance of an elderly butler prodding a sausage on a BBQ (arms length and with one hand behind your back) – great fun. The saw probably has a proper Japanese name but I am afraid I do not know what it is.
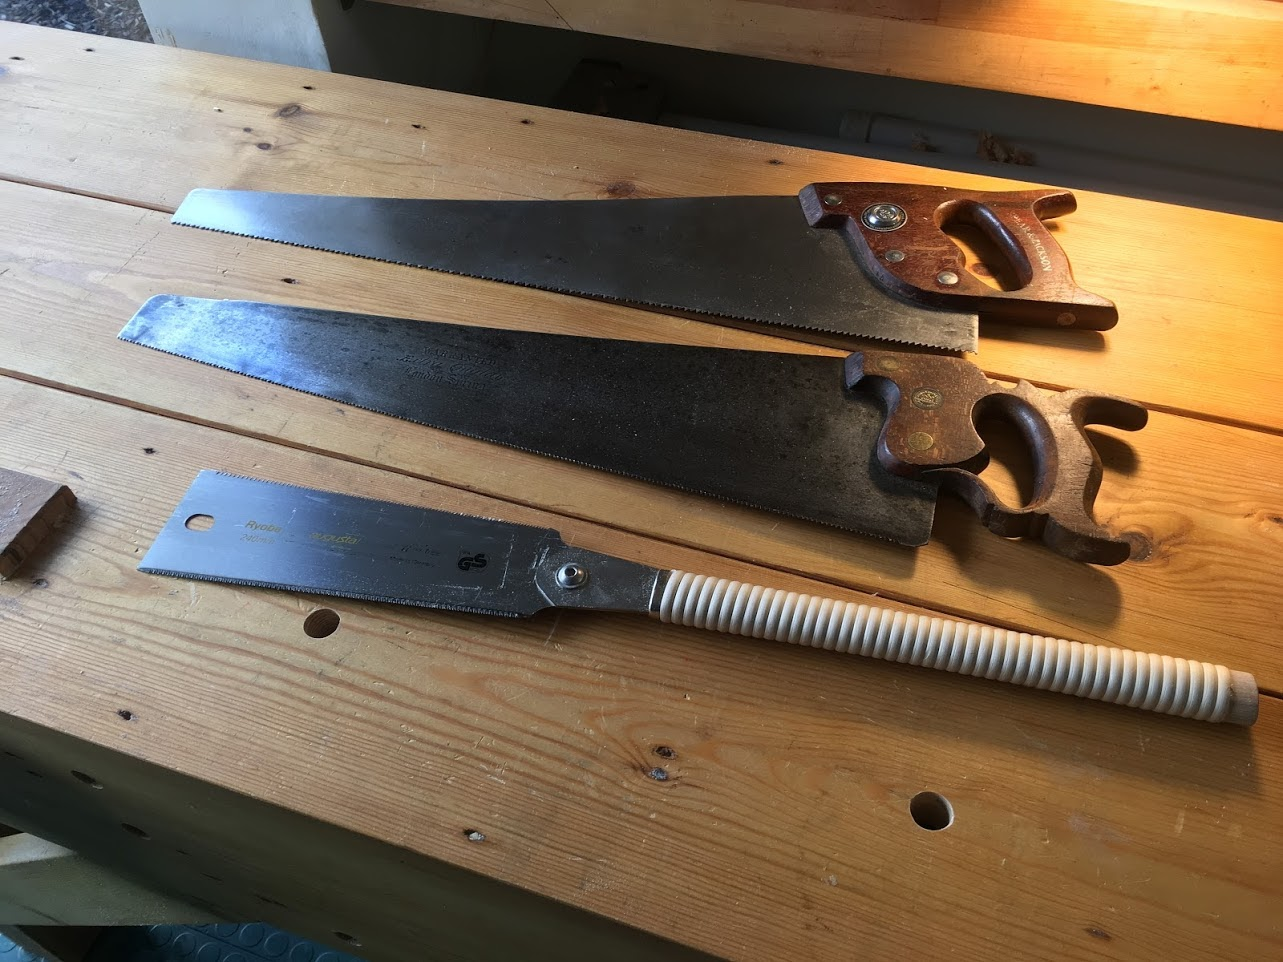
Japanese saws seem to be a vast undiscovered (for me) tool-fidding rabbit hole, so I have decided not to research the topic any further
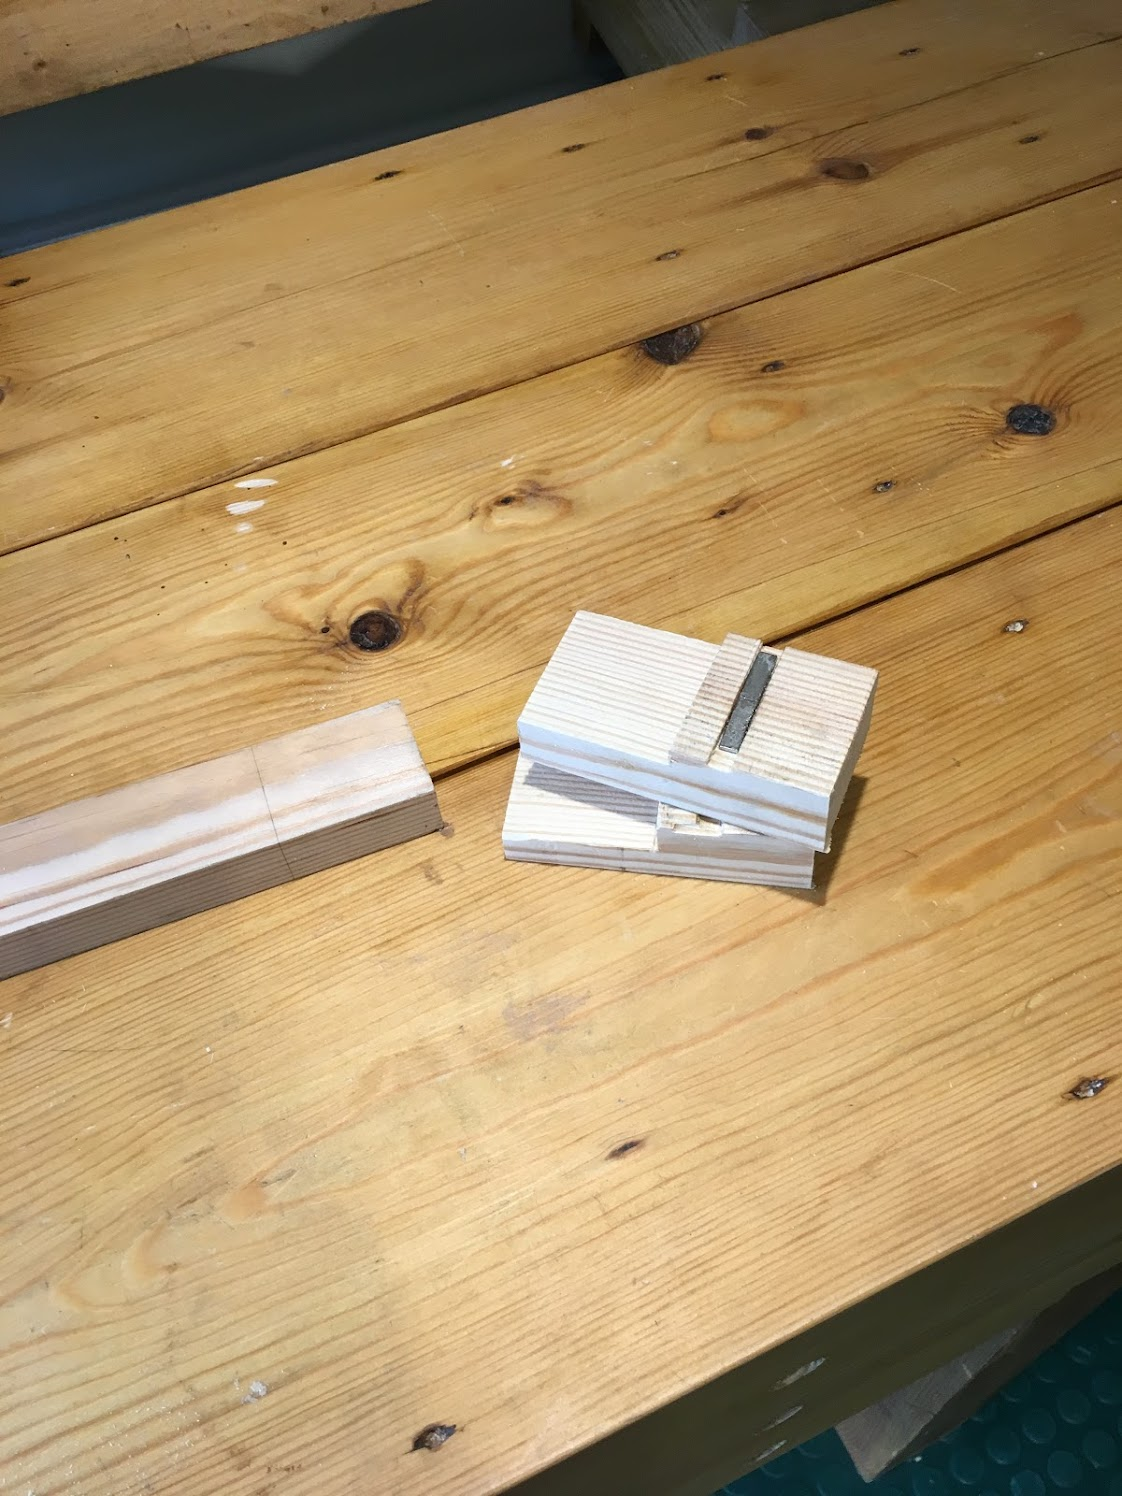
Here is a test joint – admittedly with softwood so I had a bit more margin for error than when I do the real thing, but not a bad effort for a beginner I think.
As I have just proved the guides really are idiot proof – you just mark the depth of the joints, saw against each guide and finally chop out the center bit from the mortice and bingo it all fits. An ingenious idea from RM!
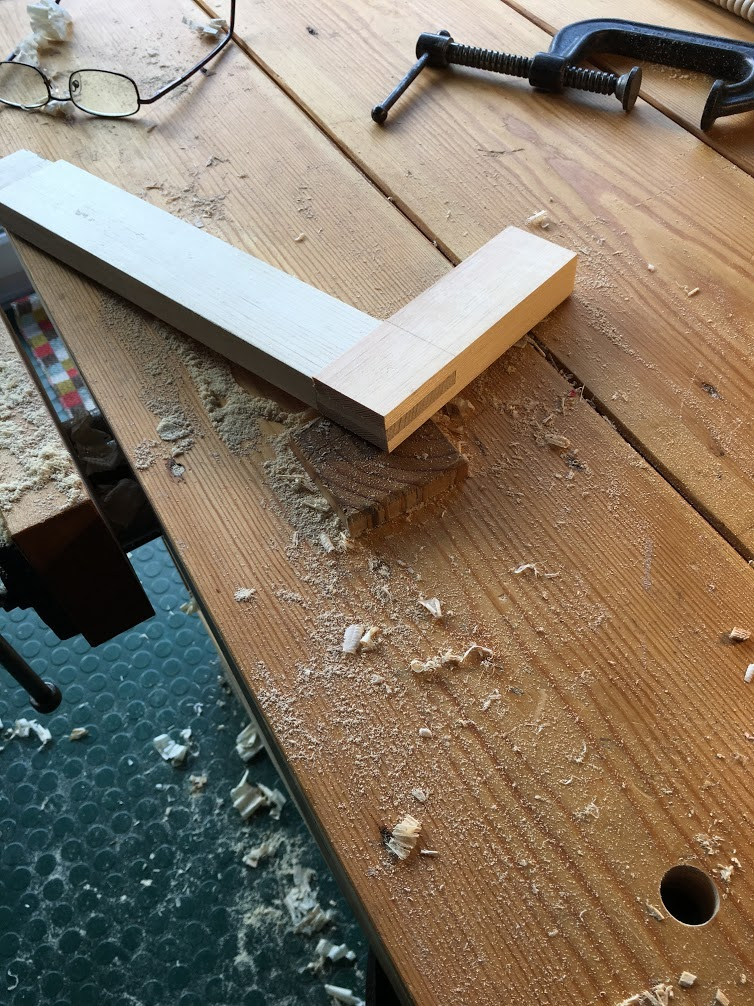
I did the joinery at the weekend – I made a couple of mistakes: overshot when cutting one shoulder and accidentally pushed out a chunk of the bottom edge of a mortice when ‘tidying it up’ with a chisel (luckily not on the show face).
I am not too dispirited by what feels like a constant stream of minor cock-ups as I think I am slowly improving, and feel pretty sure if I do another one the it would be better.
The guides were a big help – the joints were a little tight compared to the tests in pine but a couple of passes with a block plane on the tenons sorted it out quickly.