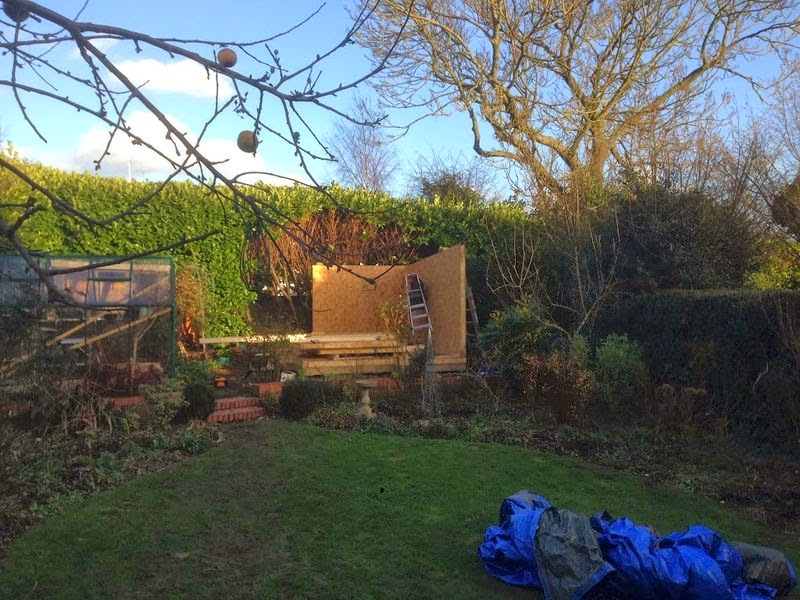
There was a welcome break in the weather between Christmas and new year, and we ended up with a couple of sunny days in which some construction work could be done. Happily the two clear days were in succession and coincided with my brother staying over, so we got a lot done. I am eternally grateful to wavey davey for the help, as I would have made painfully slow progress on my own and, as we discovered, some aspects are impossible with just one person. Cheers Dave!
The clouds parted and we got to work. Putting up the walls was pretty easy, start at a corner, nail the two abutting panels to the base plate check for plumb and square and then screw them together using the supplied coach screws. From that point you simply mark the position of each panel on the base and then position each of the subsequent panels on the mark so that only a corner is on the ground, then tip them down on to the previously glued/nailed spline.
It is obviously important to have the base plates laid out accurately but if this is done it all fits together like a jigsaw. Lessons learned:
What we found was that it was necessary to slightly reduce the depth of the splines by a couple of mm to get the panels to fit together satisfactorily. The same is true for the end and top plates that are used to finish the exposed SIP edges. This is particularly important where these timbers cross multiple panels since you only need to be a fraction out to make a previously tight fit an impossible one.
I think the ideal way to do this would be to use a power planer to take a millimetre or two off each side of all the splines before you started work. I do not have one of those so used a sander on the mini-SIP splines and a hand plane on the timber.
don’t forget to remind your helper(s) that it is almost impossible to avoid colliding with the horrible adhesive used on the panels – that way they will avoid ruining a perfectly good set of clothes. Otherwise you will be spending some quality time in TK MAX getting some replacements for them (as I did).