loose ball steering head bearings
If your bike has had a hard life you may find that corrosion or wear on the steering head bearings makes the steering feel notchy or stiff, in which case these parts will need replacing.

The standard steering head bearings consist of two sets of 21 steel balls that are sandwiched between an inner ring (or 'cone' as Honda refers to it) fixed to the steering stem and and an outer ring ('ball race') that fits inside the steering head.


(see right for the part numbers). you'll also need x2 top ball races that fit into the frame (50301-041-305).
Fitting the steel balls is a bit fiddly, and the Honda manual unhelpfully reminds us:
Do not drop the steel balls during the insertion of the steering stem.
tapered roller bearings
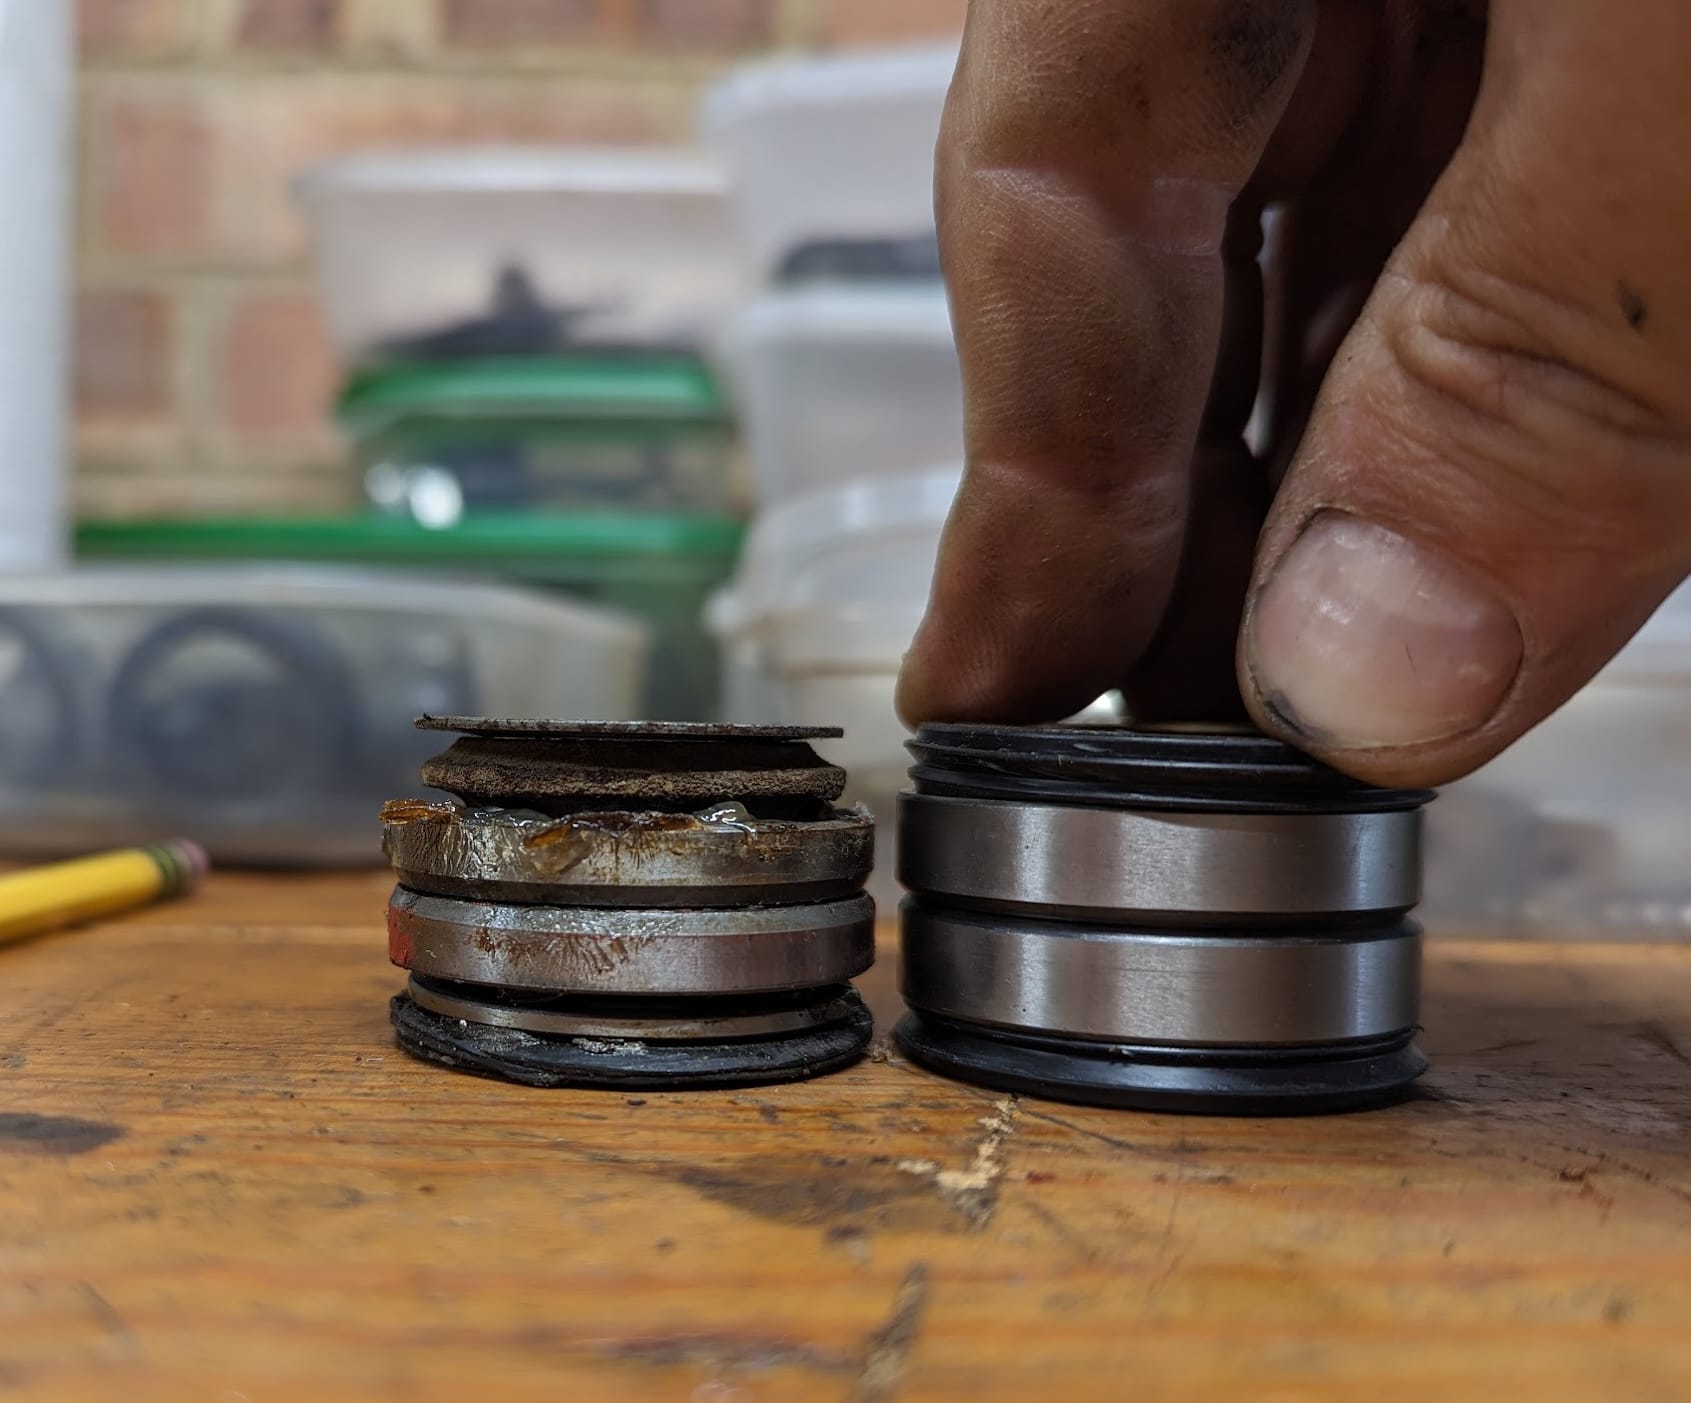
If you prefer the convenience of tapered roller bearings then there are a couple of kits available, one from All Balls and one from Pyramid parts. I've used both in the past and the bearings from Pyramid were made in Japan (NTN) and the All Balls were unbranded and made in India.

The total height of the replacement bearings and dust caps needs to match the originals, and in some applications you may need to use a spacer to fit them properly. Happily the CT90 set up matches very well to the new tapered set:

Fitting
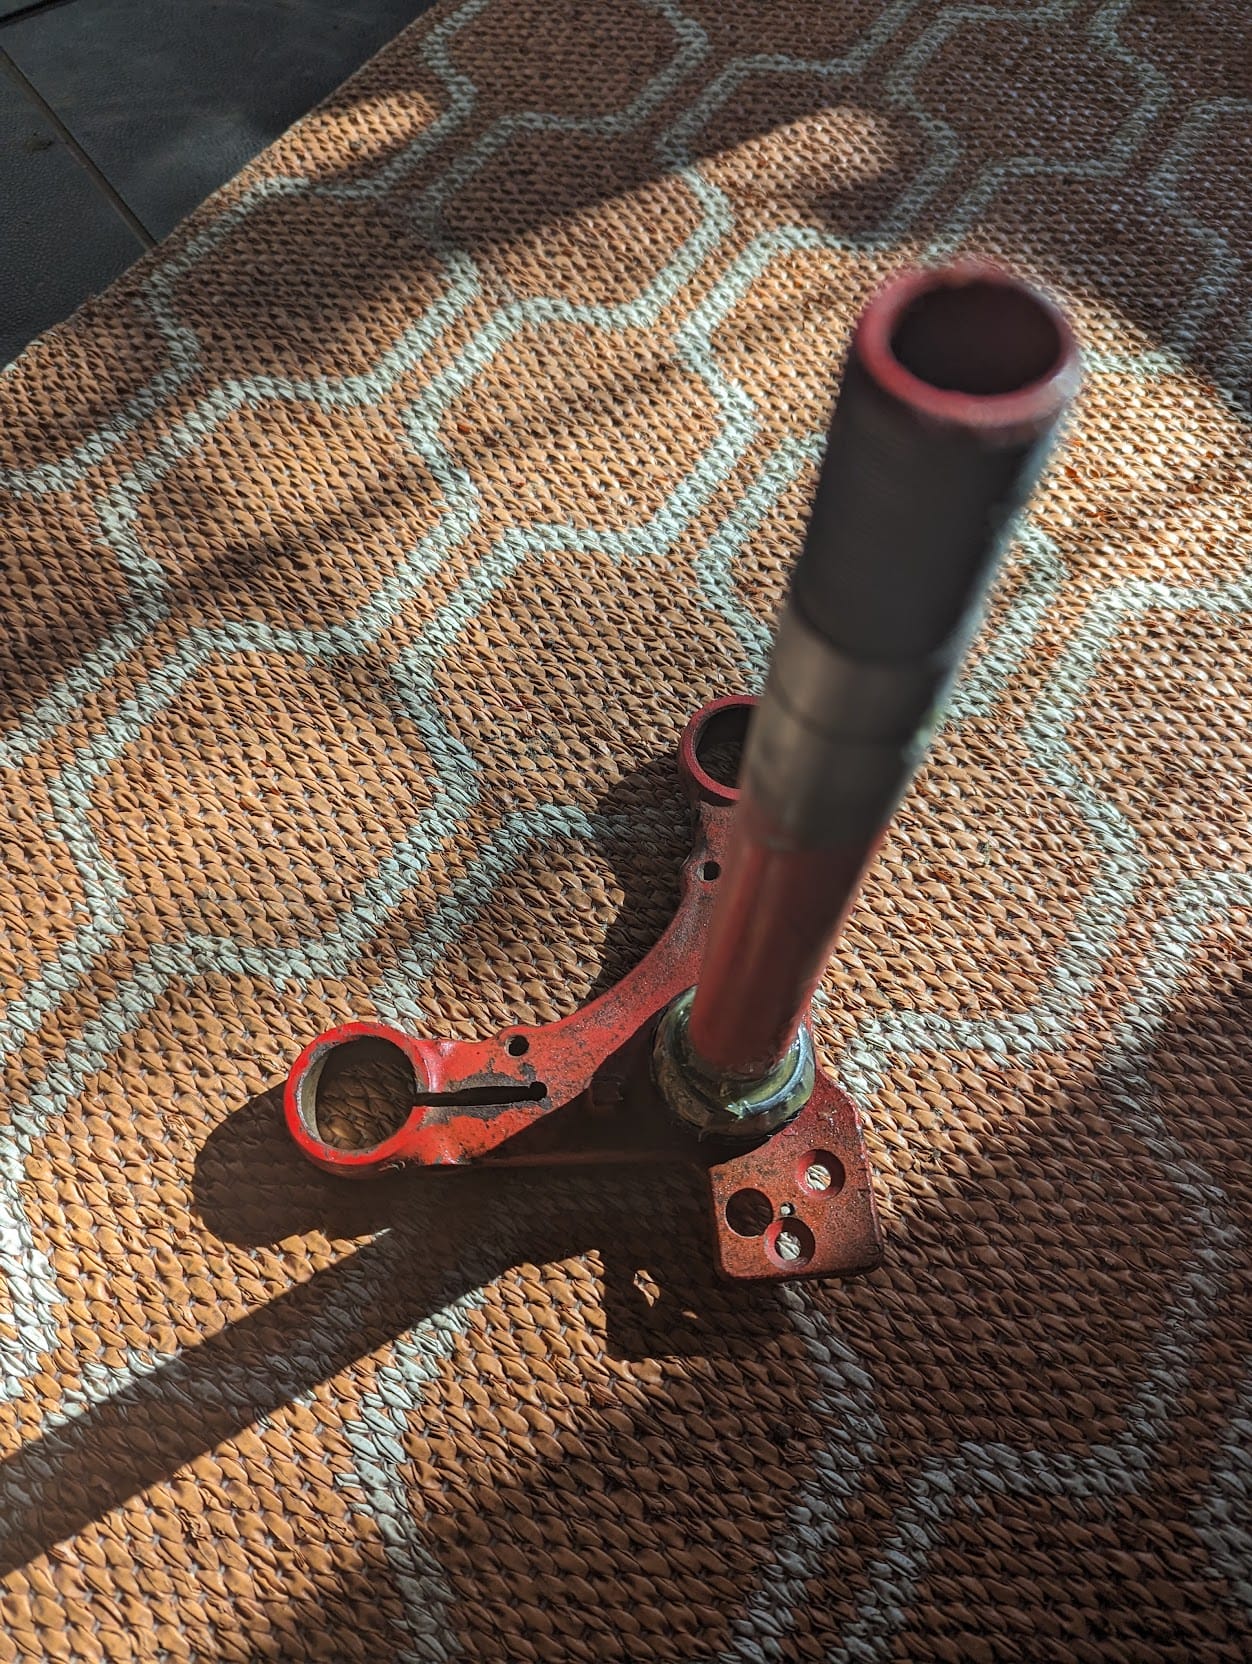
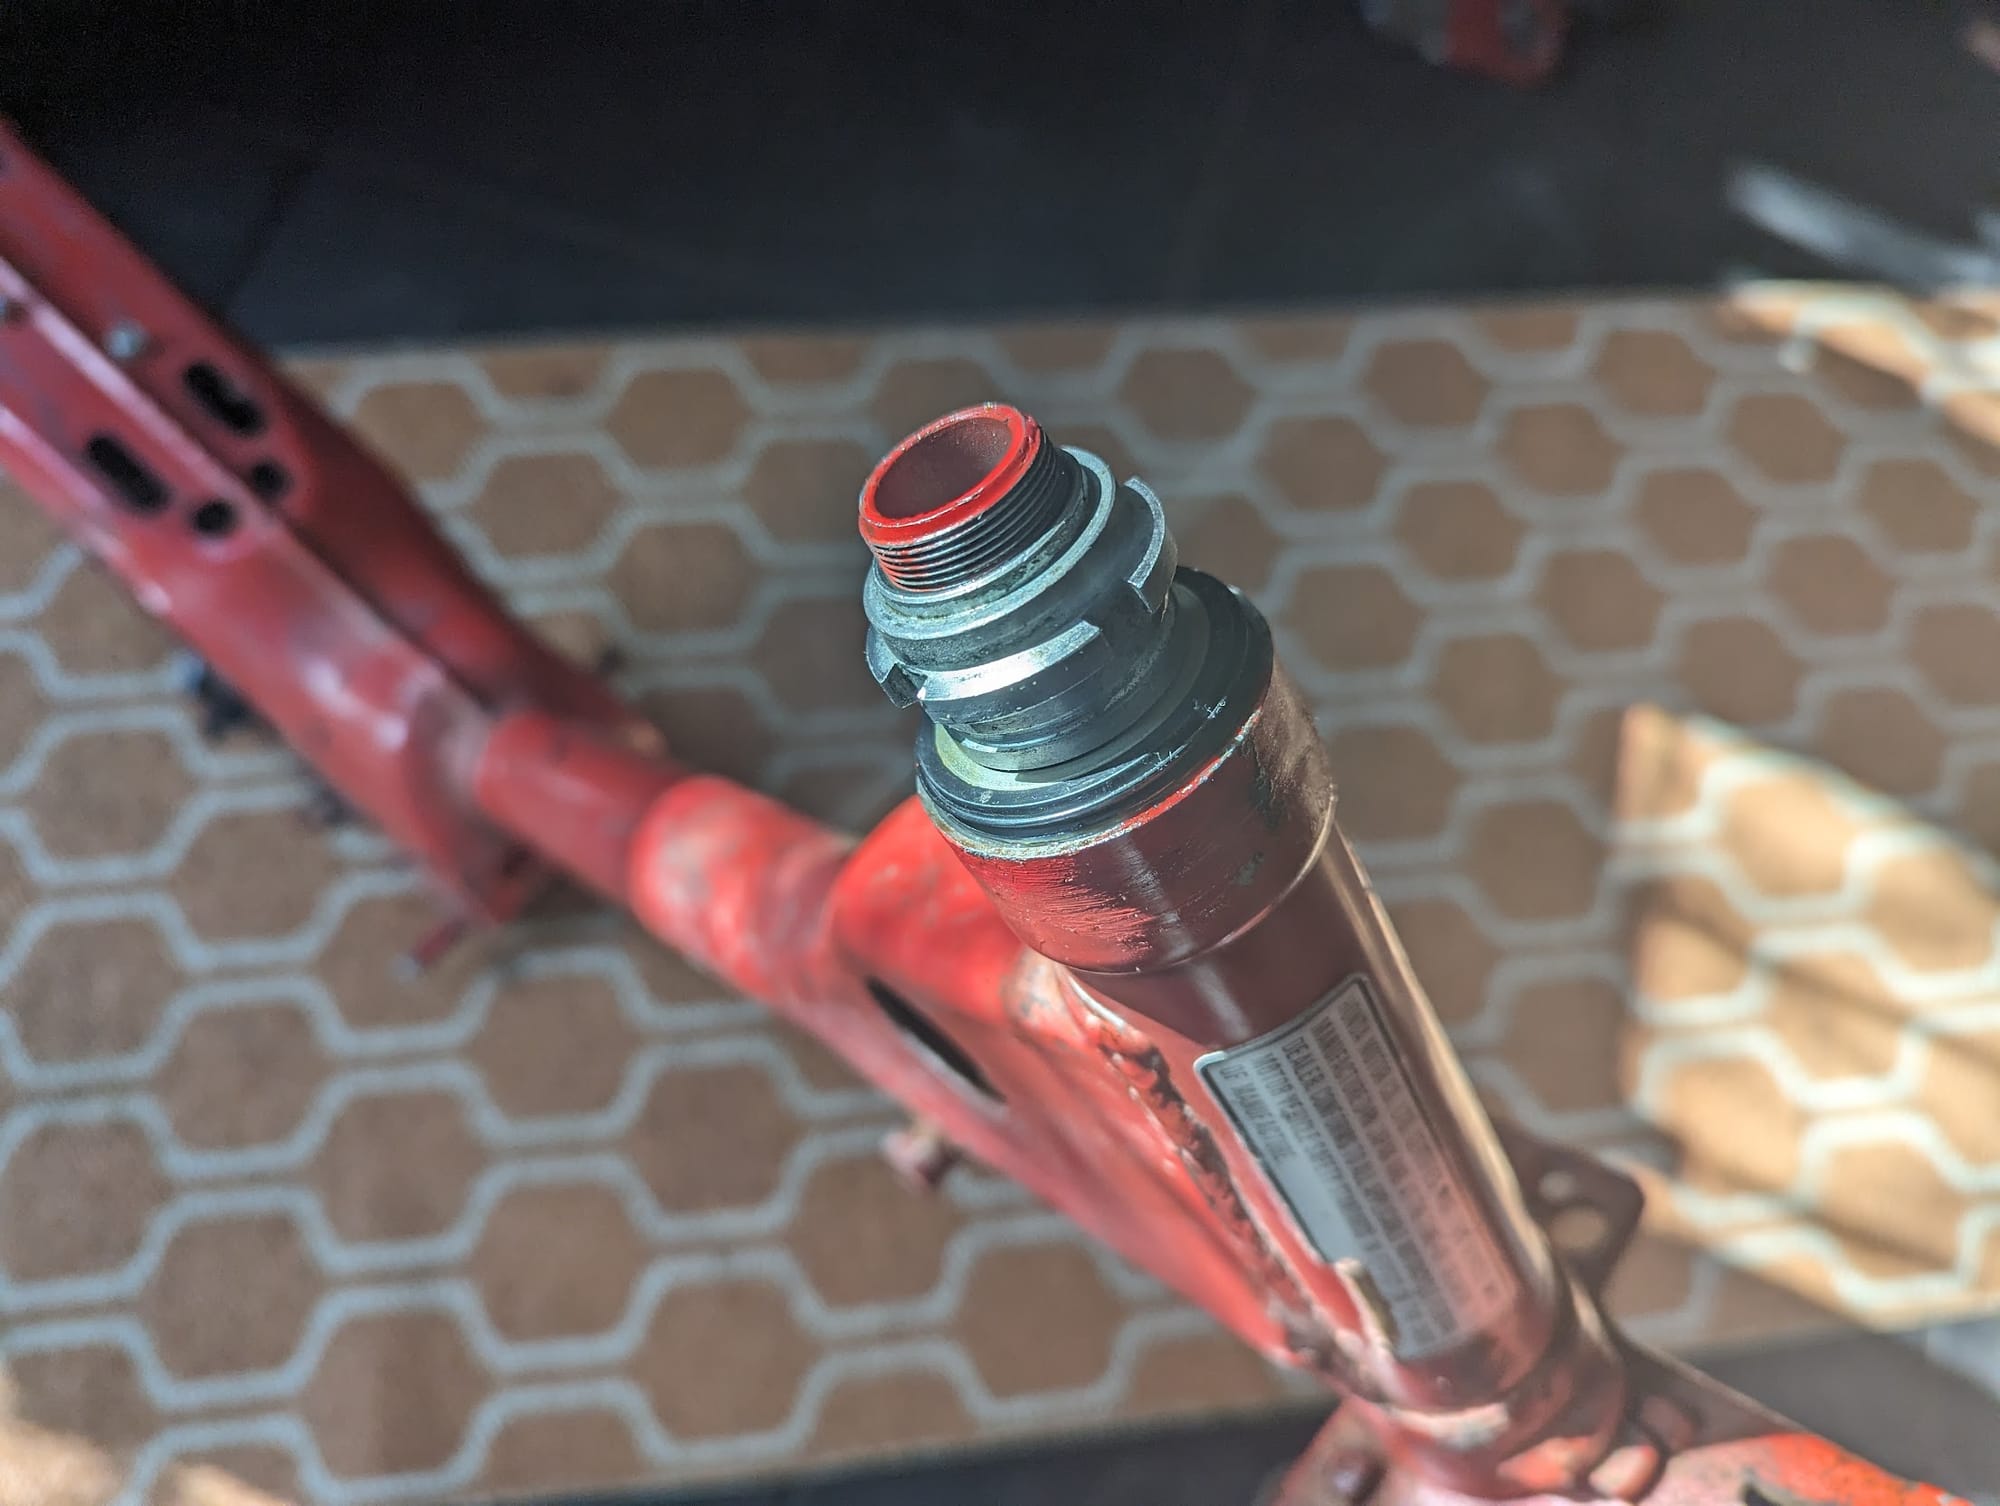
You will need a longish metal drift to knock the old ball races out from the steering head and then can fit the replacements. You can knock the ball races of the steering stem by getting the drift on to the inner lip and tapping them out (see picture below) - they are a fairly tight fit. The top cone will come of as you knock the steering stem out of the steering head, the bottom one is a little trickier but you should be able to get a wedge between the underside of the cone and the oil seal to get things started and then you can tap it off with a punch (you might need to apply some heat if it is rusted onto the stem).
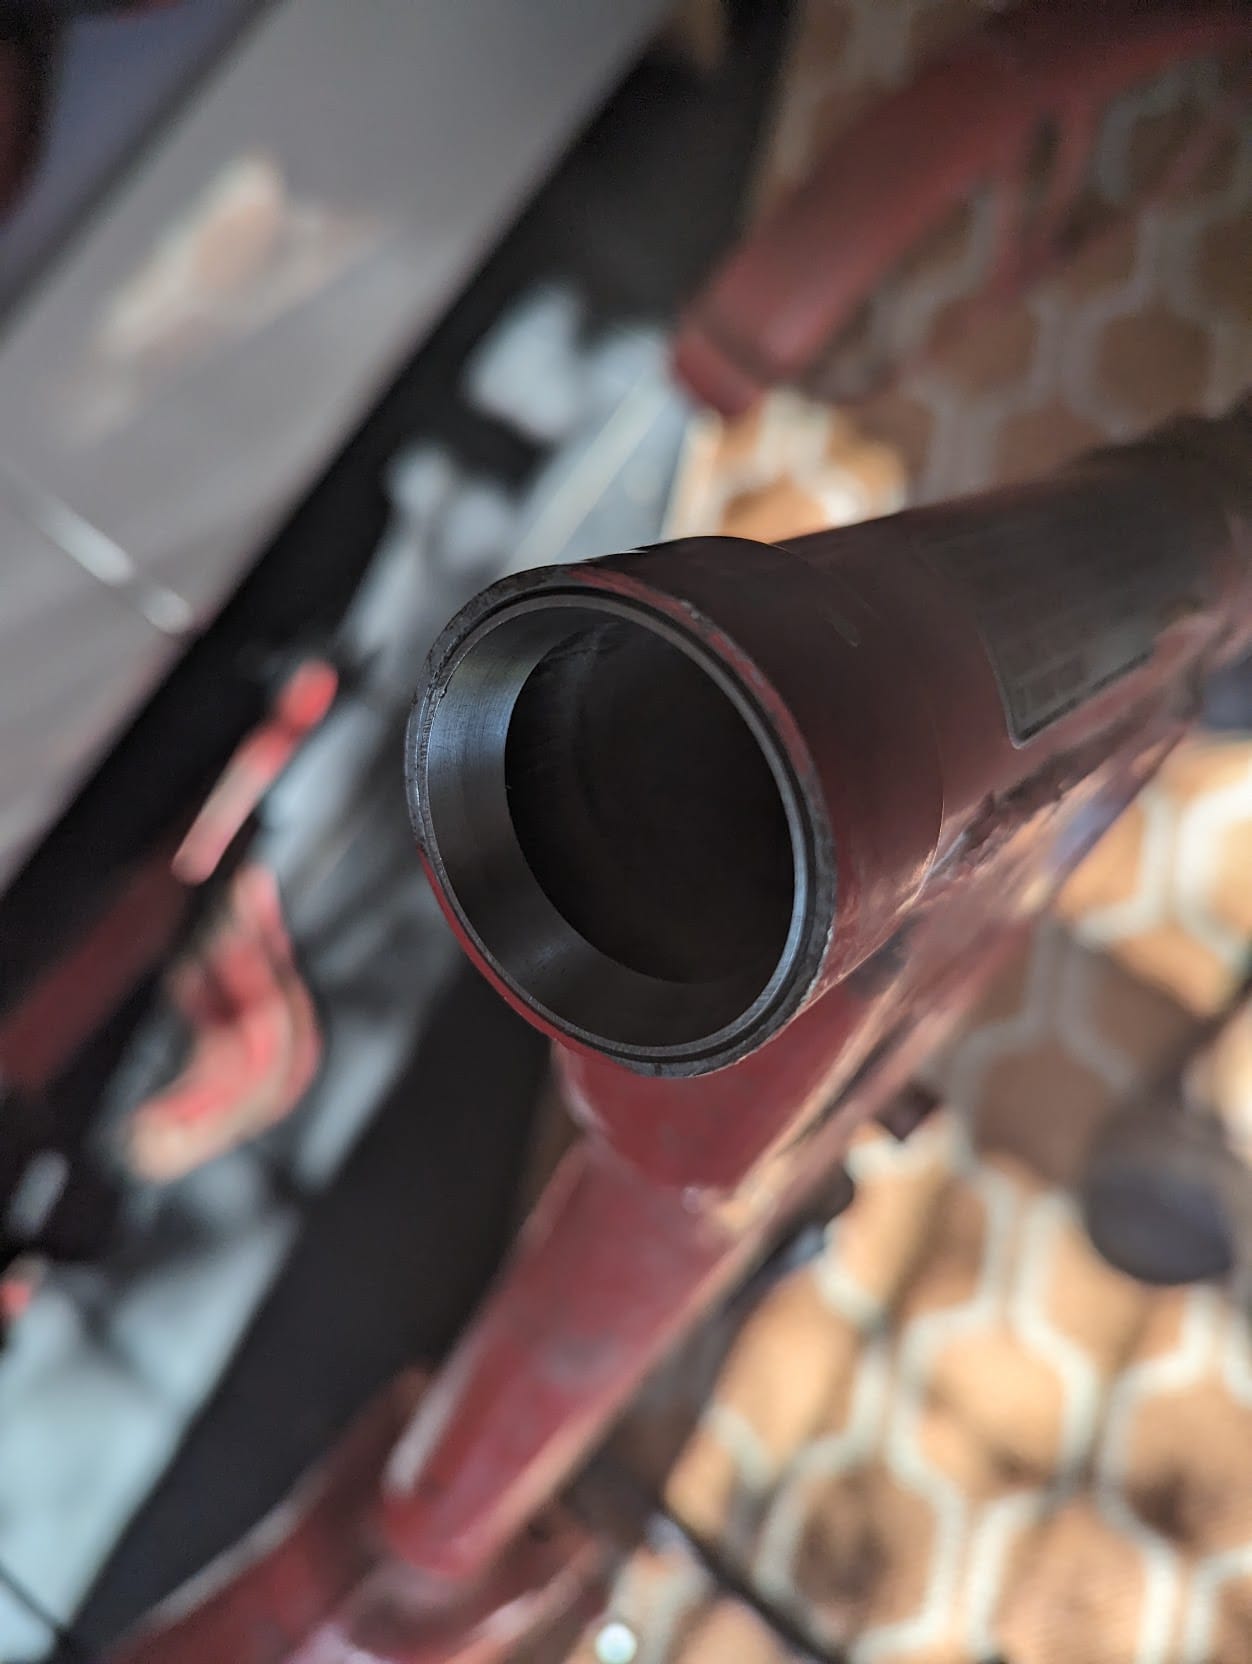
The two parts of the replacement tapered bearing are called the cup and cone. The top part (the cup) needs to be tapped or pressed into place in the steering head, making sure it goes in square and is fully seated. Make sure the steering head is clean and free of corrosion before fitting the cup.


(left) using a drift to remove the old ball race - it is a tight fit so you will need to apply firm taps in a circular motion around the inside edge of the race to get it moving / (right) shows the new bearing cup installed in the steering head (if tapping into place, you can use an upturned socket to avoid damaging the bearing surface - I put mine in the freezer but I have no idea if this really helps).
Next install the dust seal and bottom cone on to the steering stem. Don't forget to grease the roller bearings and cage before installation, and note that the top and bottom cones are different sizes.

Per the factory service manual the stem nut does not need to be done up too tight:
"The steering stem should be tightened so that only a slight pressure is required to start the wheel moving to either side under its own weight while raising the wheel off the ground, however, it should not be loose to the extent that excessive clearance is evident in the vertical side, and fore and aft direction when checked with the wheel raised off the ground."
On modern bikes where tapered steering head bearings are used it is generally recommended to initially slightly over-tighten the steering stem nut to make sure the bearing is properly seated and to then back off the nut until the wheel swings freely. In any case it is good idea to recheck the stem nut after a bit of riding in case it needs to be nipped up again.
