My CT90 was in fairly typical condition for the CTs we get in the UK: a few missing and mismatched parts but otherwise in sound condition with minimal corrosion on account of having spent its previous life in California.
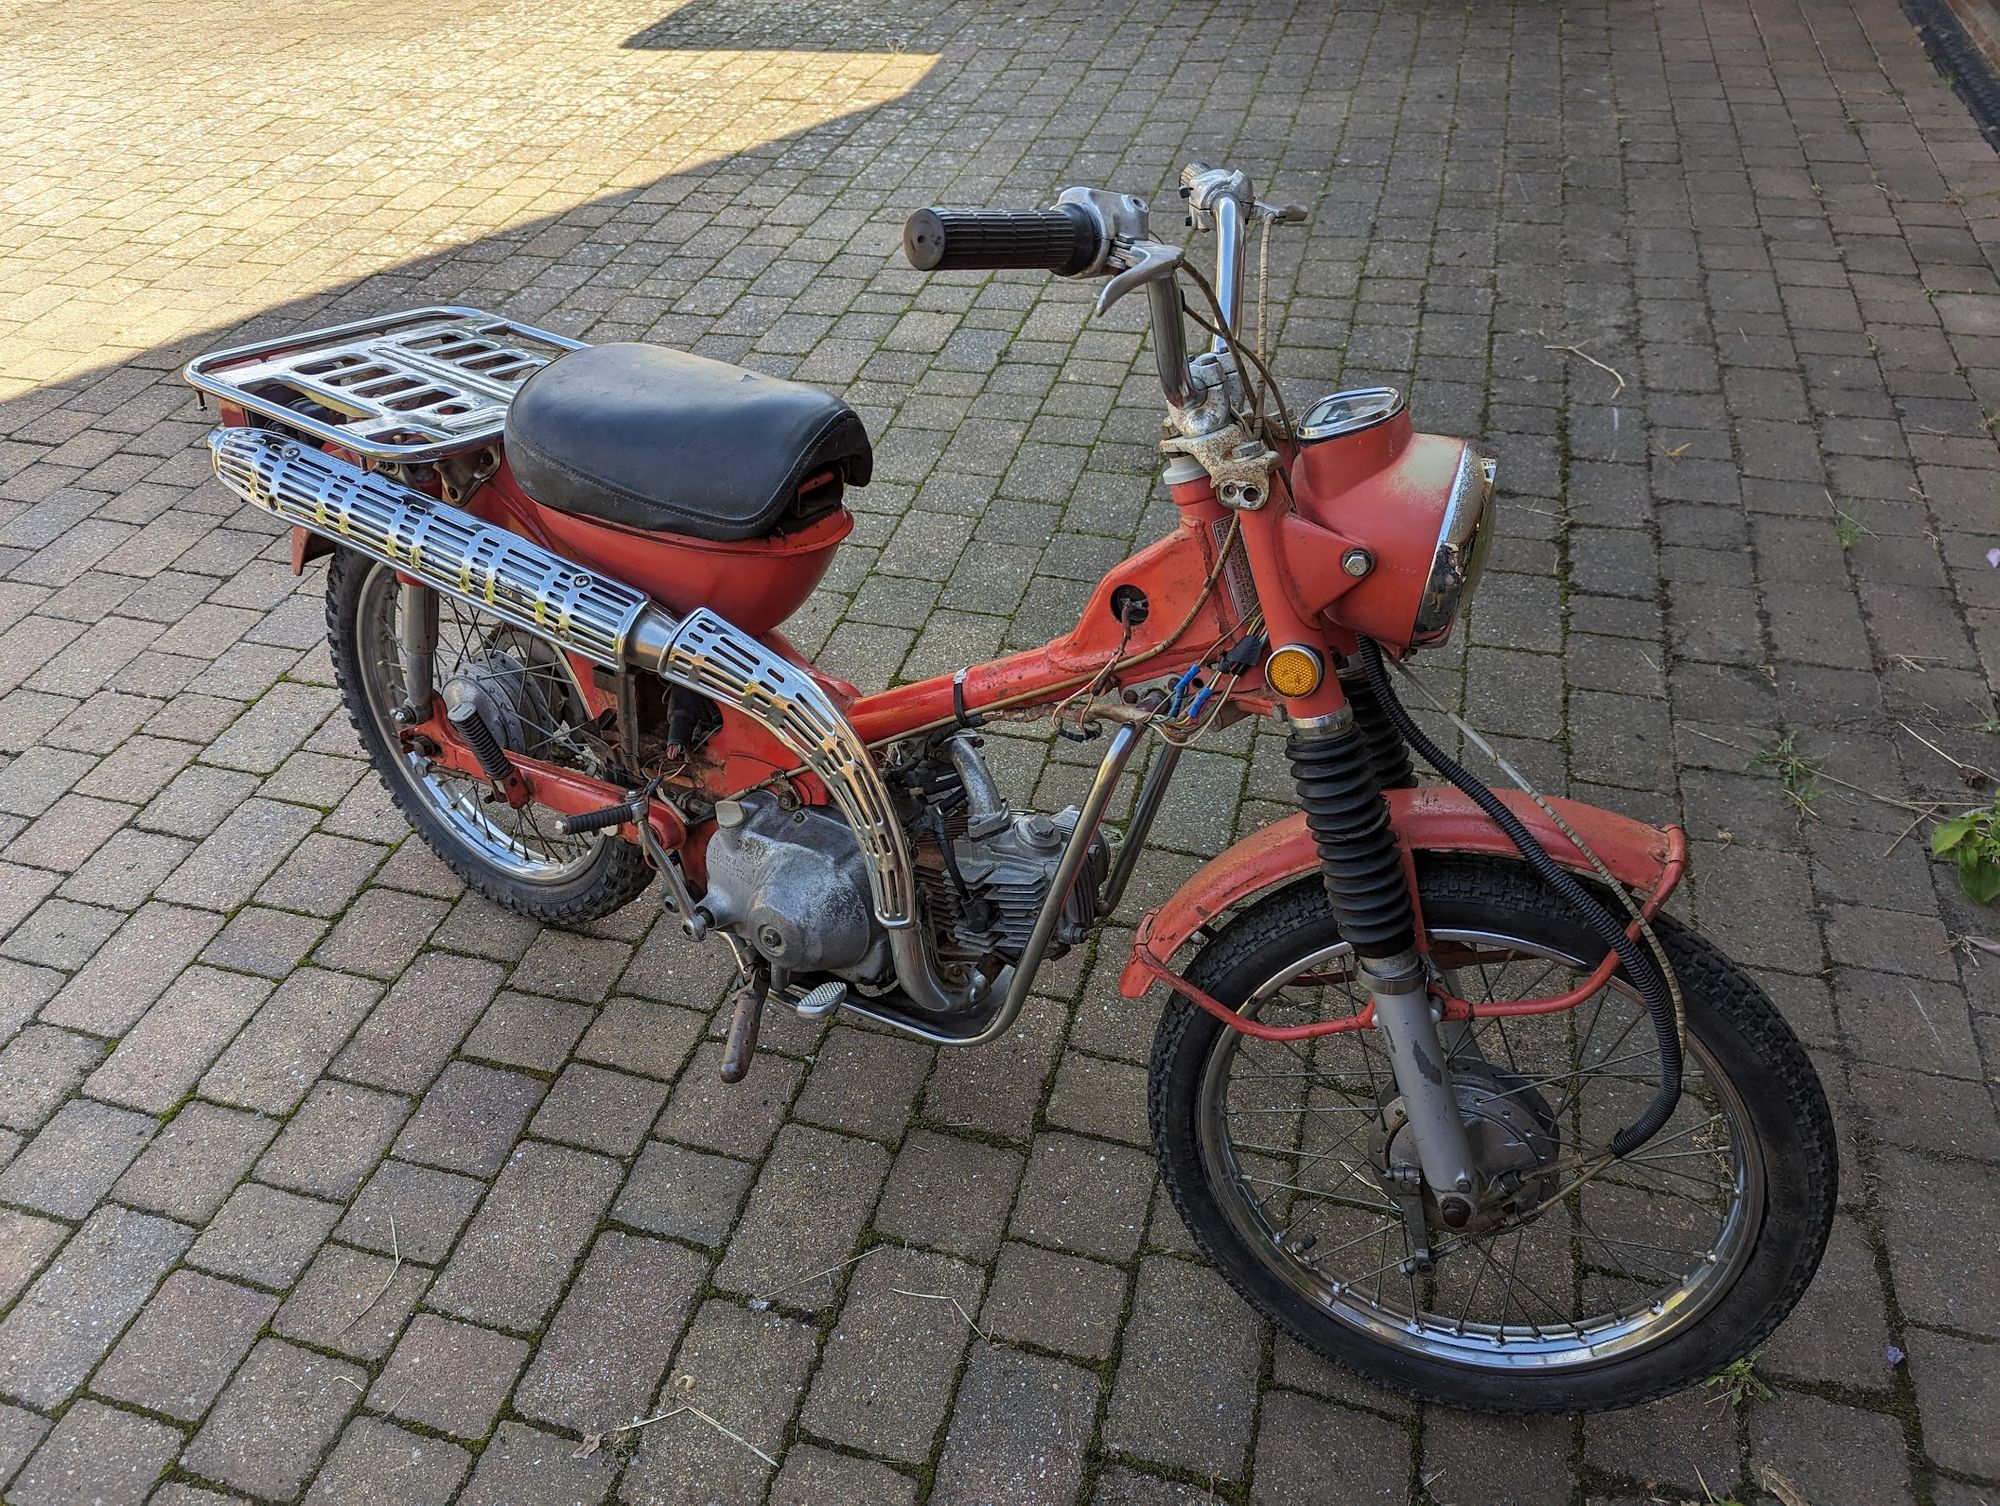
1969 CT90 K1 - this is a one-year only bike with some unique parts, including a smaller headlight and different air filter arrangement than later models.
The keen eyed among you will notice that the headlight bucket, lens, speedo and fork ears are from a later model. Luckily, the S90 used the same smaller headlight that Honda fitted to the K1 the and the plastic headlight bucket is still available (the replacement is on the right, above).
The headlight assembly is the same as was used on the older C90s sold in the UK and relatively easy to find secondhand over here. By a sheer fluke, a UK-based breaker was parting out the remaining bits of an old K1 at the time I did the repairs and I managed to get the fork ears and side cover replacement at a reasonable price (the fork ears have different mounting points to the later models on account of the smaller headlight).
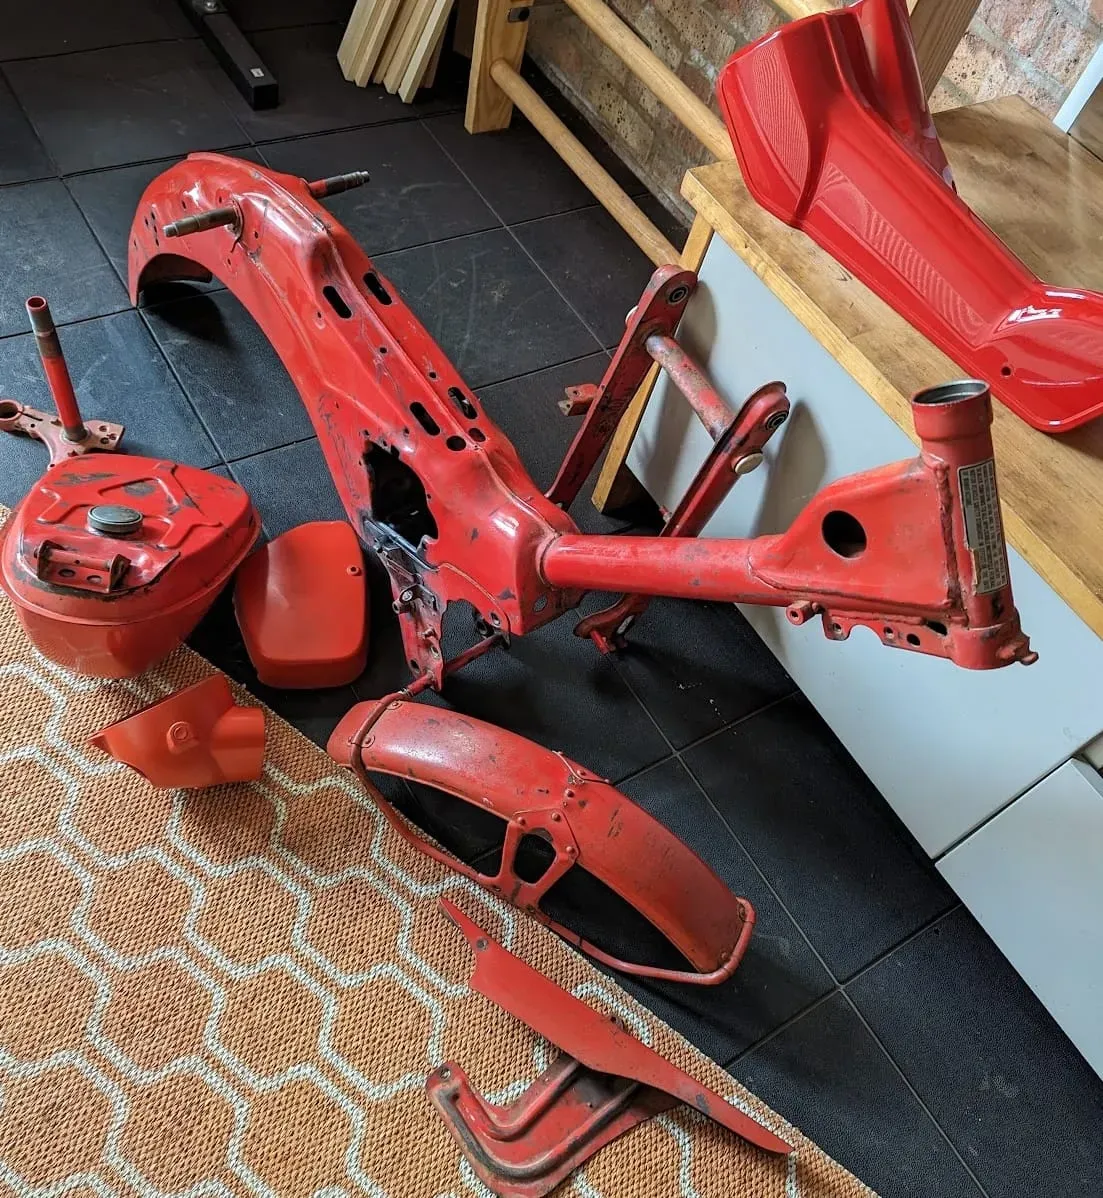
Paint
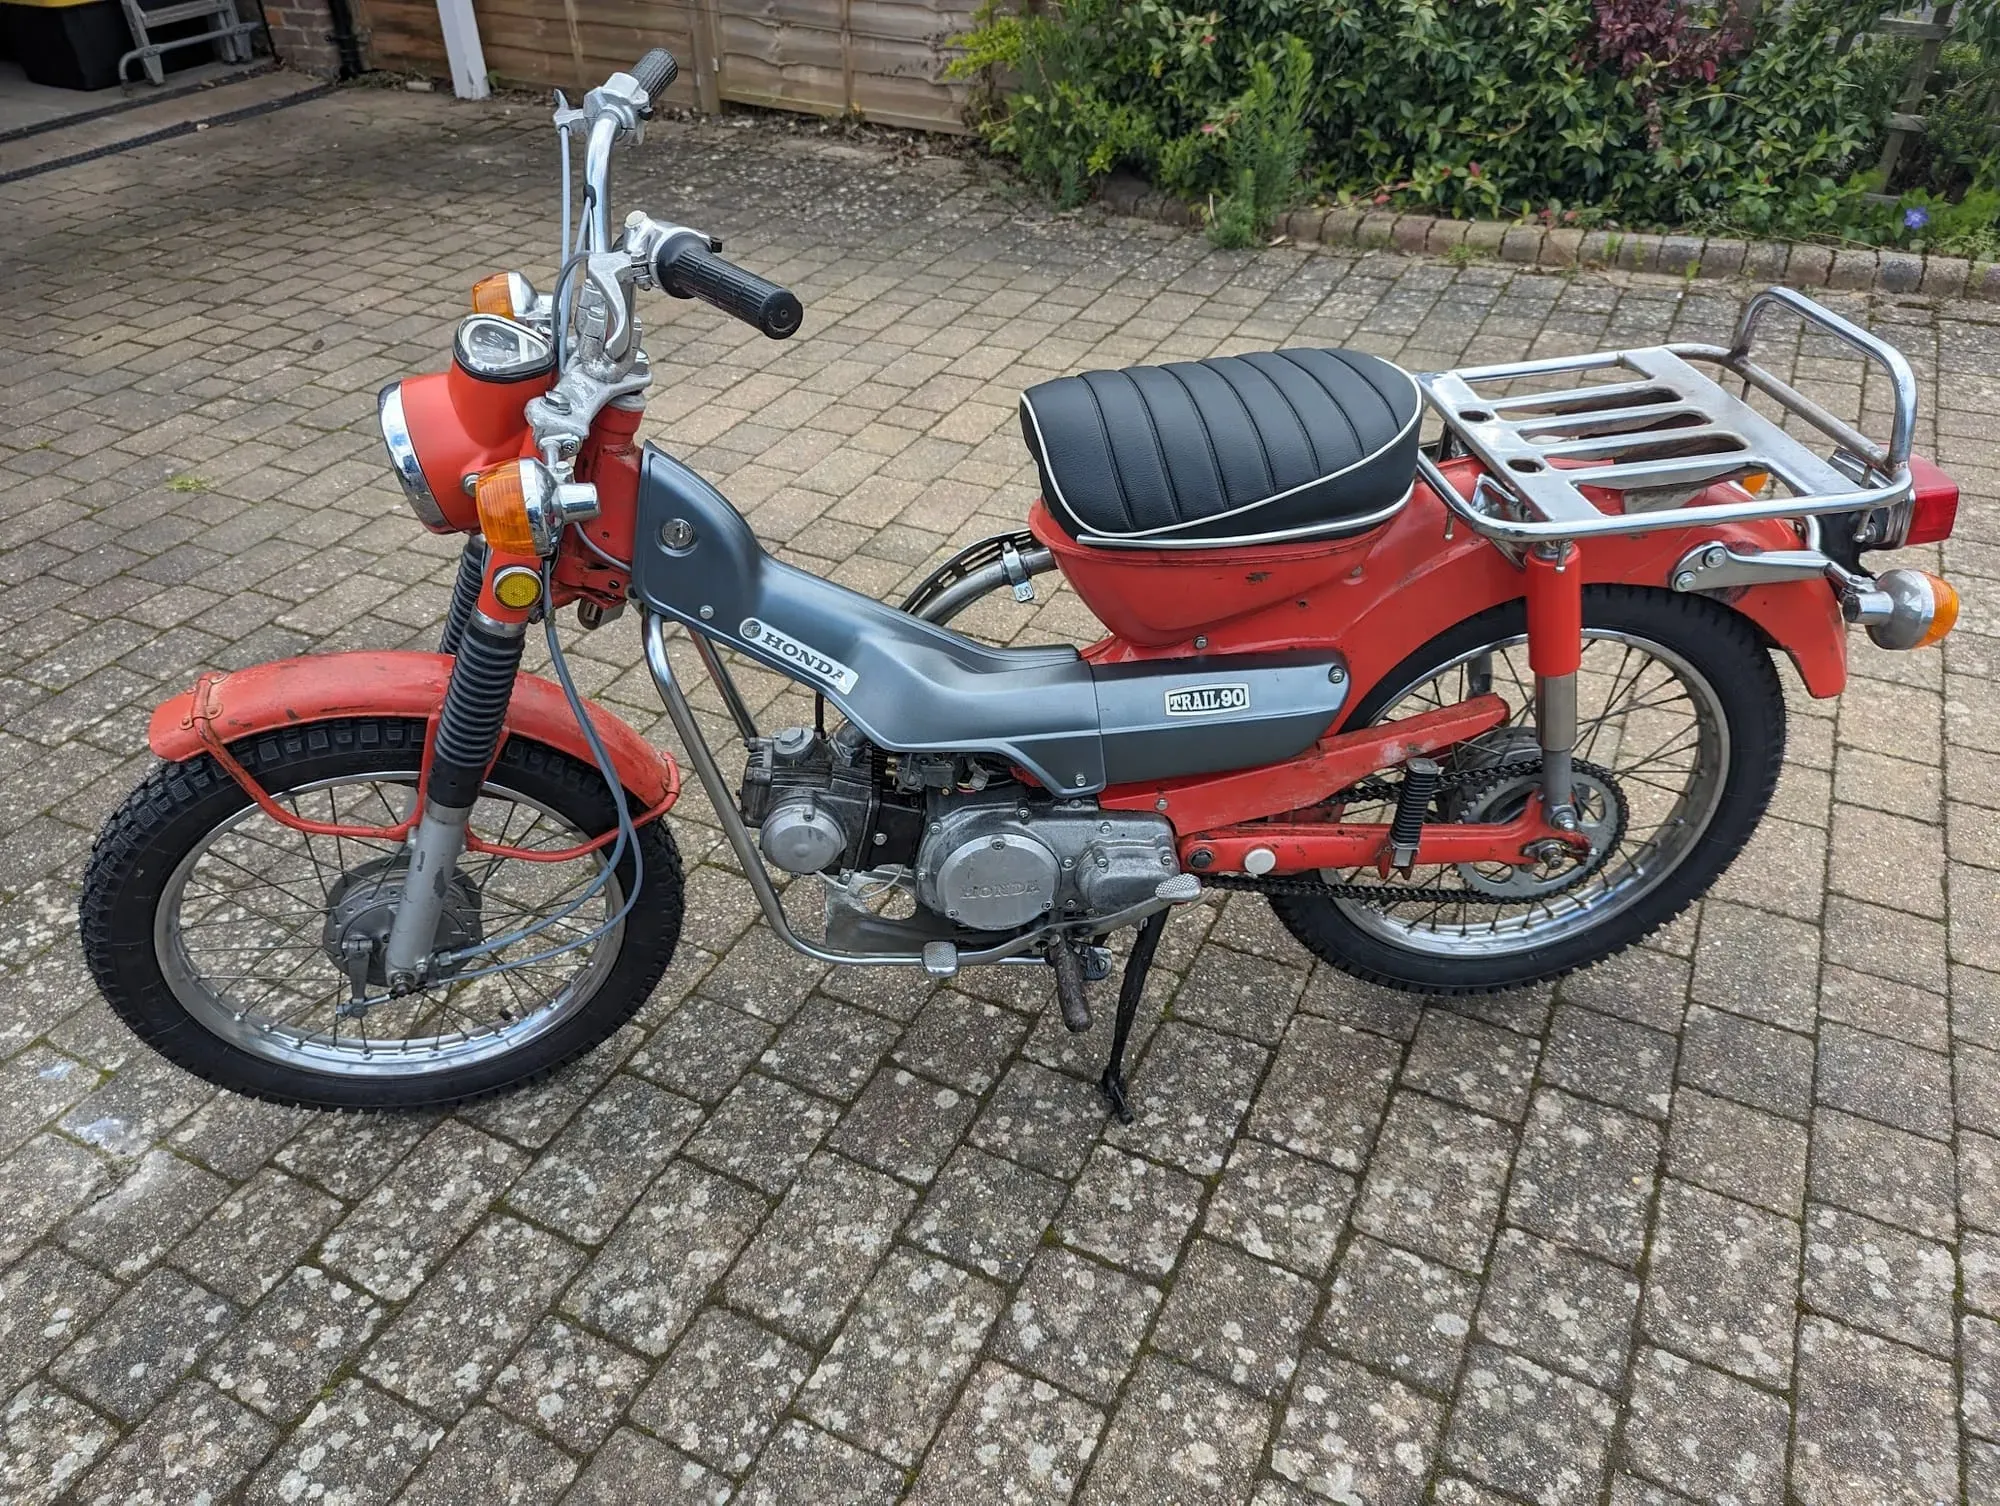
The replacement headlight bucket and side panel were the wrong colour and needed painting. Honda described the red colour used on earlier CTs as 'scarlet red' but when I tried a rattle can purporting to be this colour it seemed to me to be far too dark. In the end I used Tahitian Red - the red colour used on later models - and although it is far from a perfect match, the orange colour is a bit closer to the now quite faded paint on the rest of the bike.
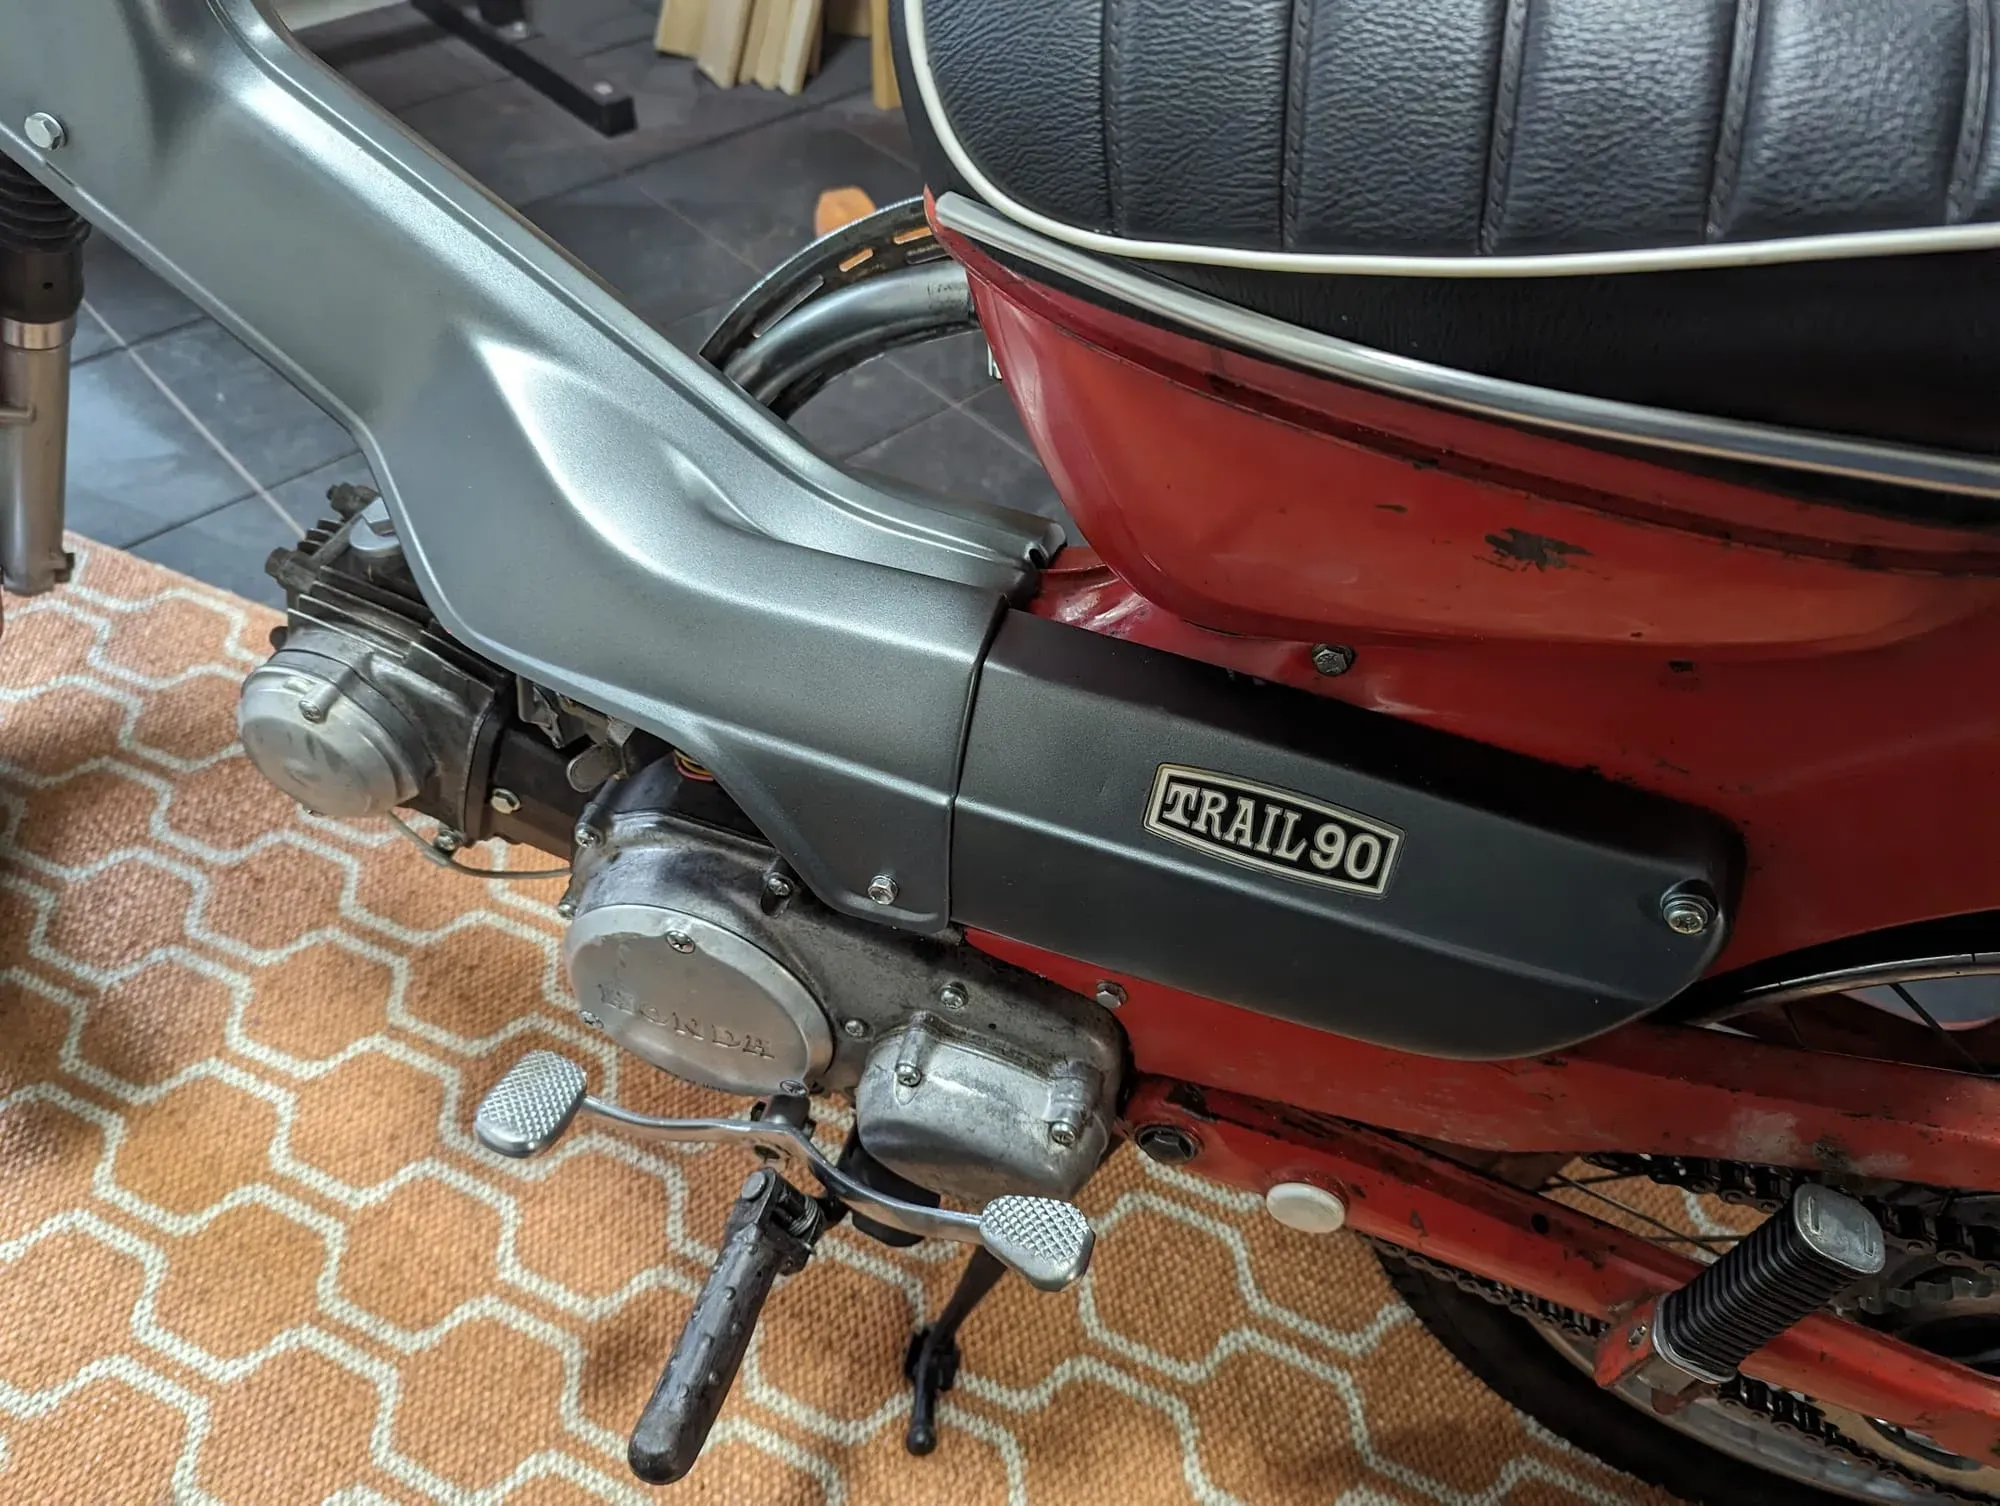
The replacement down tube cover is new and is from a Ct110 (these are still available from Honda). The new covers fit the older bikes too - albeit with a slightly larger 'bulge' to accommodate the CT110 carb. It was the wrong colour so I painted it and the air cleaner cover GM Dark Grey. To my eye it is a not bad match to the colour shown on the adverts for later models, but it seems darker that the photos of original 1969 models I've seen (although presumably these are all pretty faded by now).
the K1 airbox cover is one-year only and basically unobtainable, so I was lucky to get this with the bike - I painted it to match the resprayed down tube cover. Finally, I had to contrive a standoff to hold the cover in place as the original brackets aren't available any more.
Rear suspension
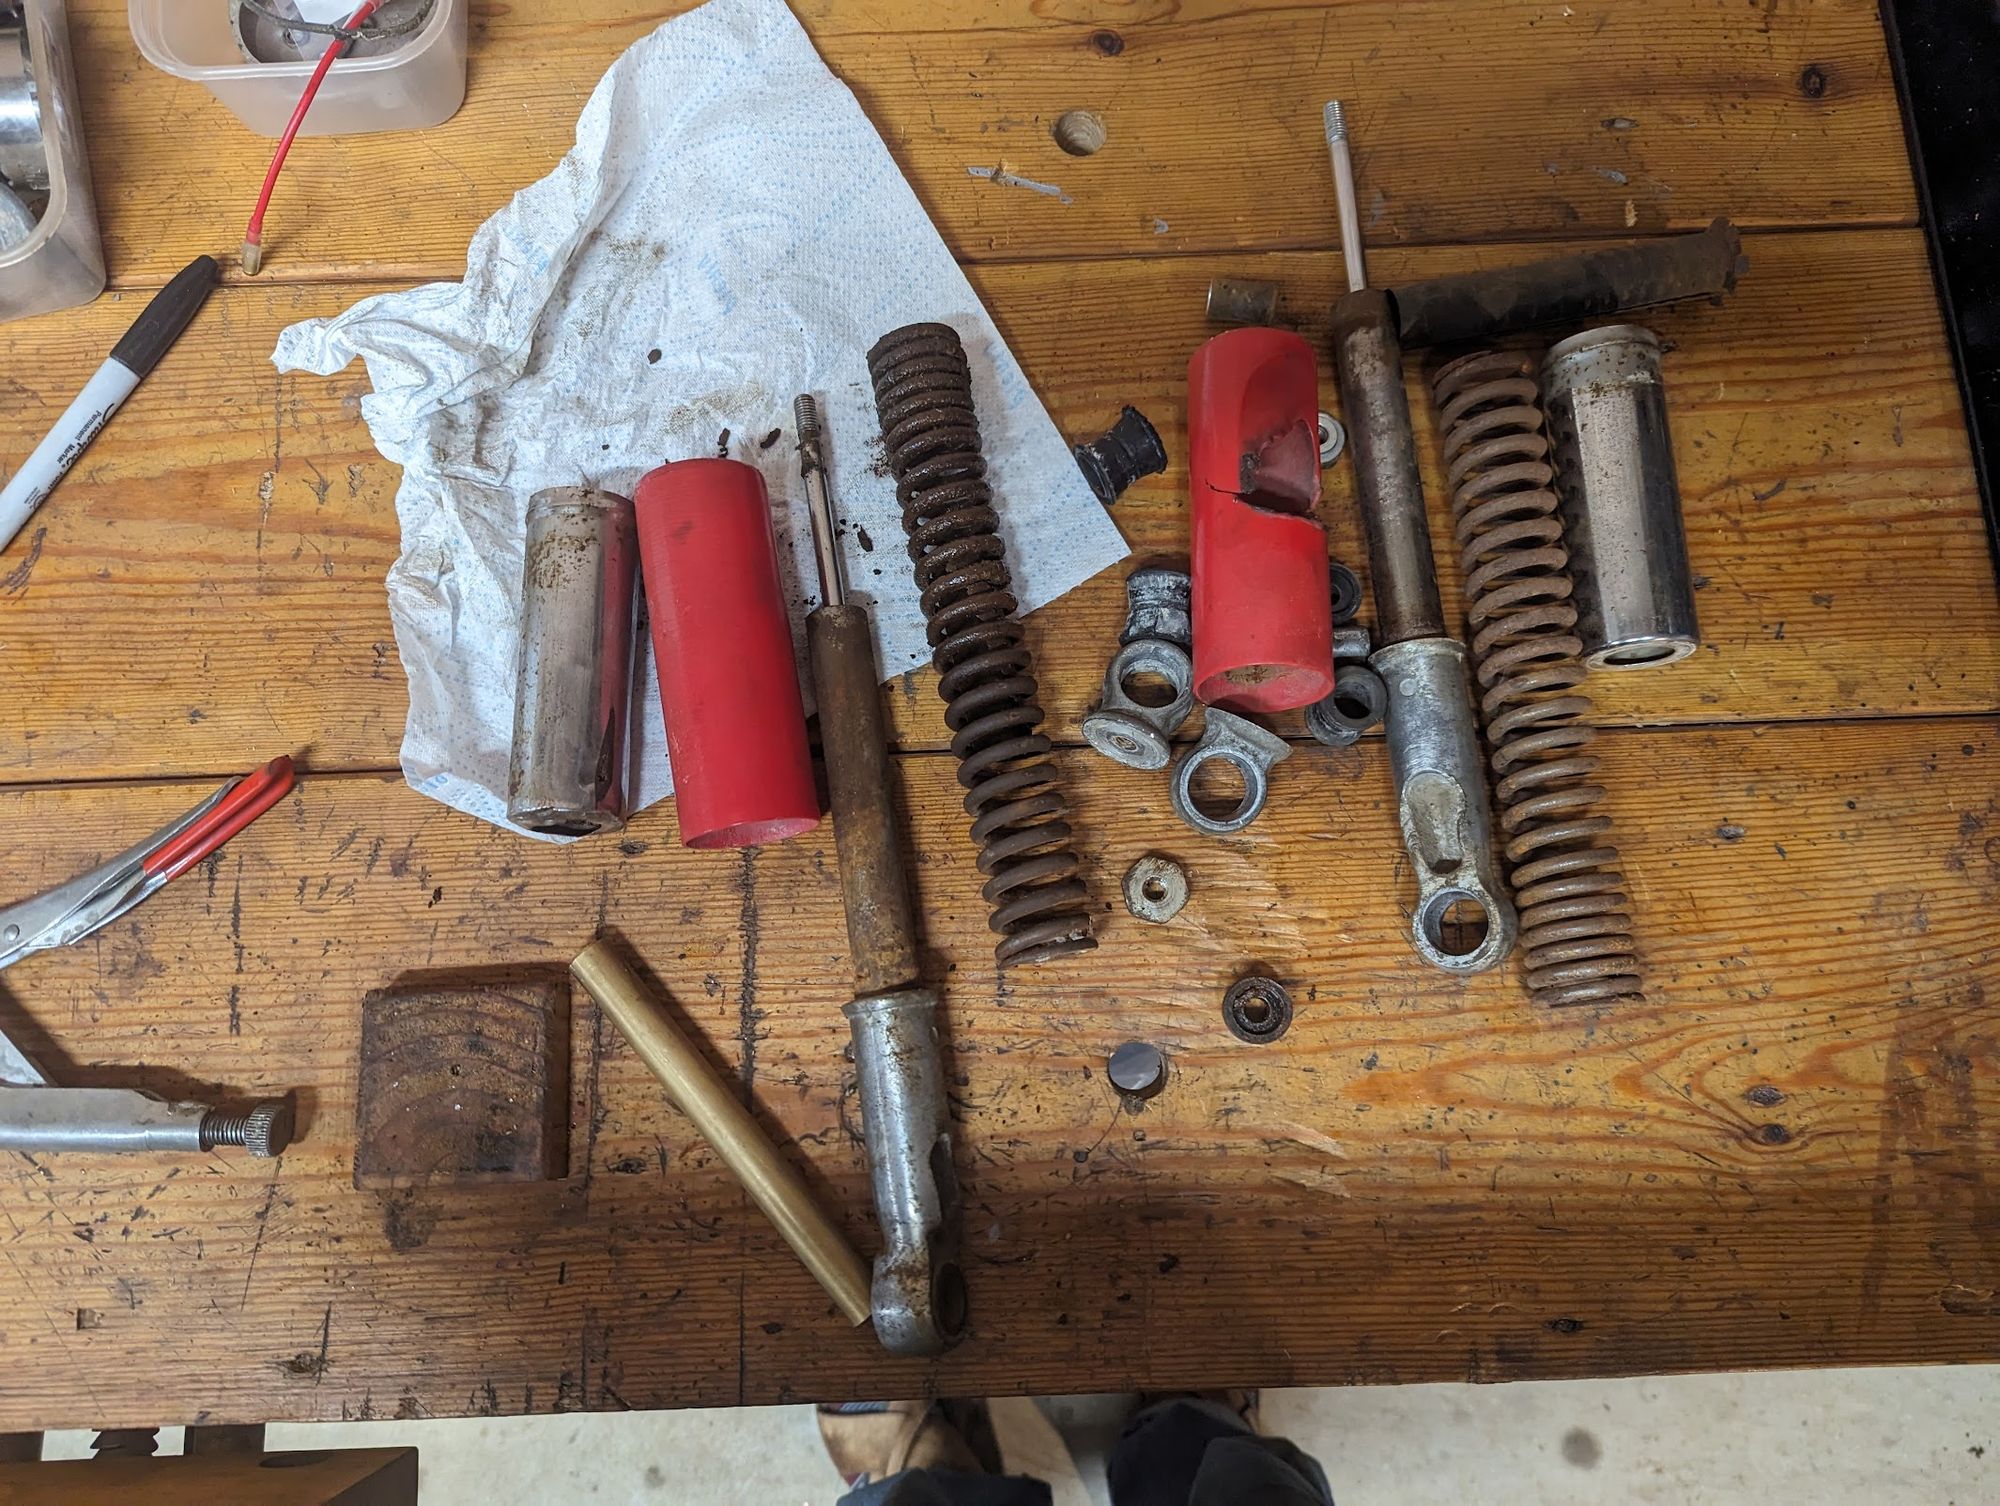
The rear suspension was in pretty rough condition as might be expected on a 55 year old bike. The right hand plastic cover has the telltale CT90 damage where it has come in contact with the exhaust, so that needed replacing. I replaced the rubber bushings with new - the remaining parts were serviceable and just needed a clean up.
Disassembly
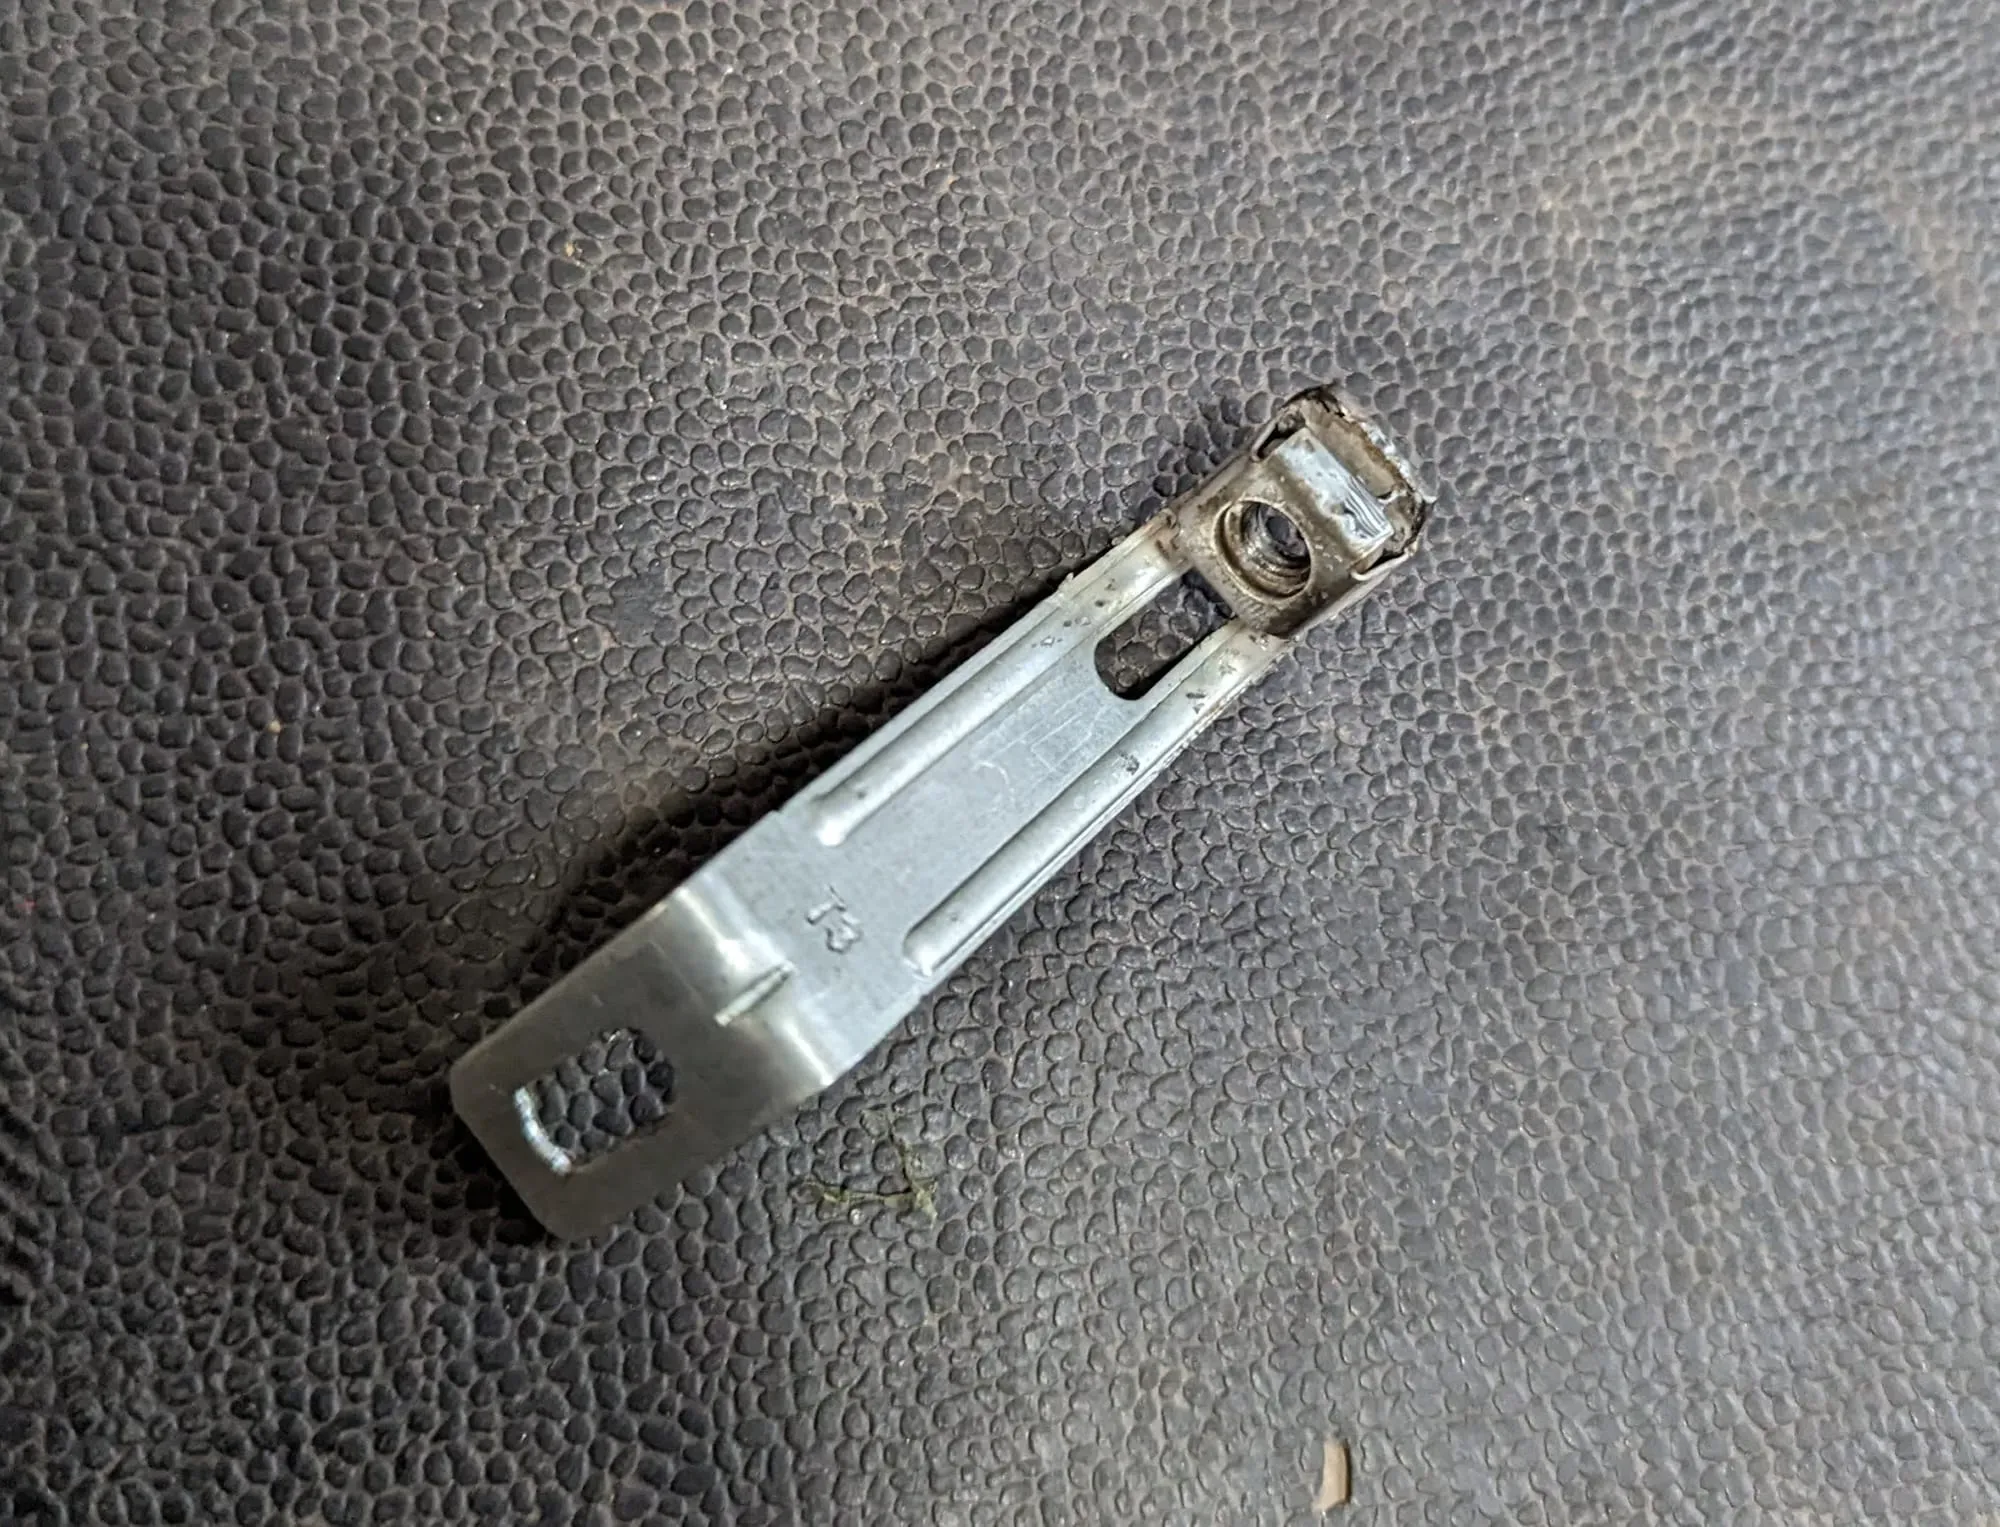
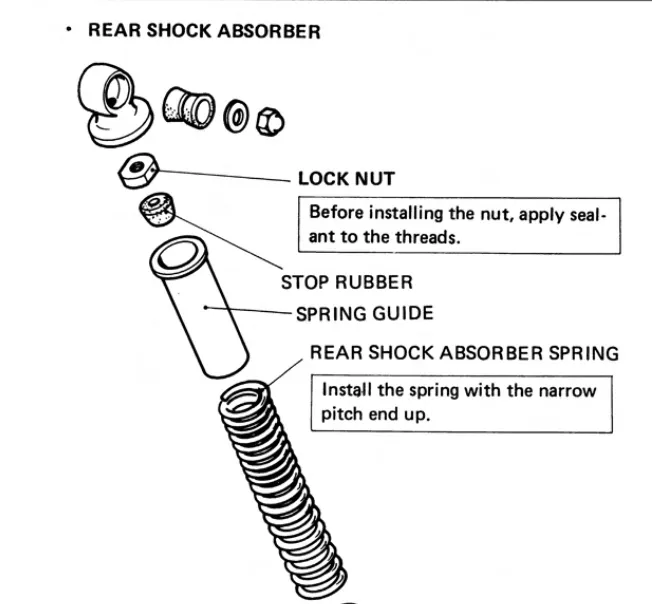
The rear shocks are held together by a 21mm lock nut.
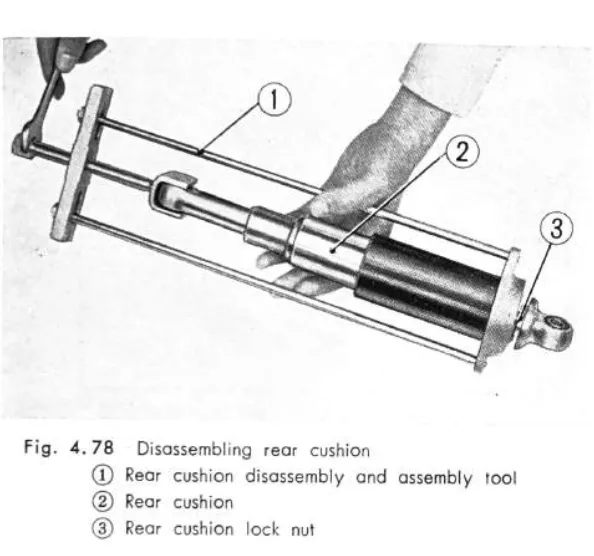
If you haven't got the proper tool to disassemble the shock you can improvise by pressing down on the upper case until there is enough room to squeeze a large flat bladed screwdriver between the case and the underside of the upper metal eyelet (you can then rotate the blade 90 degrees to make room for a spanner).
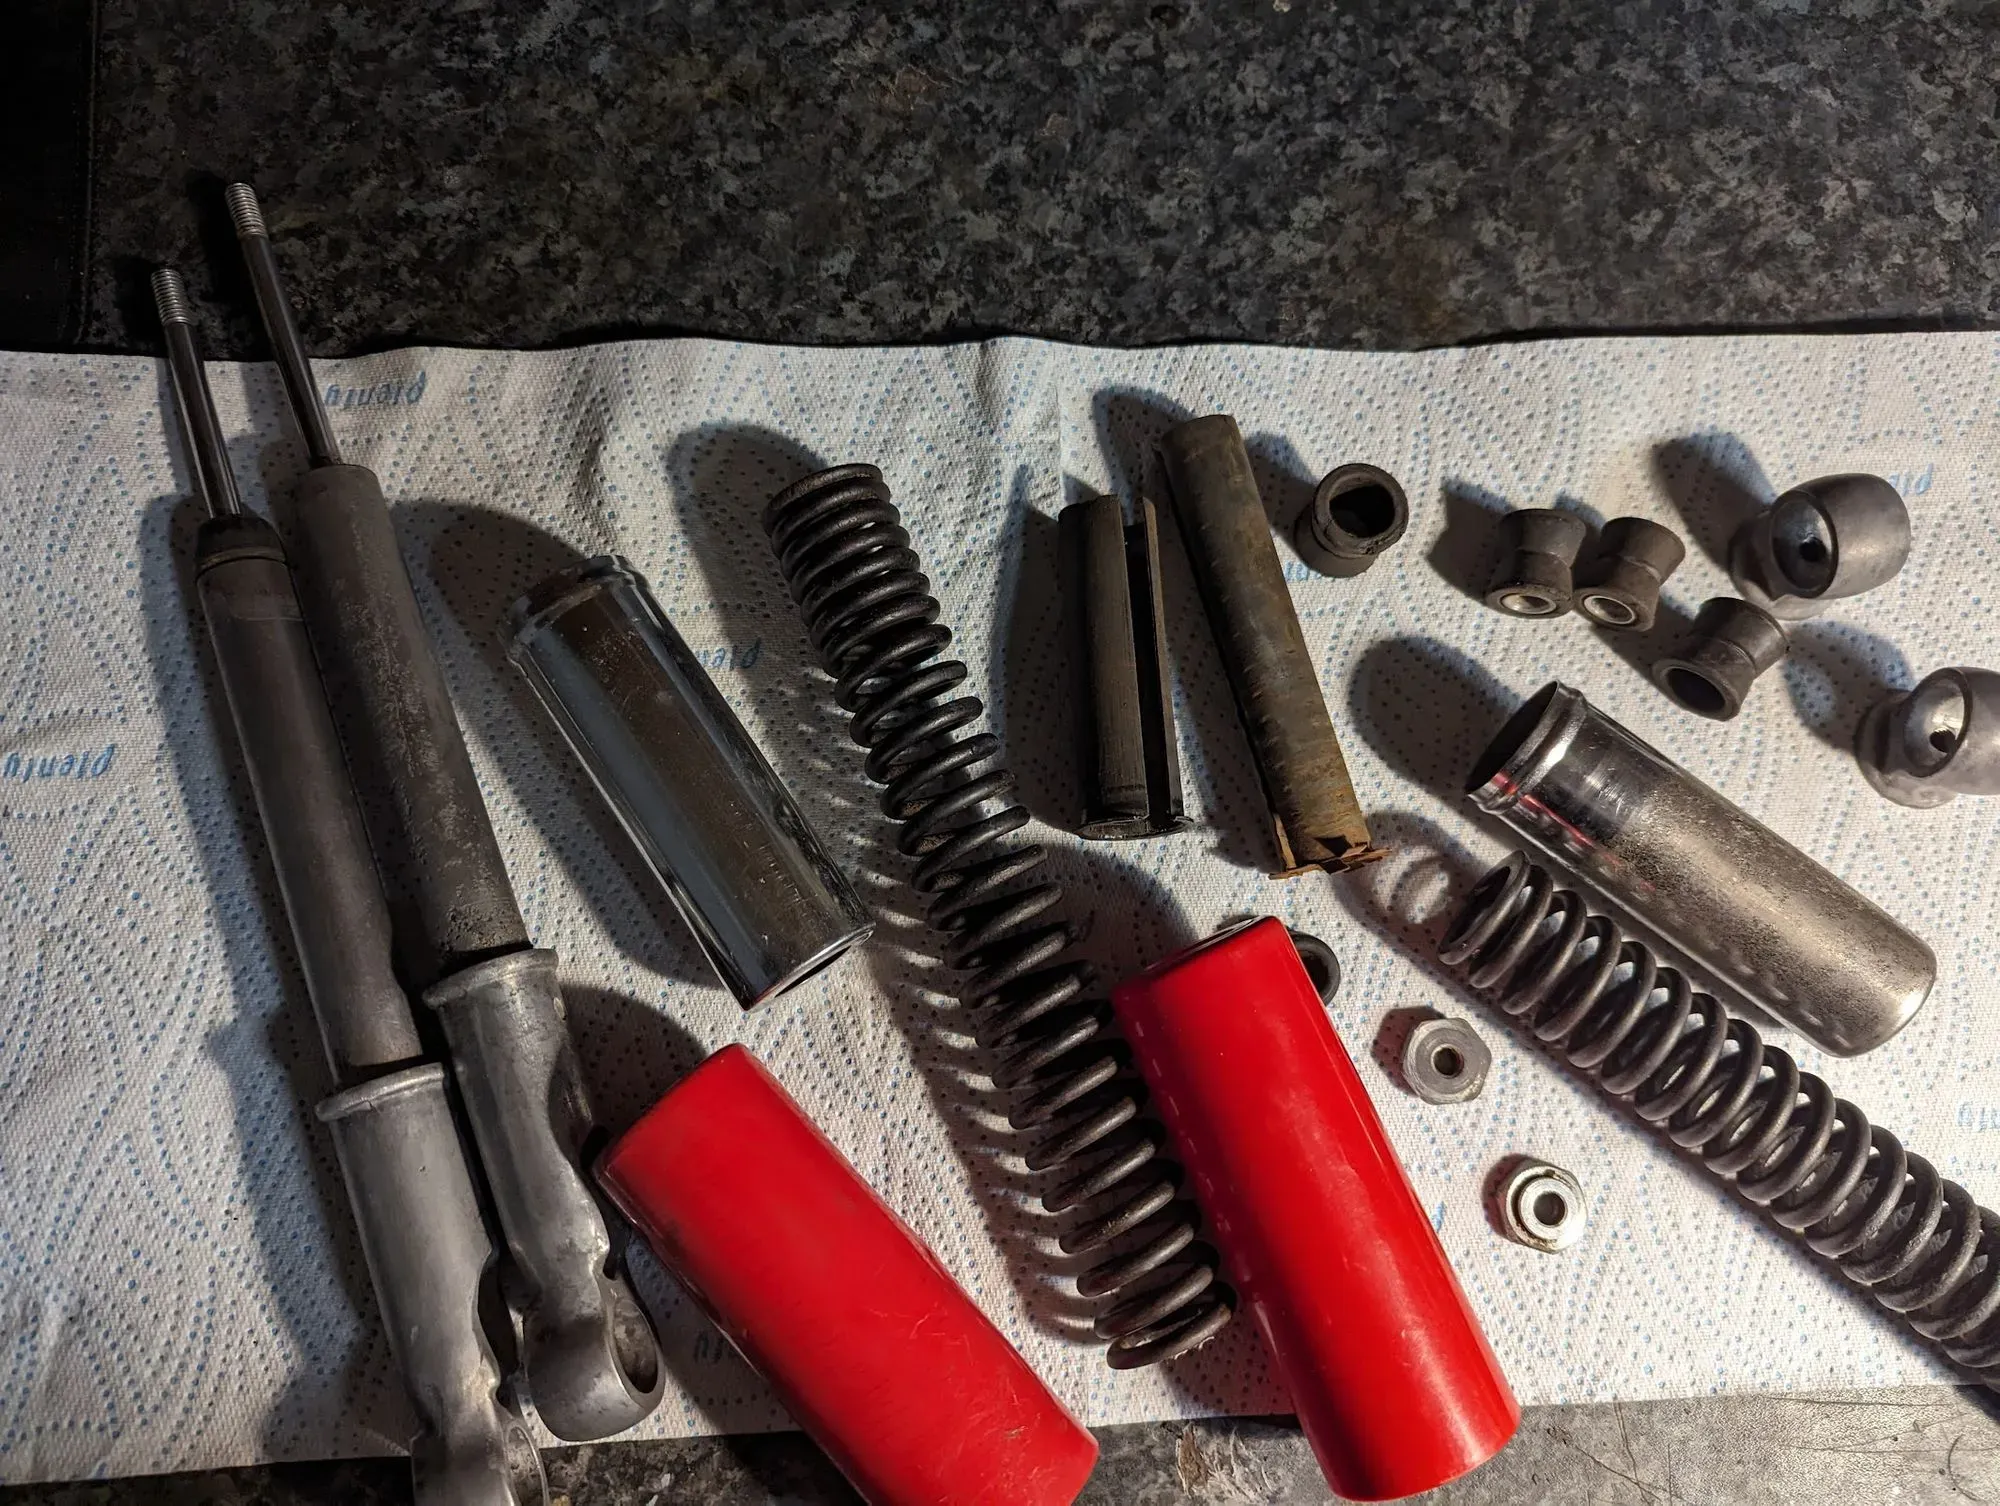
The front and rear suspension both use dual-rate springs: the wider spaced coils at one end of the spring are relatively stiffer than the more closely spaced springs at the other, and this is intended to make the forks perform better over a wide range of road conditions and driver/passenger weights. As mentioned in the middle image just above this text, Honda specify that the narrow coils should be fitted upwards.
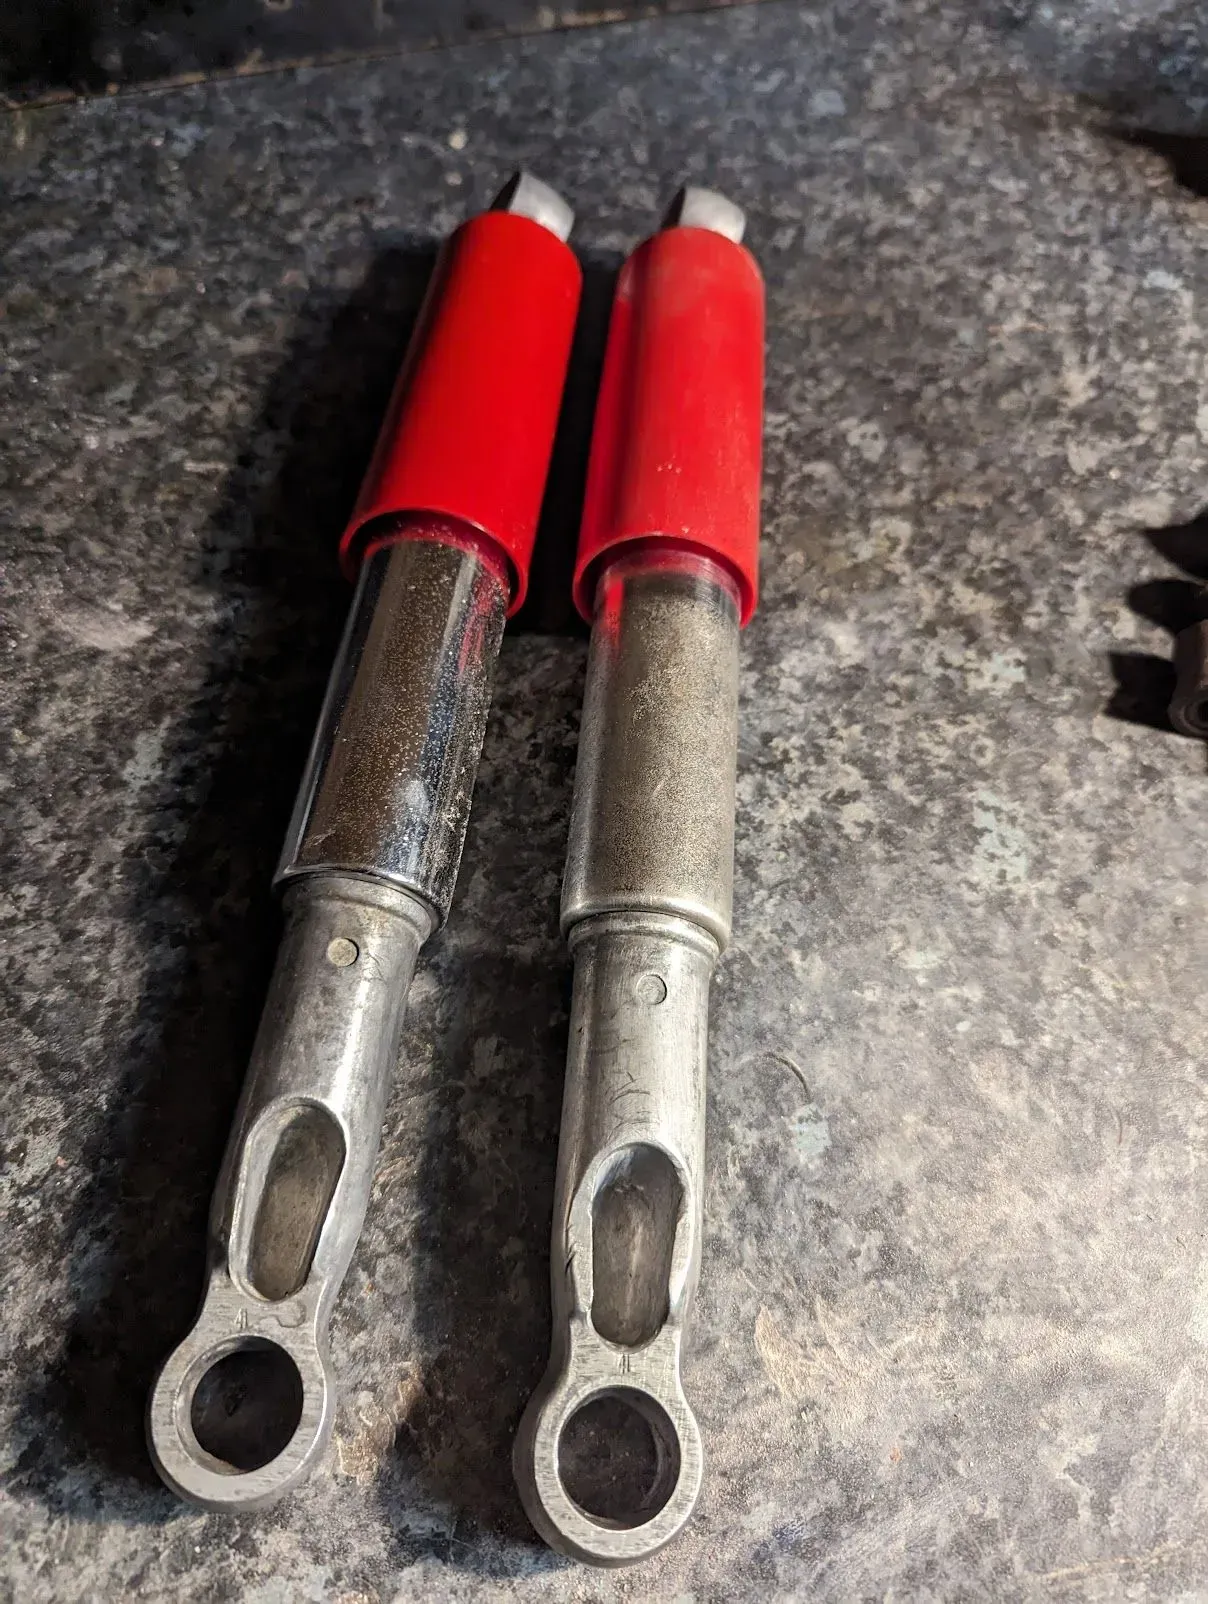
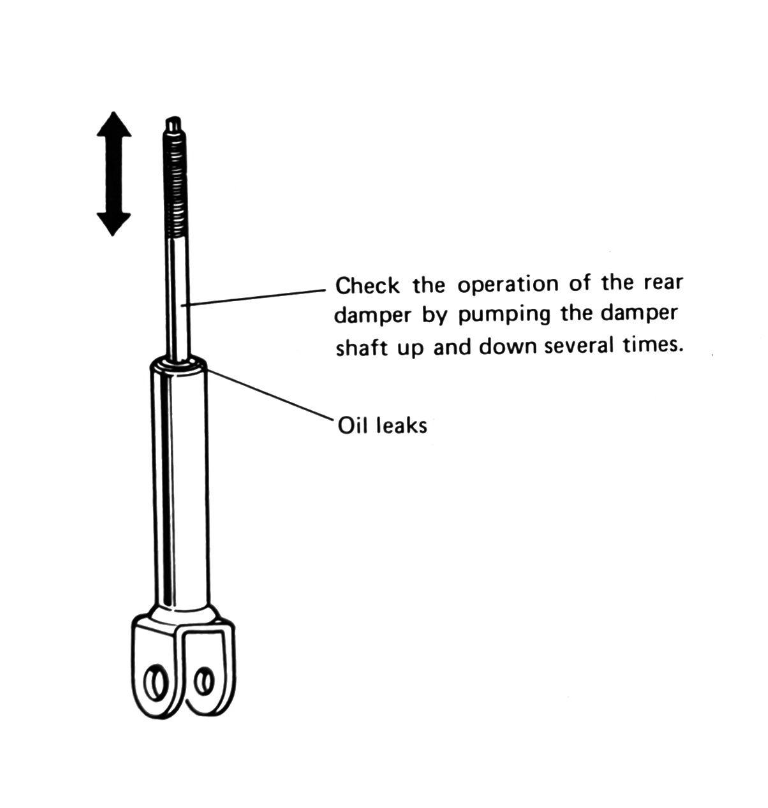
The oil dampers in these shocks are not serviceable and any oil that leaks past the rubber seal inside the mechanism will reduce its effectiveness, no doubt fuelling complaints that the older bikes are under-damped. The damping was surprisingly good on the ones above, considering the age.
Rear swingarm bushing
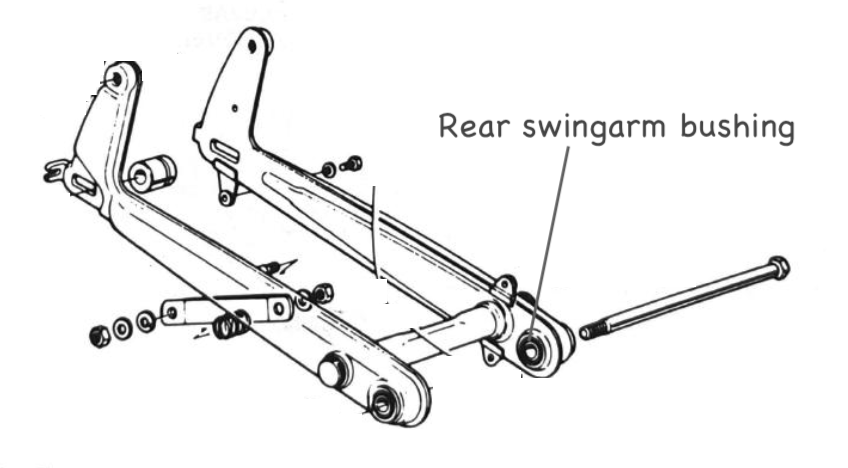
The rear swing arm pivots on the frame via rubber bushings and - although Honda do suggest they should be checked and replaced in case of damage excessive wear and aging - they are very robust and the consensus is they can generally be left alone.
If, like me, you are bloody minded and want to replace them anyway then be warned that they are a bugger to get out.
Having done this a few times now, I've found that using a 3mm drill to remove the inner rubber section makes the job much easier: drilling holes at regular intervals weakens the bond to the inner sleeve so it can easily be pushed out with a vice. If - before removing the inner sleeve - you use a larger drill (5mm) to make two more holes 180 degrees apart between the inner and outer sleeves it breaks through the outer sleeve and the whole things pushes out easily in one go. It is hard to avoid marking the inside of the fork when drilling the larger holes, but the bushes are such a tight fit there is basically zero chance of them moving when reinstalled, and I don't think this is a serious problem (you could probably avoid it with a bit more careful drilling if you are worried).
Be sure to remove any raised burrs on the inside of the forks and the new bushes will push in with a vice or press.
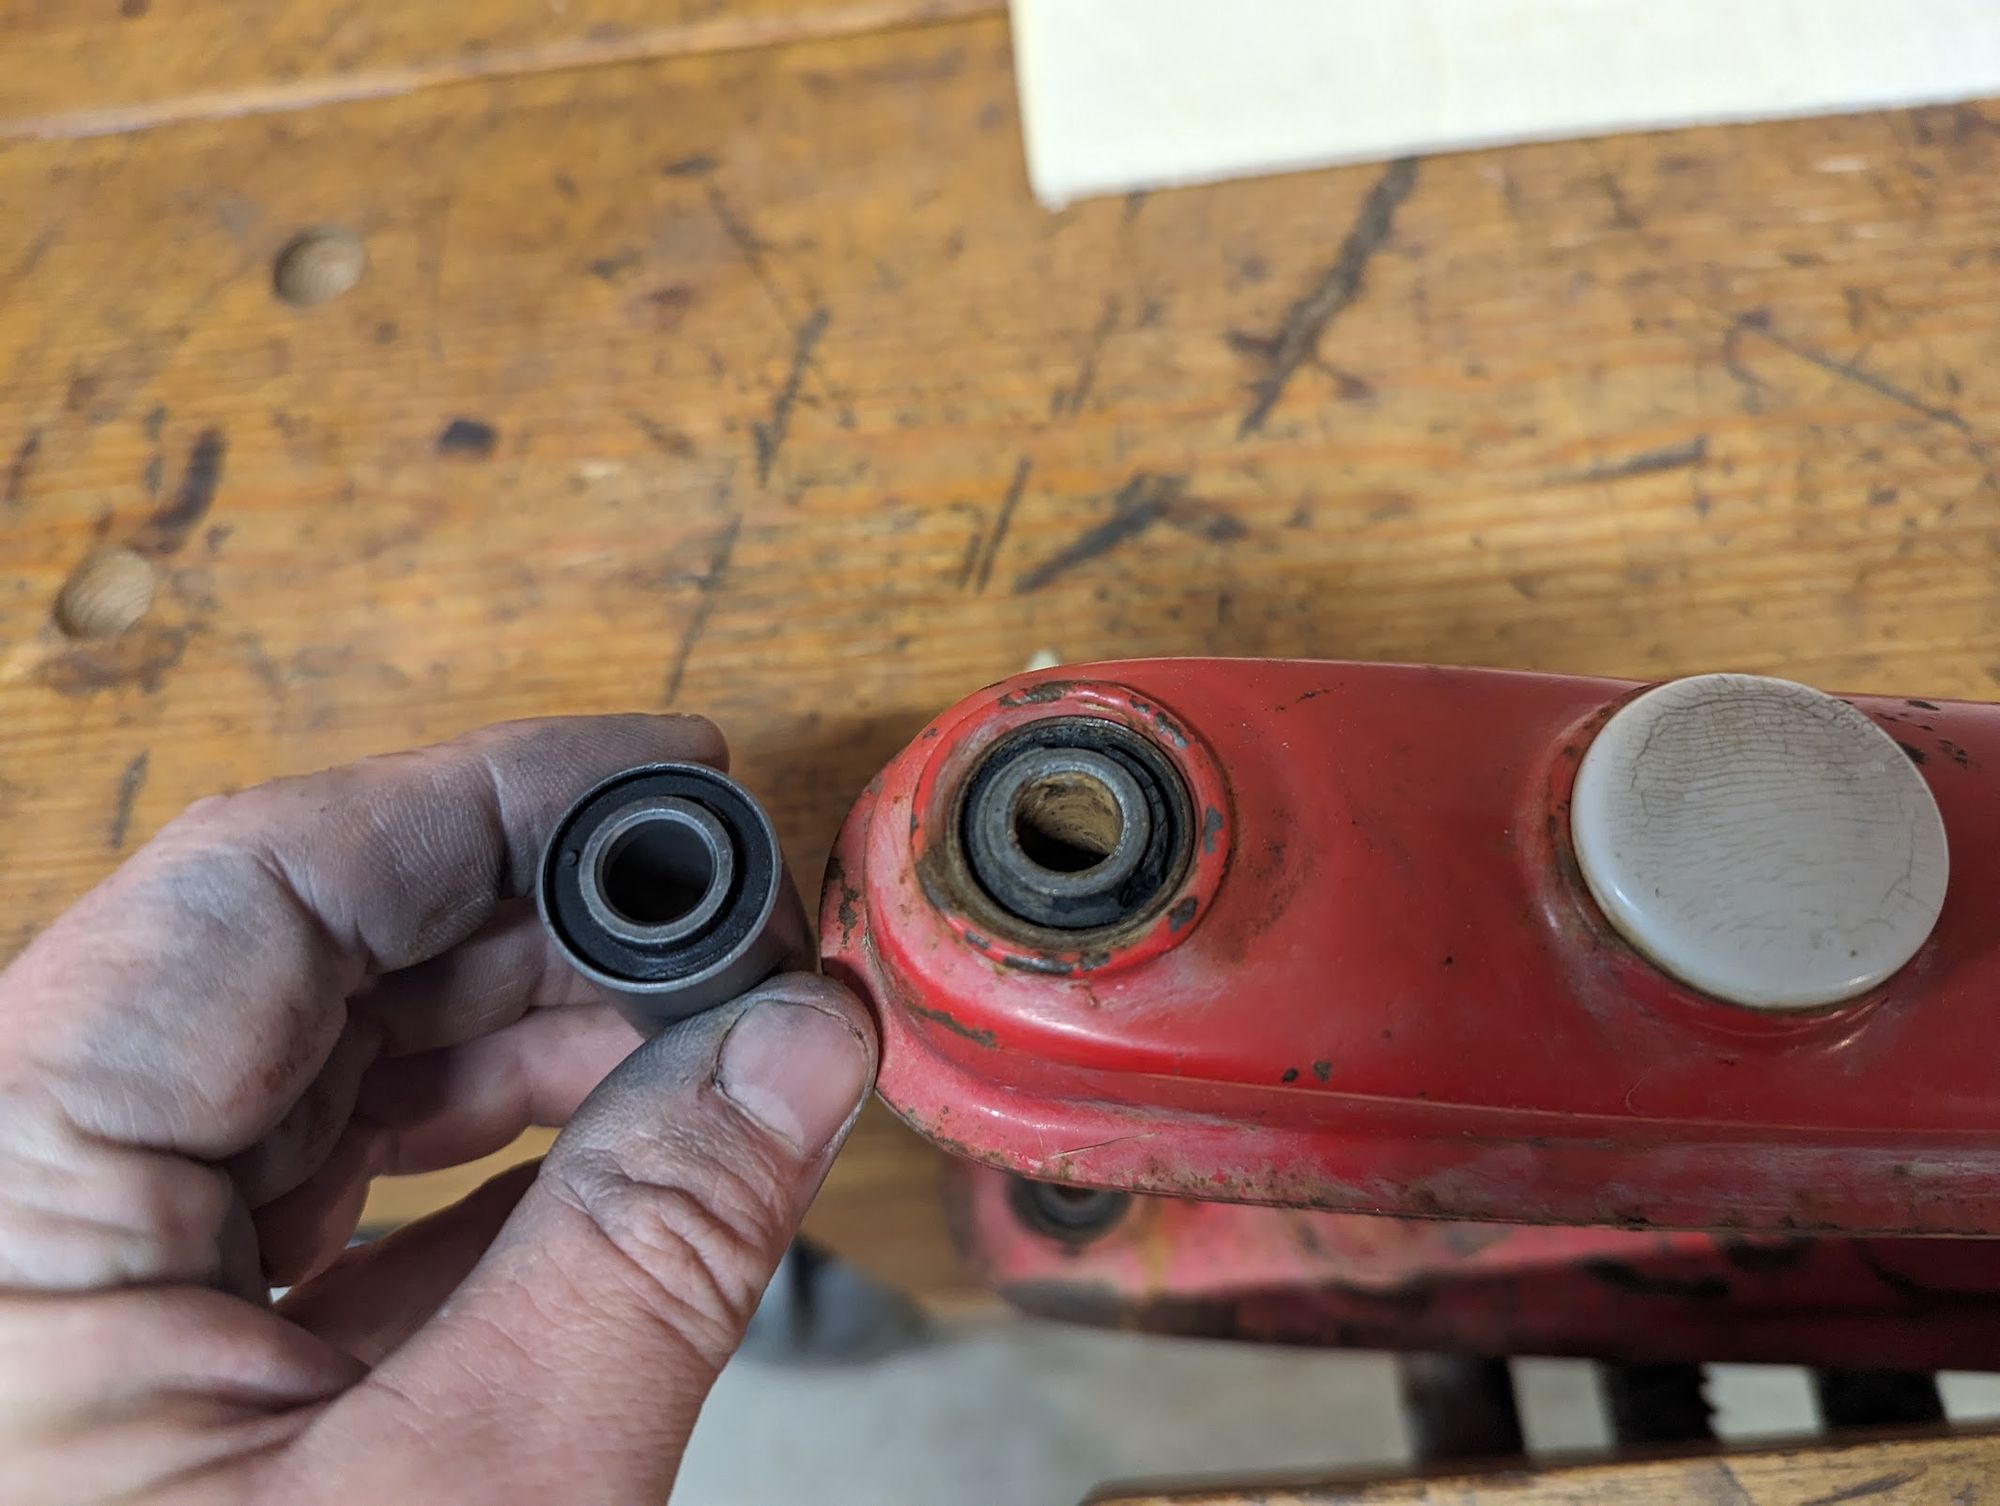
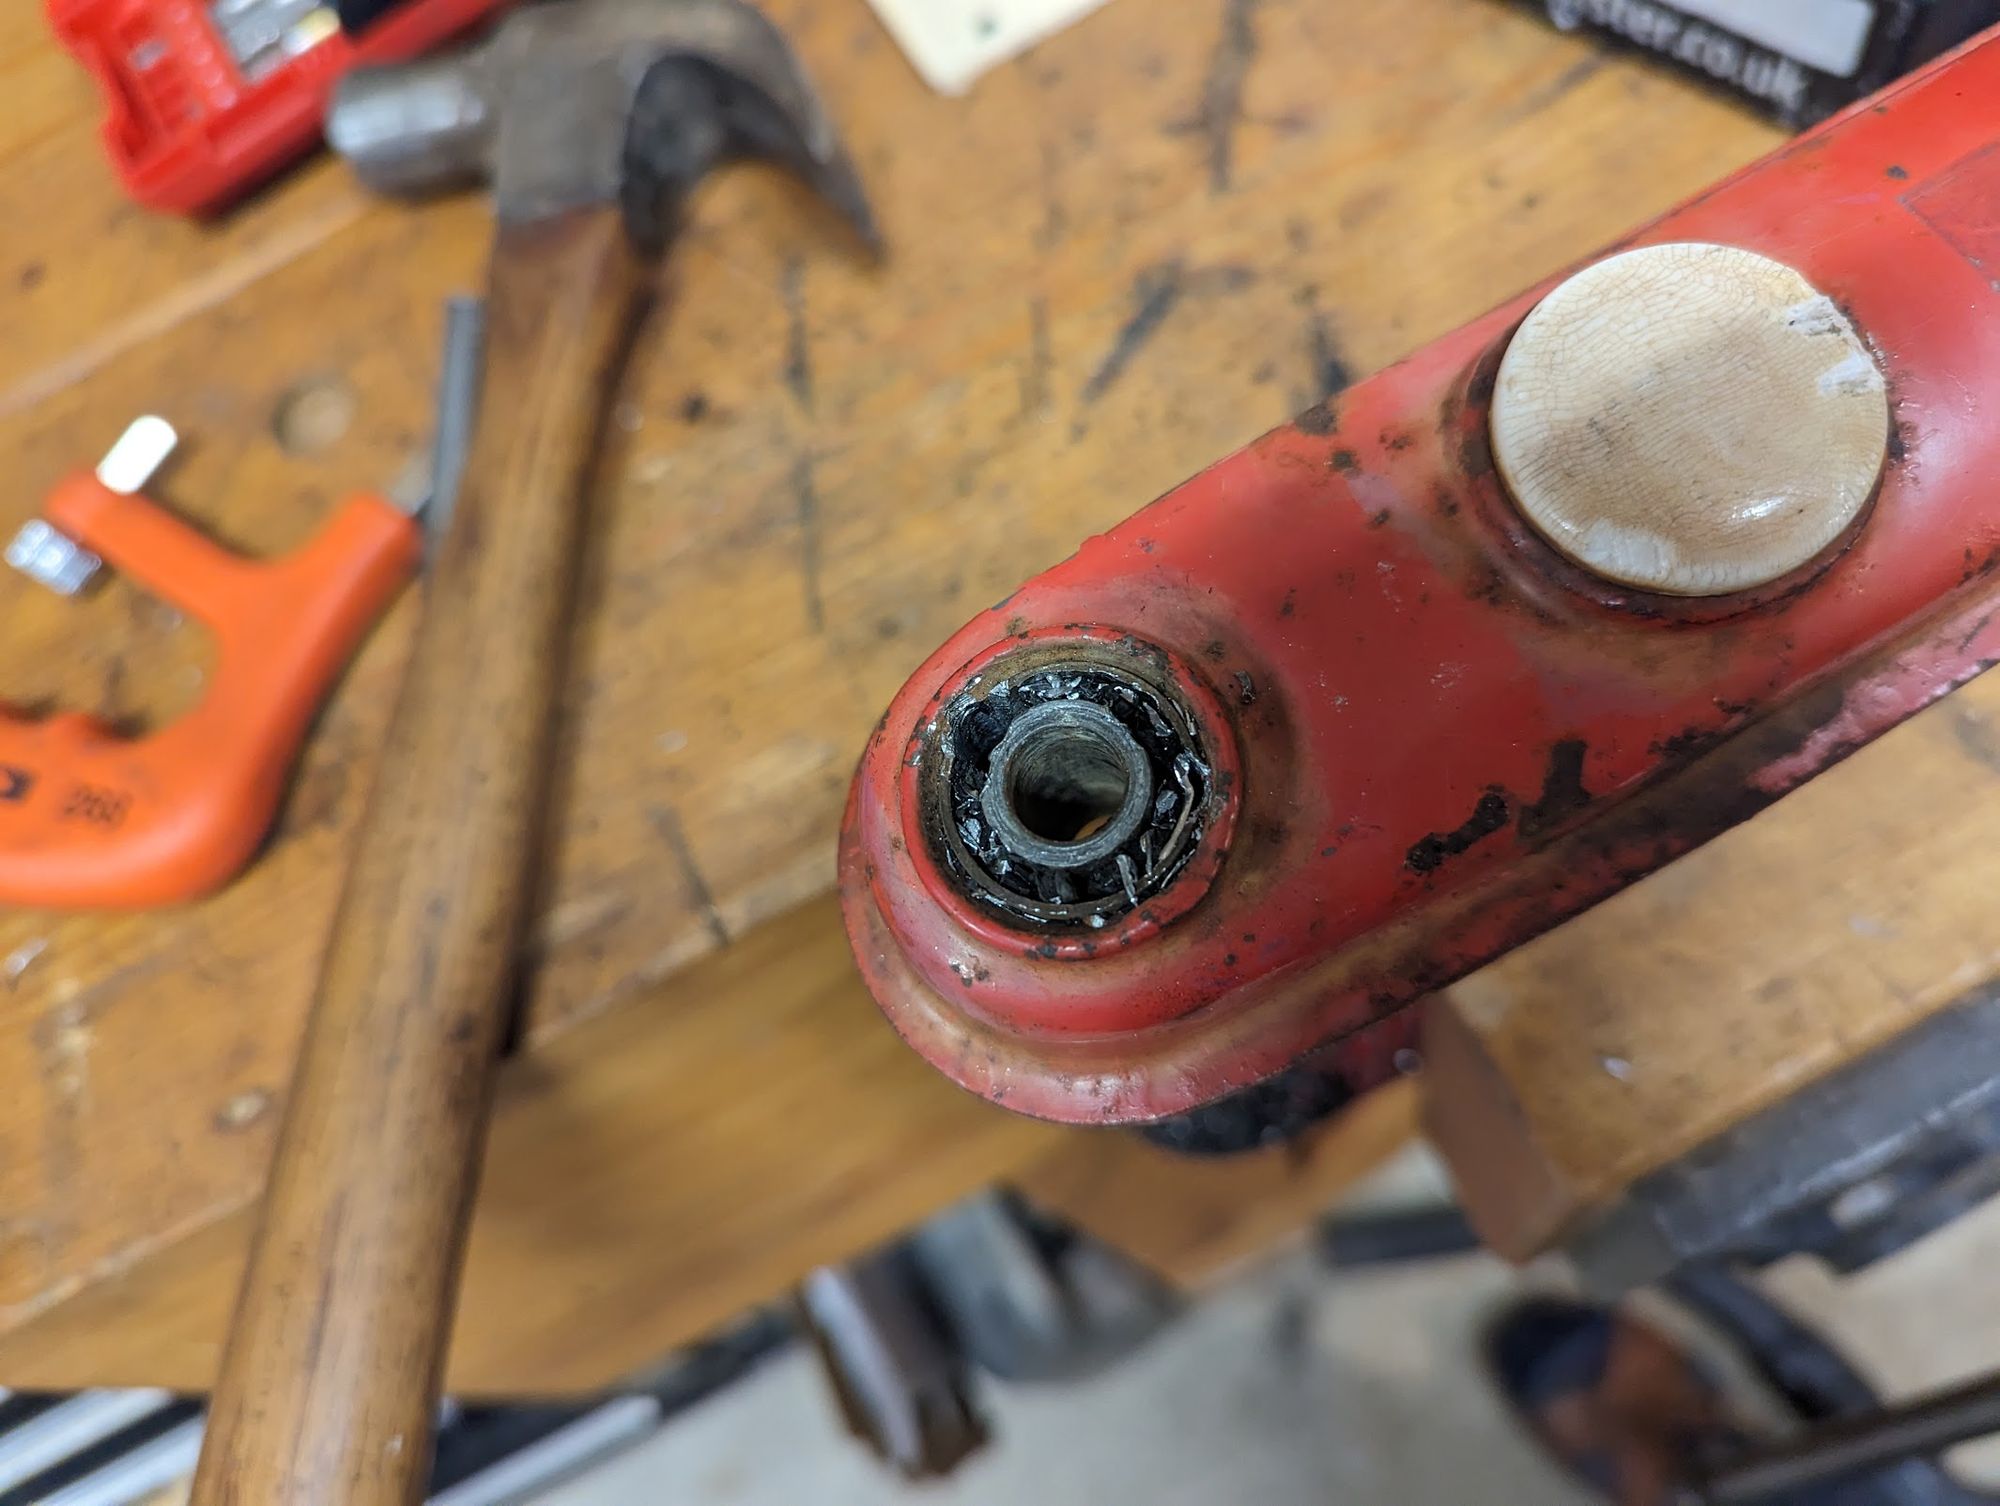
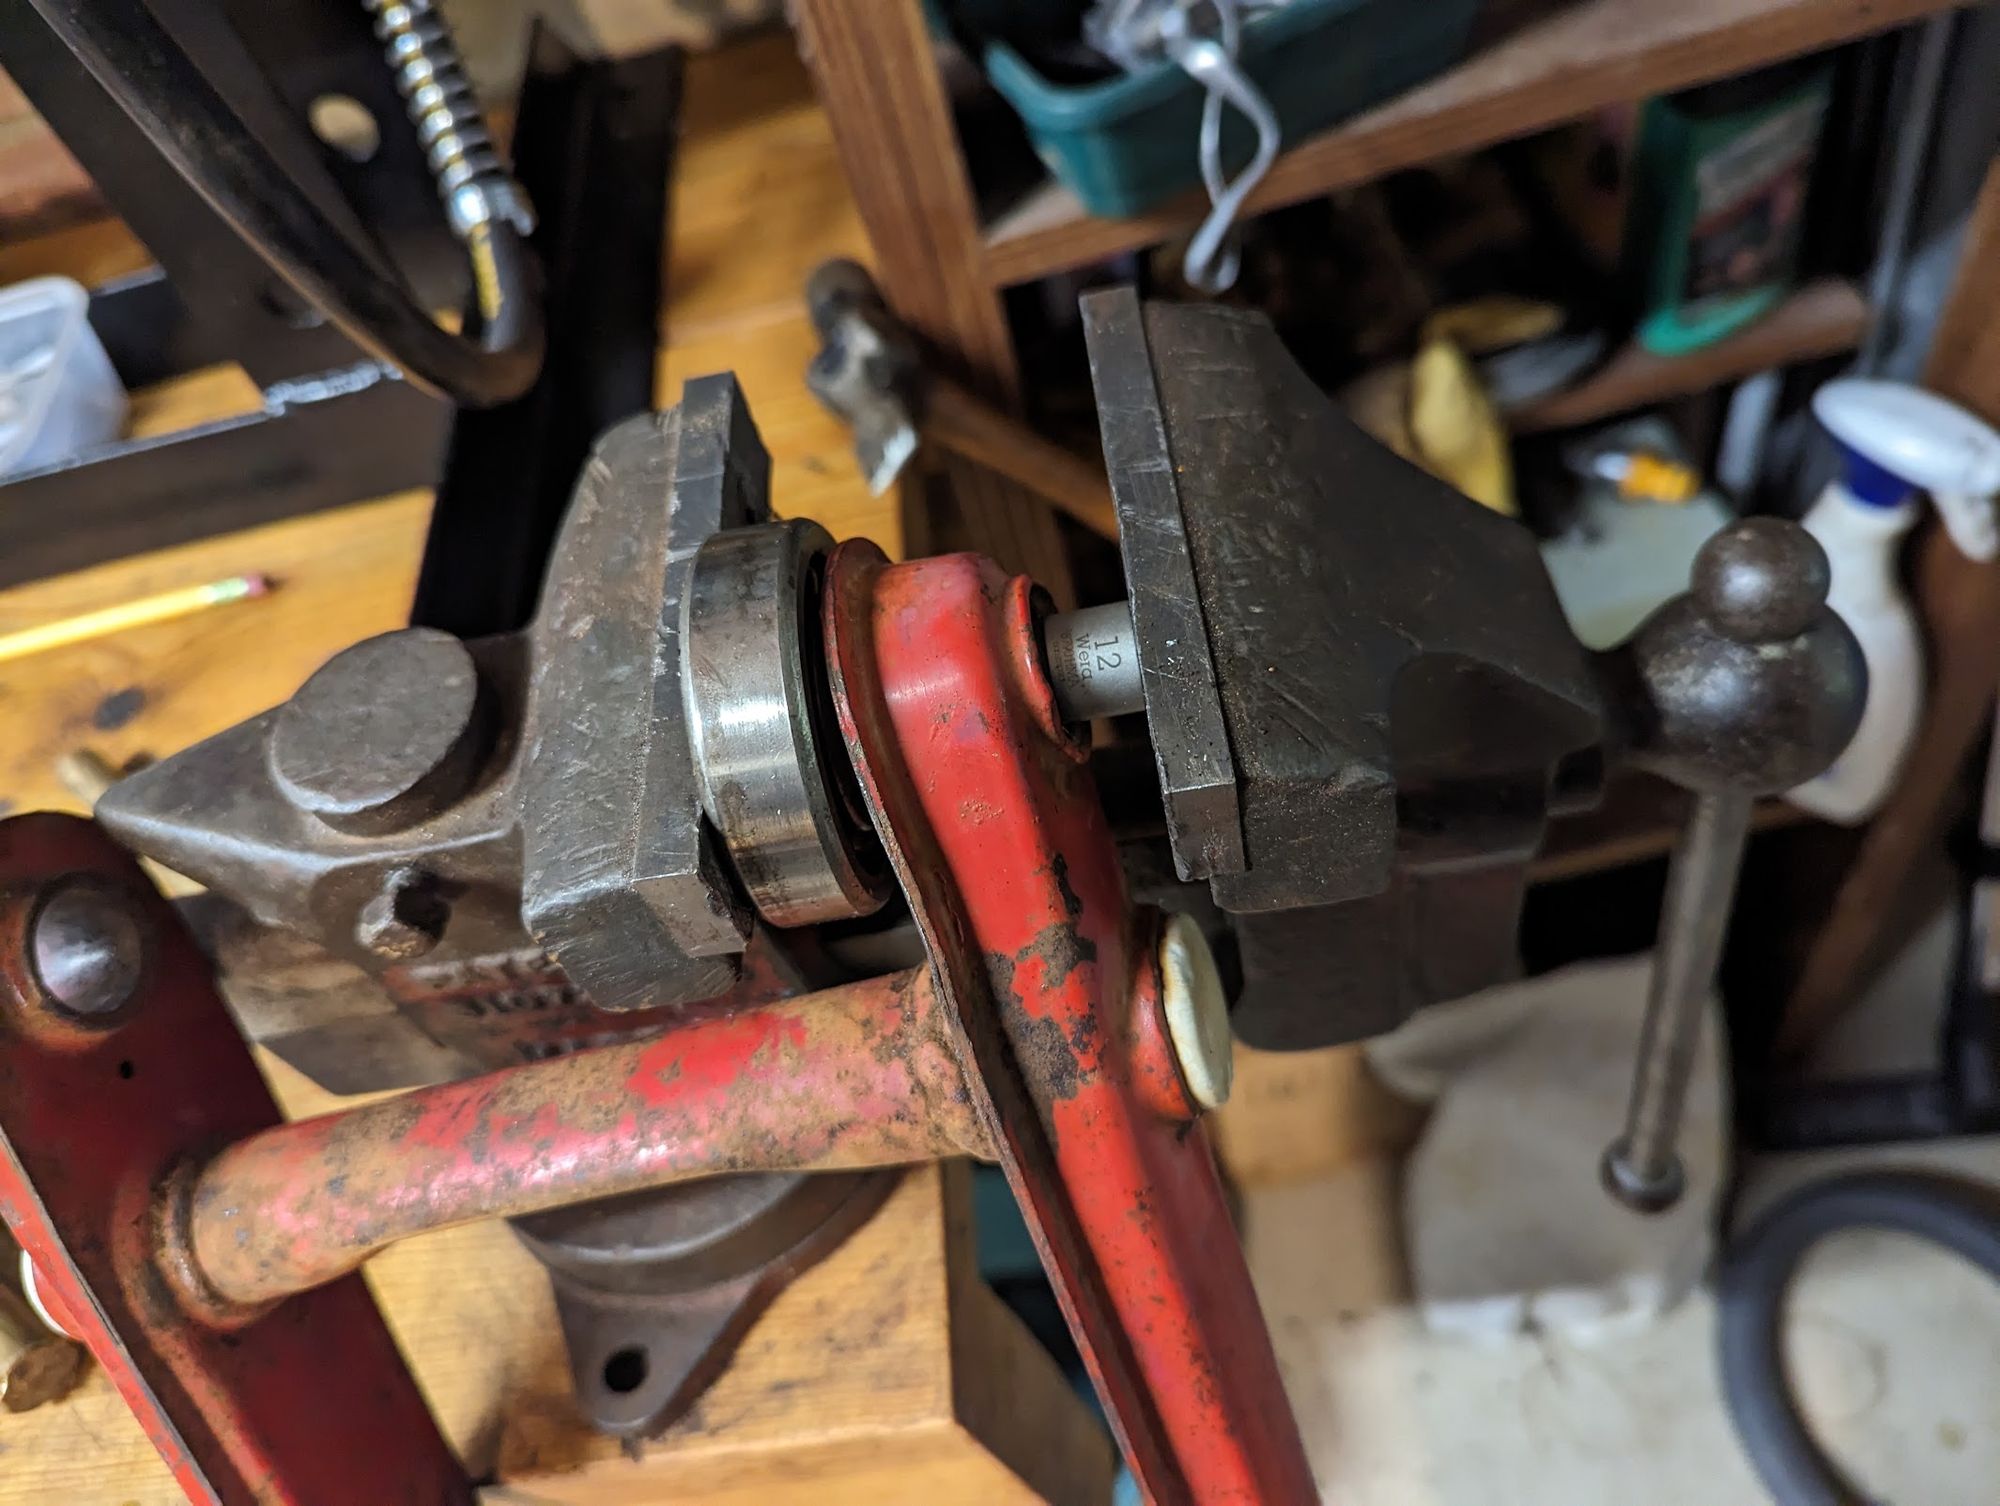
original (left) / drilled (centre) - if you look closely the large holes have broken through the outer sleeve/ the whole part can then be pushed out in a vice (right).
that's it!