Preparing for decoration
- Step 1: filler over the joints and screw heads
- Step 2: fermacell fine surface treatment (FST)
- Step 3: caulking in the corners
lessons learned
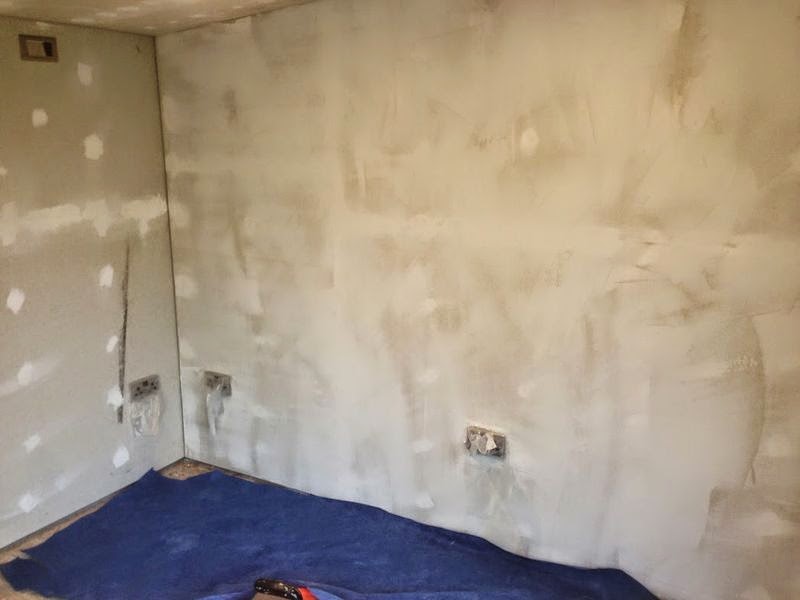
FST is a smooth filler that comes pre-mixed in a large tub – it has the constituency of whipped cream and goes on easily. The technique with FST that worked best for me was to daub it on liberally and then to use a plaster’s finishing trowel to scrape of all bar a very thin layer (so the boards are just about visible through an almost translucent coat of FST.
I could have used another 20% FST (I had a 10lt tub) and I ended up with a few bare patches – I used a very thin mix of normal polyfilla to cover these.
Lacking any kind of skill in this area I found it hard to avoid tram lines and ridges, particularly when doing the ceiling, but it sands easily (very dusty though, so best avoided if possible – I think after doing a couple of rooms you would probably get the hang of it and be able to skip that part).
I am sure I read somewhere that a 5-8mm gap should be left at corners, and at the point where the walls meet the ceiling. I now regret not paying more attention – I was not very careful and a couple of the gaps were closer to 8-10 mm. As I have now discovered, this is too wide a gap to easily fill with caulk. Much faffing ensued and I am still not completely happy with the result, but it is the best I can do. My guess is the paint will crack over these large expanses of caulk too, but we shall see.
If I were doing it again, I would use spacers to get an exact 5mm gap at the joints.
What is the end result like? Difficult to tell before the paint goes on – my guess is it will look like it has been plastered, but by someone who is not very good at plastering