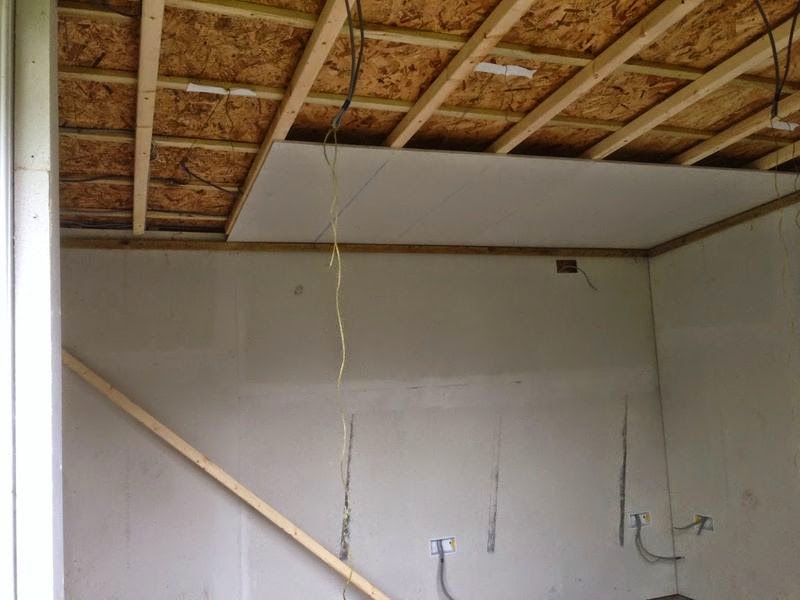
I have finished fixing the fermacell plaster boards: pretty easy on the walls, not so easy for the ceiling. The ceiling was eventually accomplished by chopping the boards in half and using temporarily affixed battens to give me somewhere to locate one end of each board so that I could then prop the other end with a piece of timber braced on the floor. This gave me just enough time to get a few screws in before it all fell down.
top tips
- Doing the ceiling is really a two-person job, but with hindsight I could have made things a lot easier by chopping the boards into 3 pieces – 1200x800mm each – since the half boards, at 17kg, were still a bit too heavy to work with overhead. Turns out that Fermacell actually do ‘one man boards’ which are 1200x800mm although they are not easy to find. No worries, if you have a plunge saw though, and with that on to tip #2
- The job would have been a nightmare without a plunge saw (see earlier post on which one to pick) since the panels have to be glued together with <1mm gap for the adhesive to work effectively. Yes, you could have done the same cuts with a circular saw and some homemade guides made from timber battens, but it would have taken twice as long, easily, I reckon. Worse is the fact that you would have no way to control the dust generated, and there is an astonishing amount ejected when you cut the boards without some kind of dust suppression. tip #3:
- Get a vacuum you can plug your plunge saw into – because of the clever design of the saw, attaching a suitable vacuum basically eliminates any dust. I realize I mentioned this in an earlier post, but I forgot to say which vacuum I went for : the nilfisk attix 30 (£120) – well made and an equivalent spec to the far pricier and similarly designed models from protool and festool. One nice thing about these industrial vacs is they come with ”auto-start” (so they only run when the attached tool is drawing current).
- Get a cheap blade for your saw with relatively low numbers of teeth (e.g one for ripping wood) and run it at a slow speed. It will be blunt by the time you have finished, so there is no point using a good one.
Buy a handful of spare screwdriver bits for your drill/driver – it is a *lot* easier to drive the screws below the surface if the bits are not worn out. I used bits with a metal skirt that limited the depth the screws penetrated the boards which were quite helpful. - use an oscillating multi-tool to cut the spaces for the electrical back boxes – makes it very easy to cut an accurate hole.
- Use plasterboard back boxes – some people don’t recommend these for use with plug sockets, the thinking is that the boards will flex over time as plugs are pushed in and out, and eventually work loose, but the fermacell board is so rigid there is no movement at all, no matter how hard you tug/push (I have experimented!).
- Take your time to get the timber battens laid out carefully so the ends of the boards line up correctly and pack the battens to allow for any unevenness in the walls. I did not do this on the outside, but did on the inside (lesson learned) and it saved a *lot* of time overall.
Fermacell vs normal plasterboard
As mentioned in a previous post, the main benefits to fermacell is that it does not require a plaster skim coat, and it is strong enough to take fastenings without the need to locate a batten to screw into. I should say that there are some downsides too:
Weight (33kg each!)
Cost (they are about £19 per board vs £5 for standard plasterboard).
You need to buy special drywall screws (standard plasterboard screws will break) and the ‘fine surface treatment’ is not cheap.
.. probably it would be a bit cheaper to use normal plasterbaord and then to get a plasterer in to do the skim coat, but I wanted to do it myself.