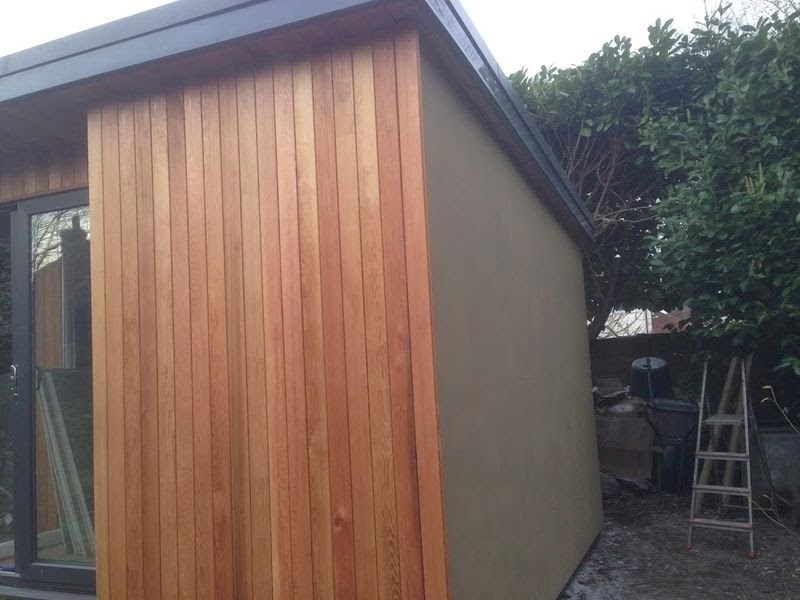
I put up the boards to the rear and right hand side this weekend. I am using the same boards internally and externally, and the trademark name is Fermacell.
The boards are made of recycled gypsum and paper. The addition of cellulose fibres to the gypsum plaster makes the boards very strong (they can be screwed into like a masonry wall and each screw can hold 30kg even if there is no timber behind it).
They are also moisture resistant – as I have mentioned previously they are advertised for use as backer-boards for cladding, and have passed tests that involve regular wetting – but they are not really intended for external use.
They have one other advantage over normal plasterboard which was of particular interest to me, namely that they can be got to a paintable finish without a skim coat of plaster. This is because they are so rigid they can be glued together at the edges (glue supplied by Fermacell), filled and are finally ready for painting after being given a very thin finish coat of fine surface treatment (again supplied by Fermacell).
I did not use the fine surface treatment on the exterior, and it remains to be seen whether it requires a lot of skill when used, but the general consensus on t’internet is that it is doable by a diy’er.


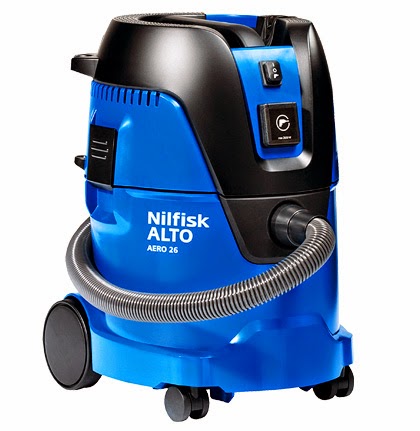
The boards need to be cut accurately if you plan to glue them – my plunge saw came in very handy again, this time combined with another new bit of equipment – a hoover that attaches to the saw and removes nearly all the (vast amount) of dust created. As ever I did a lot of research into the vacuum options and for £120 I am very pleased with the result (more on this later!).