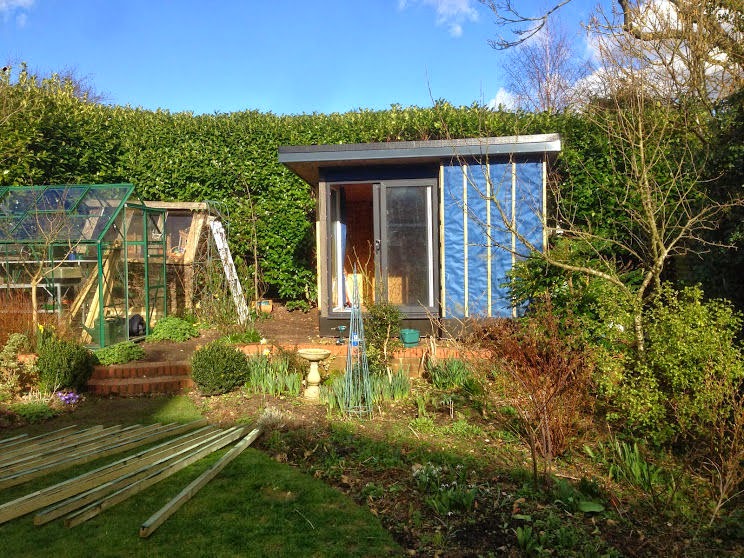
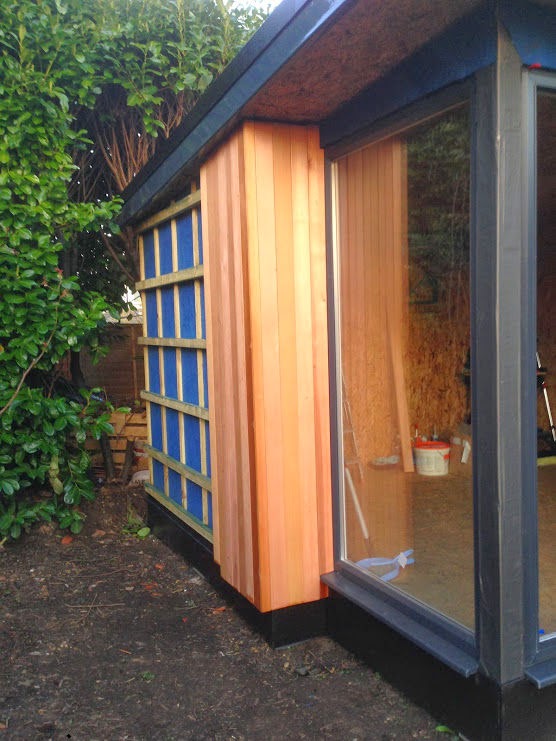
I am in the process of putting up the cedar cladding on the front and left-hand-side of the building. The cladding will be installed vertically.
Now I’ve got the hang of it, I probably need a day to finish it. It actually goes up quite quickly, but there is a fair bit of fiddly cutting to do.
There are several ways of doing this – the quickest (and worst) is to nail it directly to the breathable membrane – this punctures the membrane and creates a route for rain to be driven in by wind or pulled in by capillary action. Furthermore, there is no easy way for the water to drain out and no ventilation to let it evaporate. NOT GOOD.
The next quickest way is to install horizontal battens – not ideal since any water driven in will sit atop the battens and – depending on where it ends up – may pool against the building or the cladding, also NOT GOOD.
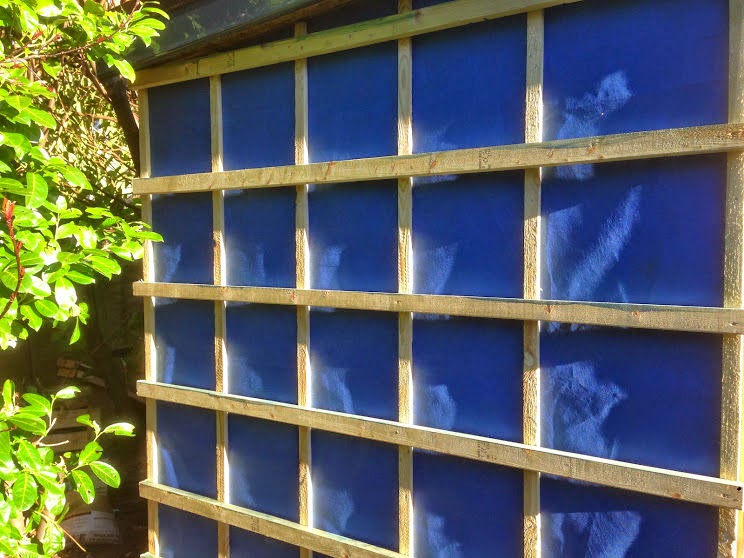
So I am doing mine using the ‘rainscreen’ method, as used by the Scandinavians for centuries and as recommended by our friends in the Scottish Executive:
This document contains a good overview of this method, and other cladding related info.
rainscreen method
The trick with this method is to see the cladding as a barrier that will shed most of the rain but will let in water at some point. Because of this you need to create a route for the water to escape and also permit any residual moisture to evaporate – you do this by creating a cavity behind the cladding. This is how I did mine:
.. the purpose of the bevel is to allow water to run of and be taken by away from the building by gravity. The cladding overhangs the barge boards at the bottom by 50mm, leaving a 200mm gap to the floor so the amount of water splashing on to the cedar minimised.
Finally, don’t forget to treat any cut surfaces with a suitable wood preserver: although the battens are pressure treated with preservatives, this only penetrates a couple of mm into the timber.
nails
then you can nail up your cladding – I am using a tongue and groove profile that is ‘secret nailed’ through the tongue such that the nail is hidden by the next board.
Don’t be tempted to use galvanized steel nails as apparently they will stain the cladding after they get wet. What you want is stainless steel annular ring nails of the “lost head” variety – as a rule of thumb the nails should penetrate solid wood by about 30 mm. My cladding is 19mm so I got 50 mm nails.