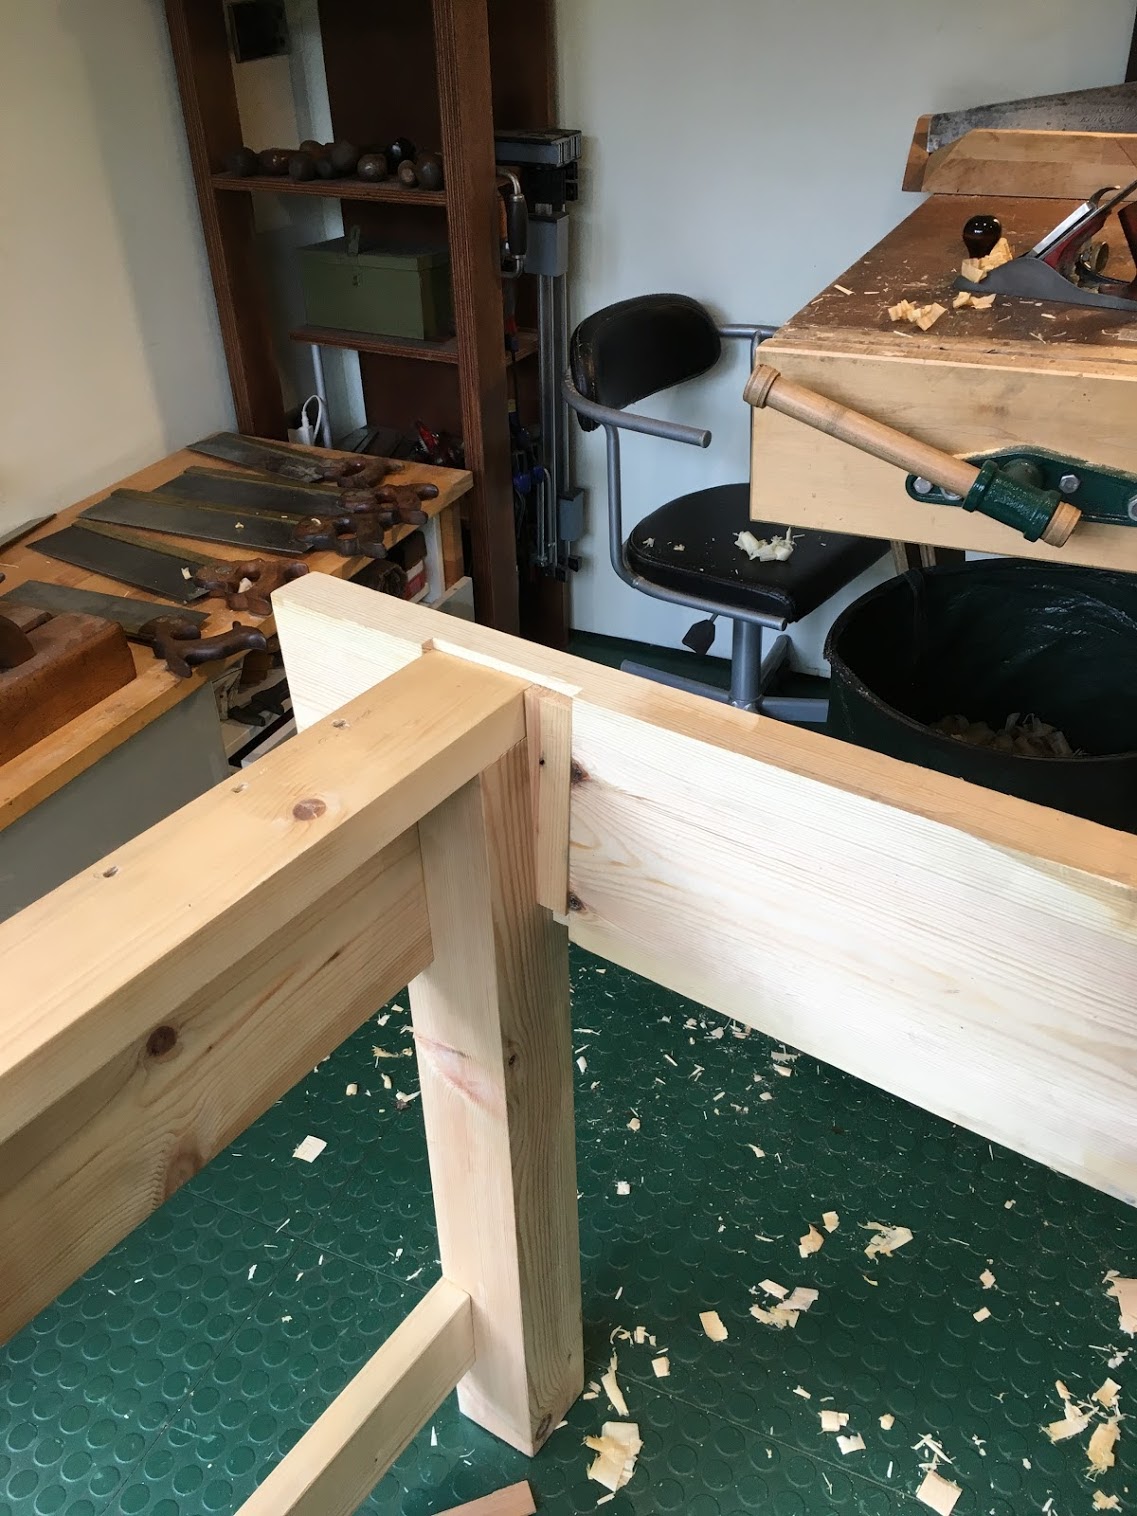
The rigidity of an English workbench is provided by aprons: the legs fit inside housings in the apron preventing the bench from twisting.
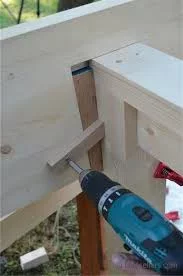
A possible disadvantage of this design is that the joints can become loose over time and a suggested improvement – from Paul Sellers – is the addition of wedges:
When I have made benches in the past, I found that even with glue and screws or bolts, shoving them across uneven floors carelessly or regularly can rack the joints, break the glue line and weaken the rigidity of the bench. Including a wedge in the joint around the leg is quick and simple with a handful of basic tools and eliminates this problem.
Although the context for this comment is in a discussion on his knock-down bench design, the same logic applies to a fixed bench.
The idea is that, in the event the joints become loose due to wear and tear or because the glue joints start to fail, you can simply tap in the wedges to keep things tight.
They are not strictly necessary, for instance Richard Maguire – whose instructions I am following – does not use them and he uses his benches all the time for heavy planing work. However they are easy to do and if, like me, you are inexperienced they allow you a bit of latitude when cutting the housing joints (which otherwise have to be accurate to hold the legs tightly).
Blunders:
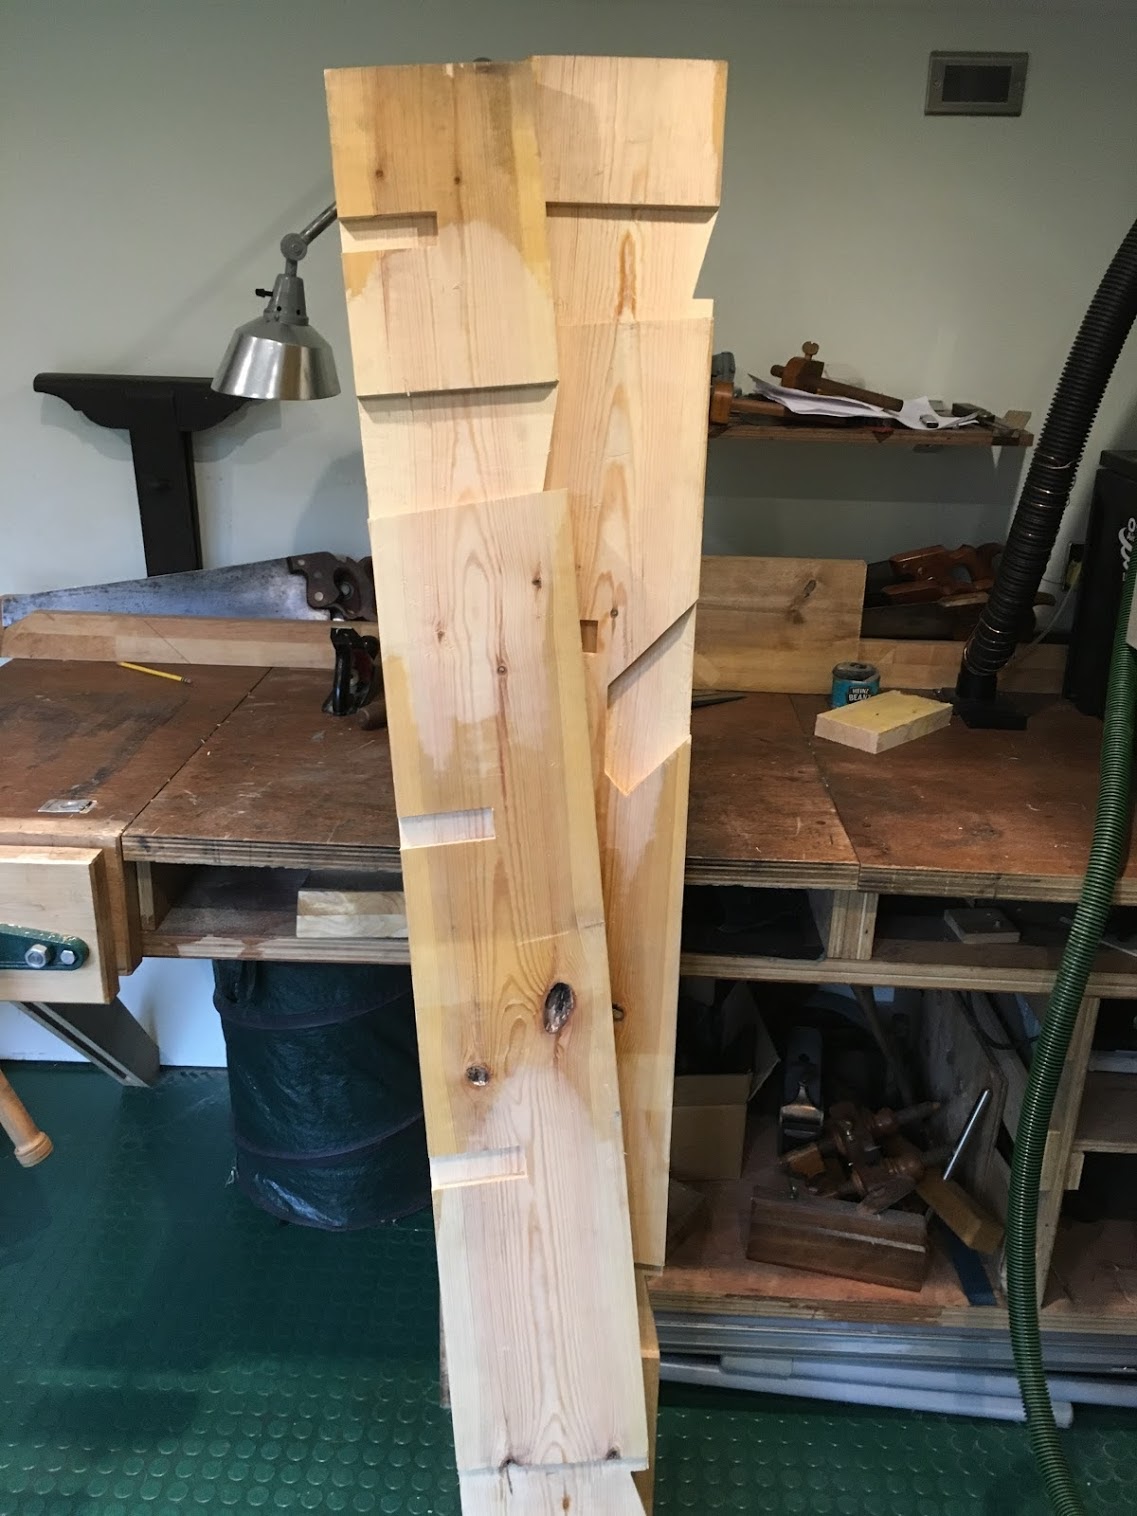
1. When cutting the first notch in the bottom of the apron to fit over the half dovetail on the leg I forgot that the recess I made for the leg was wider than the leg (to accommodate the wedge) and measured the notch wrong as a result. sigh. Luckily I had the forethought to make this mistake on the rearmost leg so it will not be on view.
As far as I can tell these notches are basically decorative and I found they added a fair bit of work since there isn’t a way to mark the notches from the respective legs – measuring and adjustment are needed to get them to fit. I think you can dispense with them if you are in a hurry.
2. The brace did not fit the apron properly – I spent an hour of hapless fiddling with the joints to get them to fit only to realise that the source of my problem was I had used material for the brace that was thinner than the aprons. The brace is attached by two lap joints, one on the outside of the leg and the other on the inside of the apron and – because I did not allow for the thinner brace timber – it was seated at a skewed angle to the face of the bench. I suppose the fix is to deepen the recess on the inside of the apron so that the brace goes in flush to the leg.
3. Although I flattened the inside bits of the apron where the legs would go to make it easier to mark out, I did not check to see if there was any twist between the two surfaces. It turned out that one of the boards is quite twisted and the result was that it would not fit to the legs without large gaps. I managed to get rid of most of the problem by adjusting the joints (I think the remaining gap will be closed when I glue and nail the legs) .
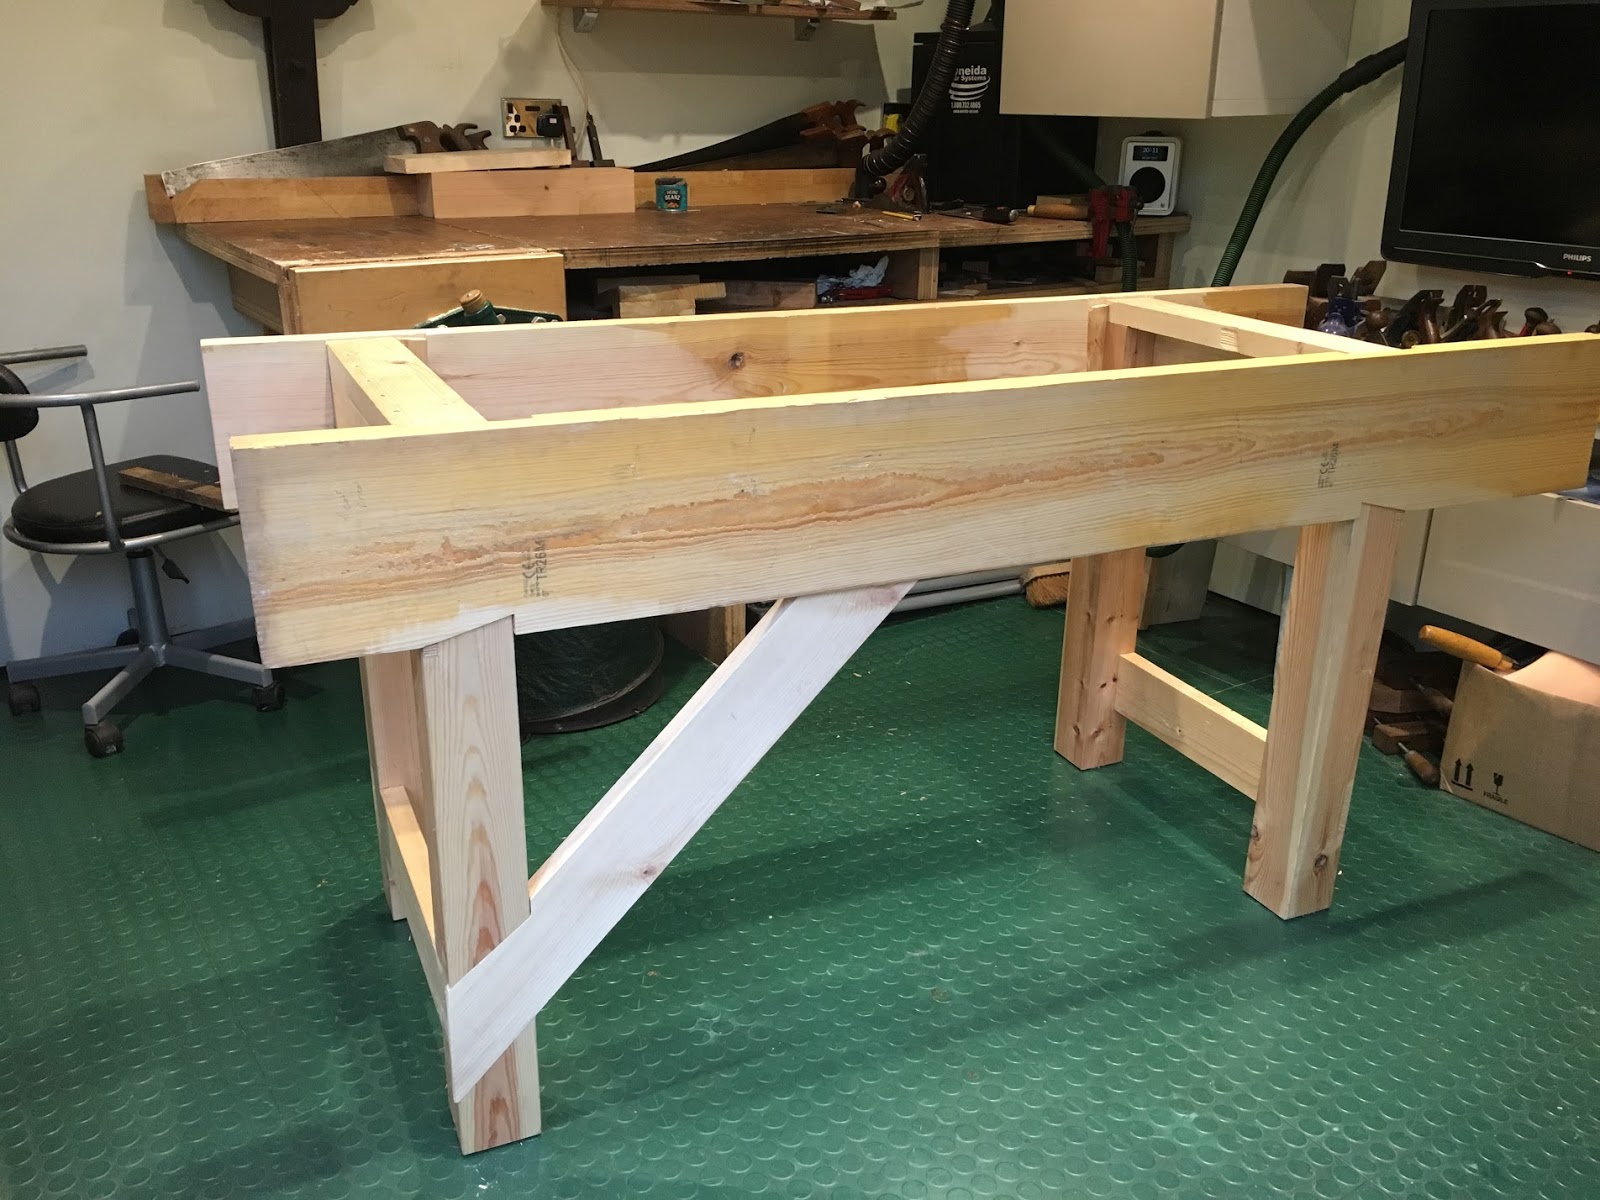
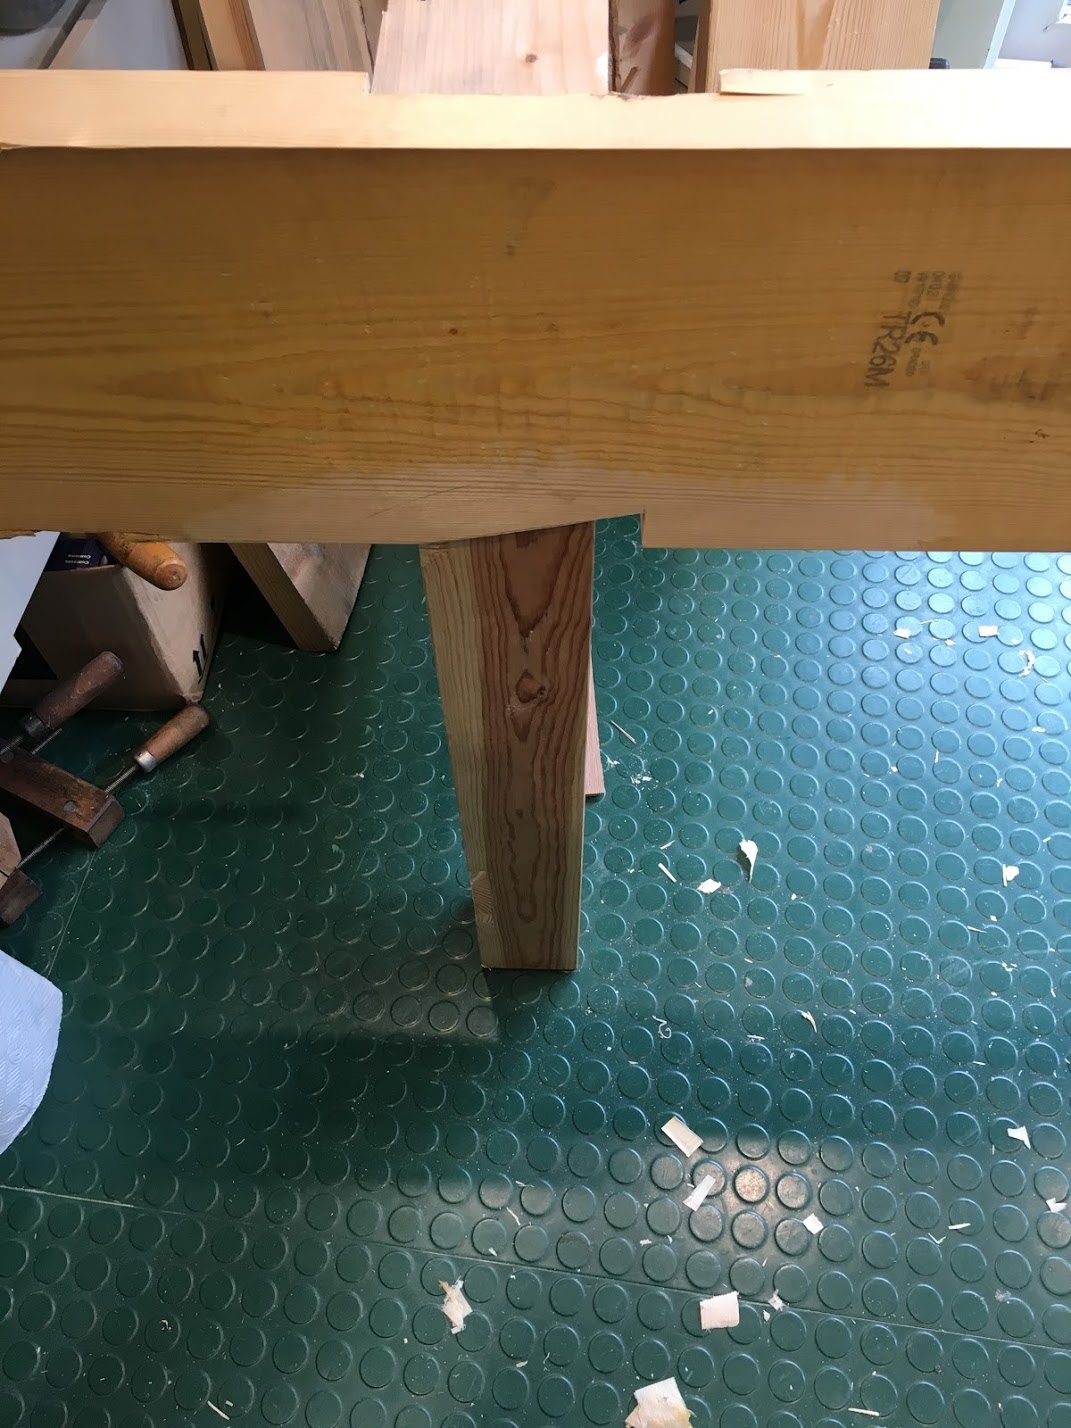
Anyhow, here is where I am now – the aprons are only held by wedges and it is very solid – I have been moving it around my workshop and it has not fallen apart, so hopefully that bodes well for the final result!