The c90 uses a drum brake design that is essentially unchanged since it was first introduced over 120 years ago.
Renault drum brake
Drum brakes were first patented by Louis Renault in 1902 (see the patent diagram below left). Despite its apparent simplicity this invention was a huge improvement on the previous alternatives which had relied on various devices for pressing blocks of wood against the outside of the wheel (see below right).

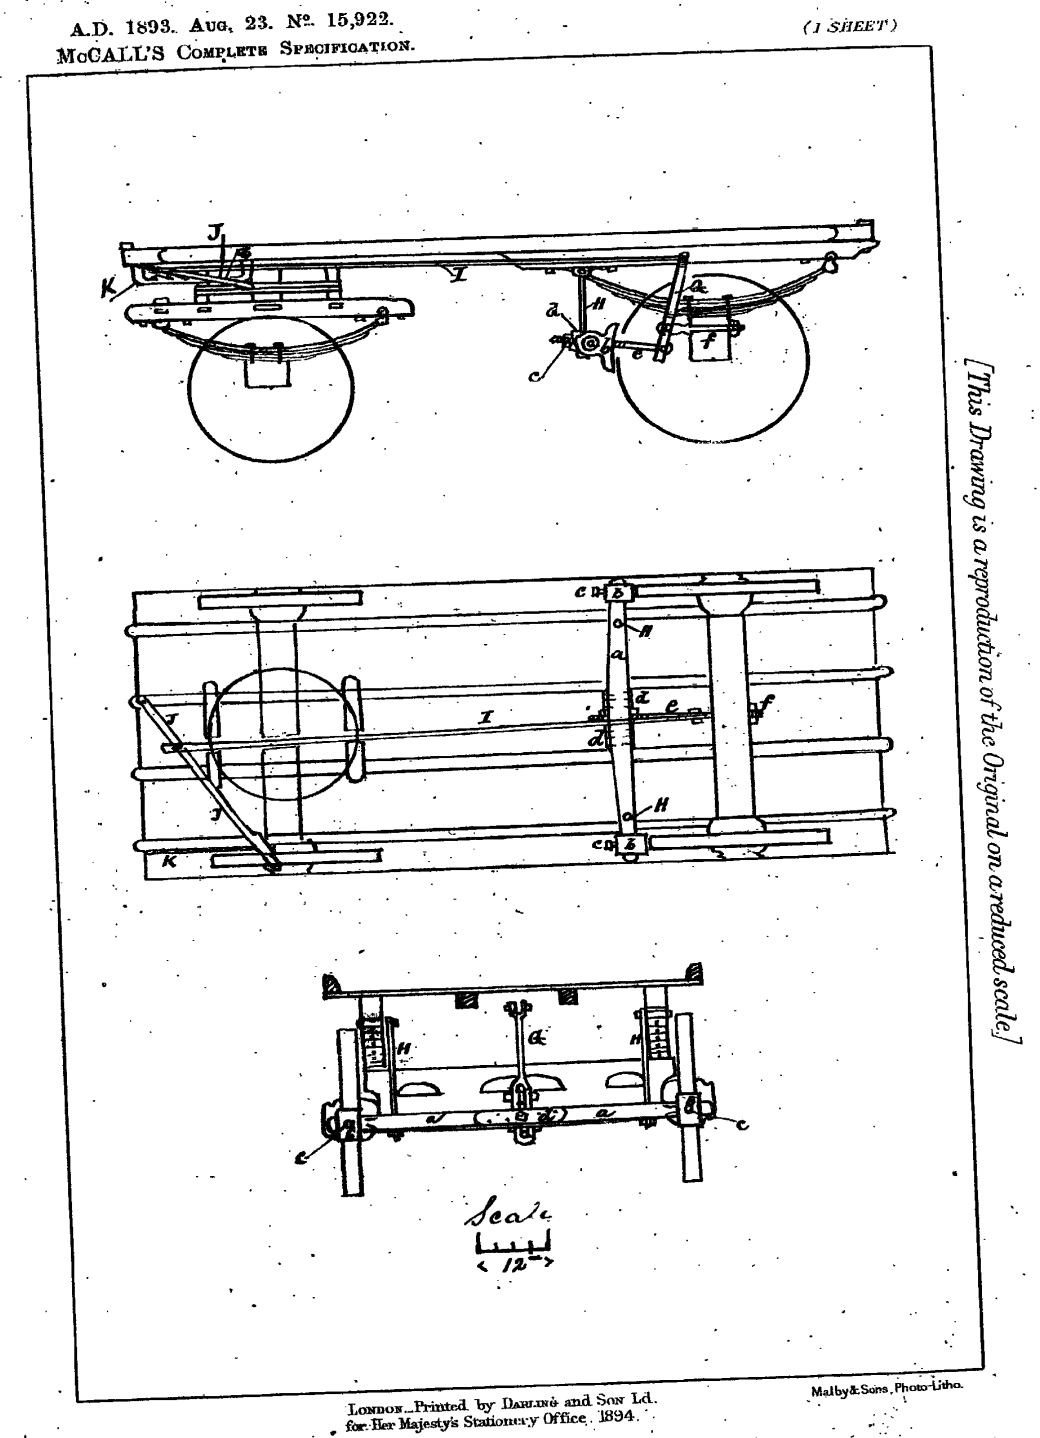
left: Diagram from Louis Renault's 1902 patent / right: an example of the state of the art braking system a few years earlier
The improvement in braking could not come a moment too soon: rapid progress in engine development towards the end of the 19th century meant that in the early 1900s cars and motorbikes were significantly better at going than they were at stopping. This dangerous imbalance in engineering progress was graphically illustrated in the 1903 Paris-Madrid race which was abandoned on the second day after 8 people were killed and hundreds injured in crashes.
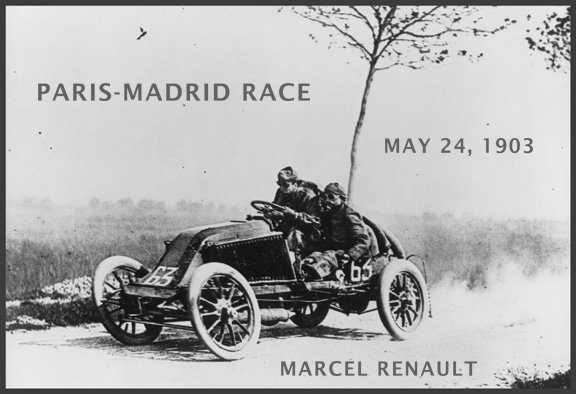
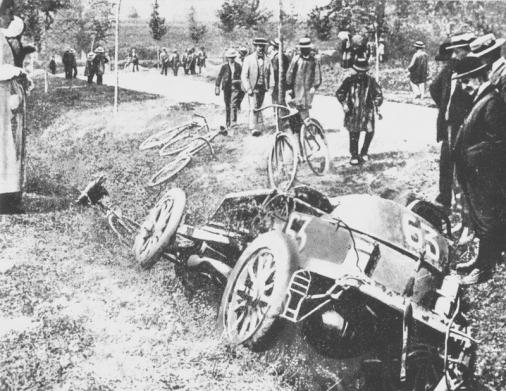
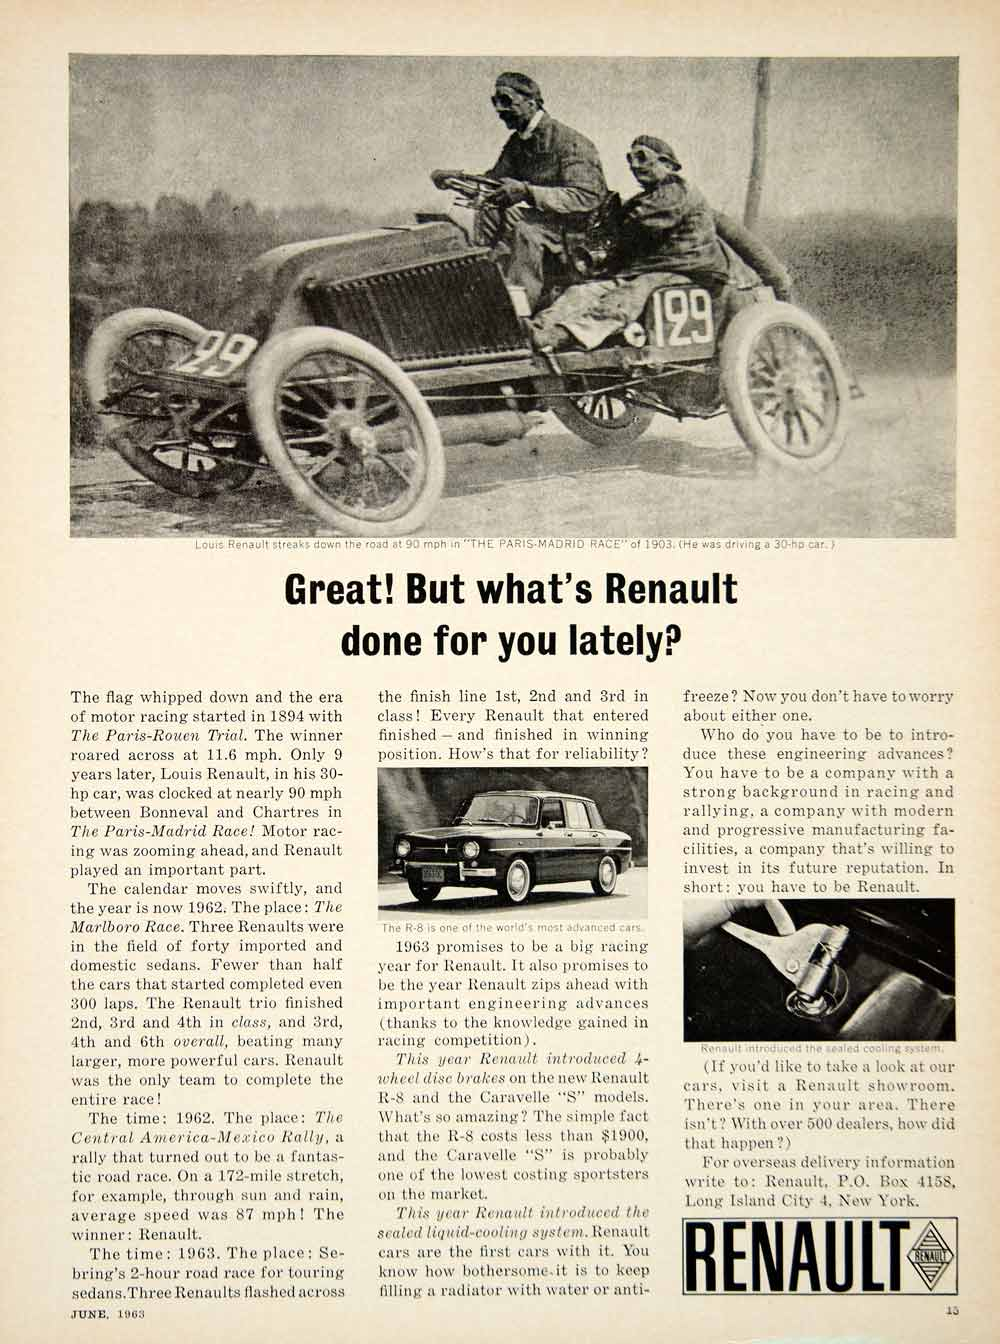
Marcel Renault, Louis's younger brother and partner in the Renault business, was killed in the race (the car he was in was capable of going over 90 mph). Charles Jarrott participated in the race and wrote an account of what happened which you can read here
Asbestos brake linings
The brake shoes used in the earliest drum brakes were made of cast iron, bronze or steel, but the metal shoes were soon superseded by lined shoes. Various experiments were made to create linings that improved stopping power and longevity, the most significant of which came in 1910 when Henry Frood started using asbestos in his Ferodo branded brake linings. This naturally occurring mineral was something of a wonder material at the time being cheap, abundant and having many properties that made it useful in building and engineering applications. Its ability to withstand high heat and resist wear made it a particularly useful component in brake linings and asbestos impregnated brake shoes became the standard for the next 60 odd years, until the serious health dangers caused by the material were properly understood.

Asbestos brake linings are now banned in most countries, although they continued to be sold for a surprisingly long time. In the UK, pre-1973 vehicles were allowed to use brake shoes containing asbestos until 2004.
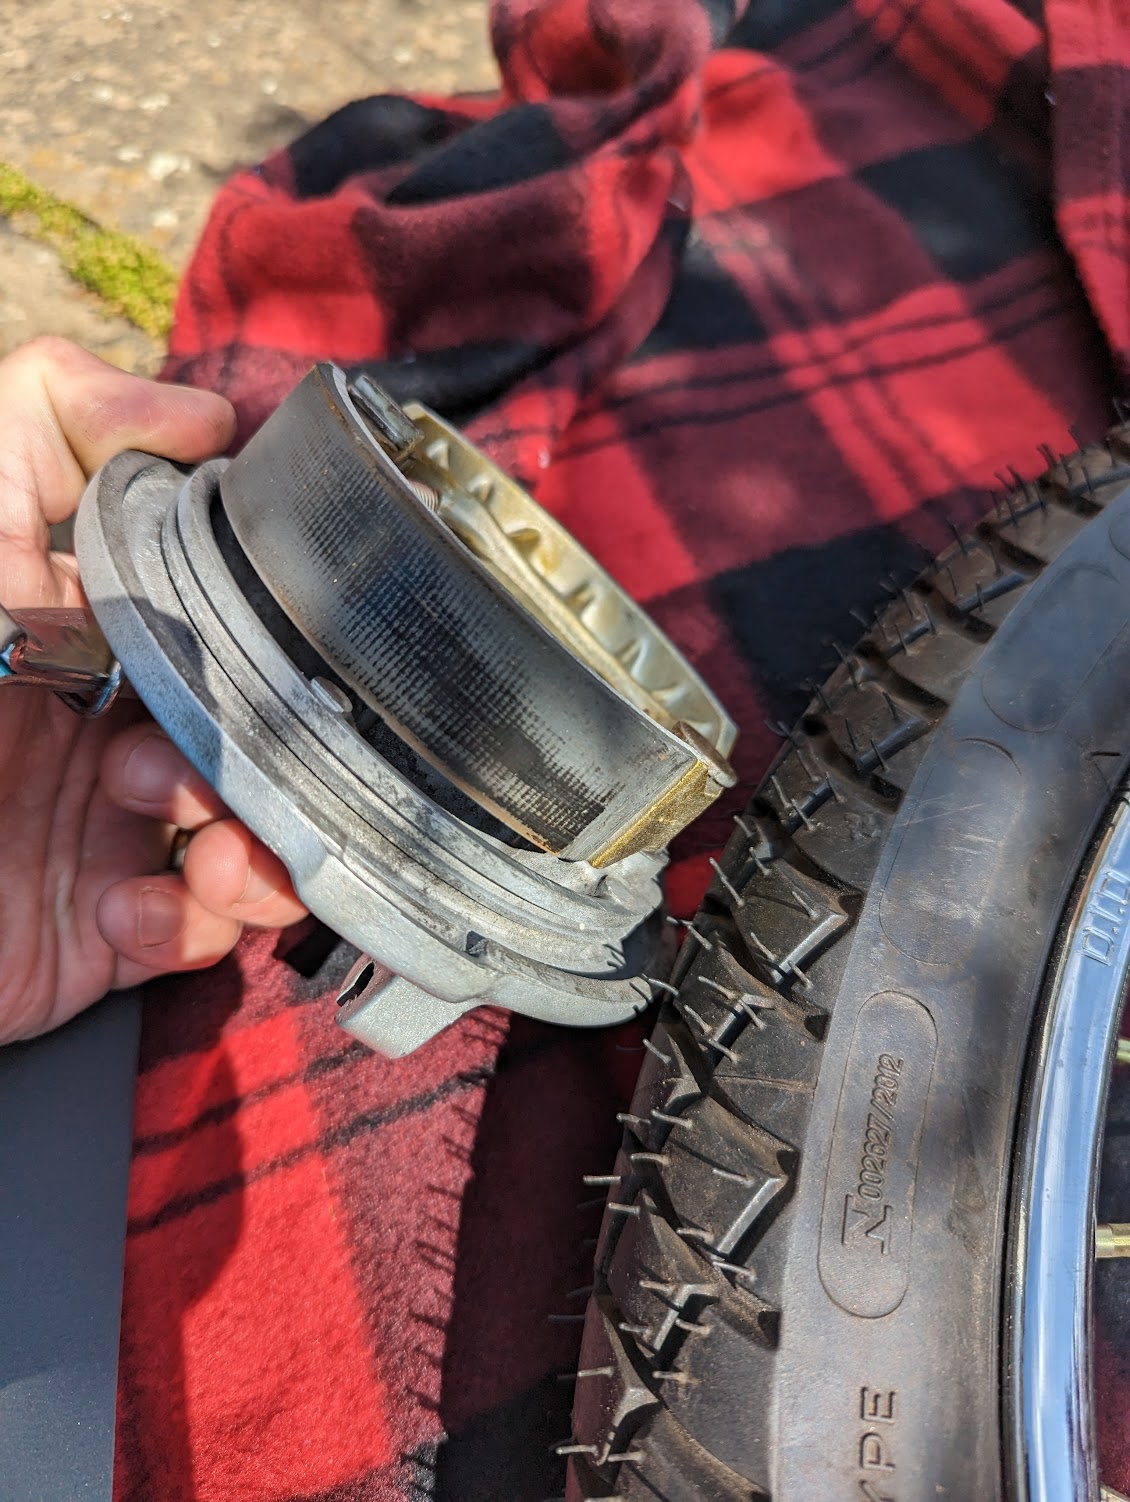
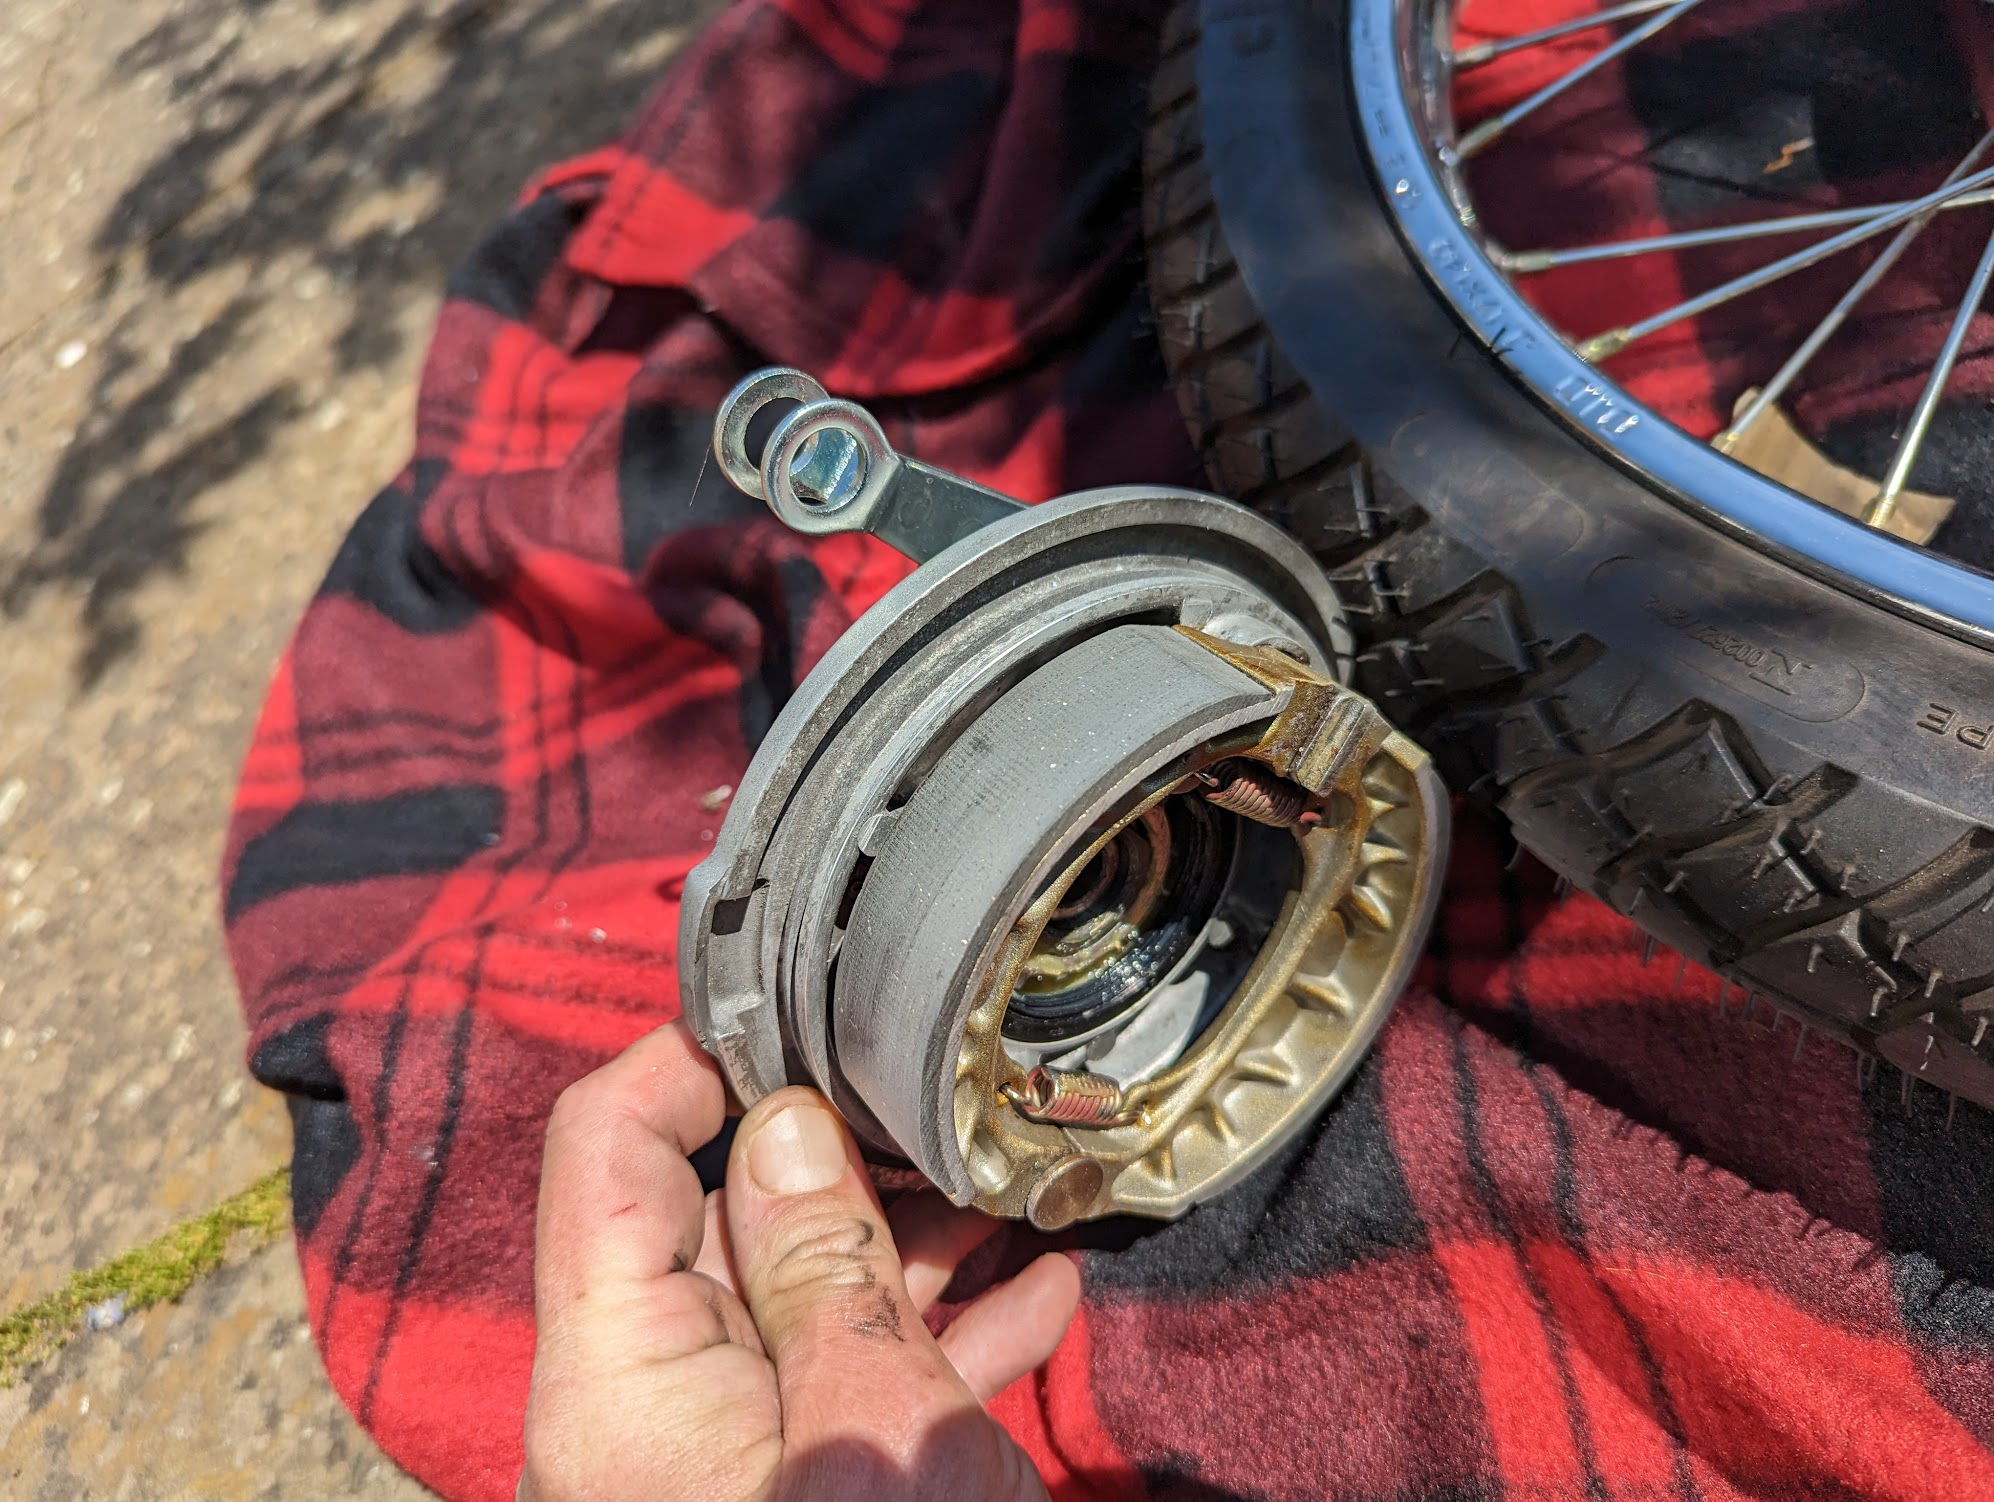
How it works
The Honda system is a pretty faithful copy of the original Renault design, where the action of the brake lever causes a cam to rotate thereby pressing the brake shoes, with the anchor pin as the pivot, outward so they contact the brake drum. The friction between the brake drum and brake shoes stops the rotating wheel. With the lever released, the brake shoes return to their original position by means of two springs. A nice simple solution.
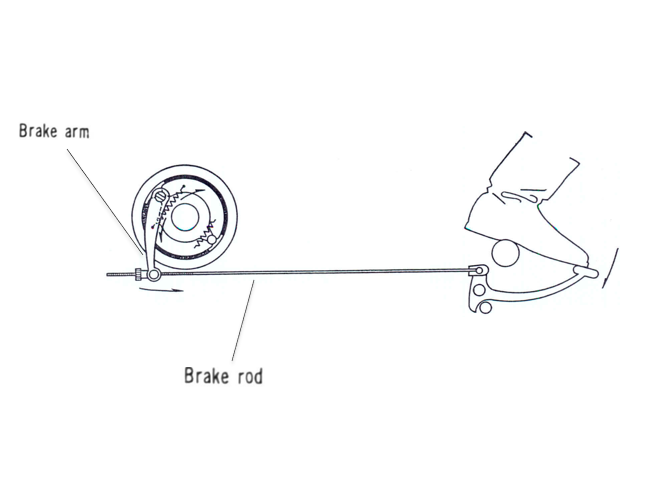
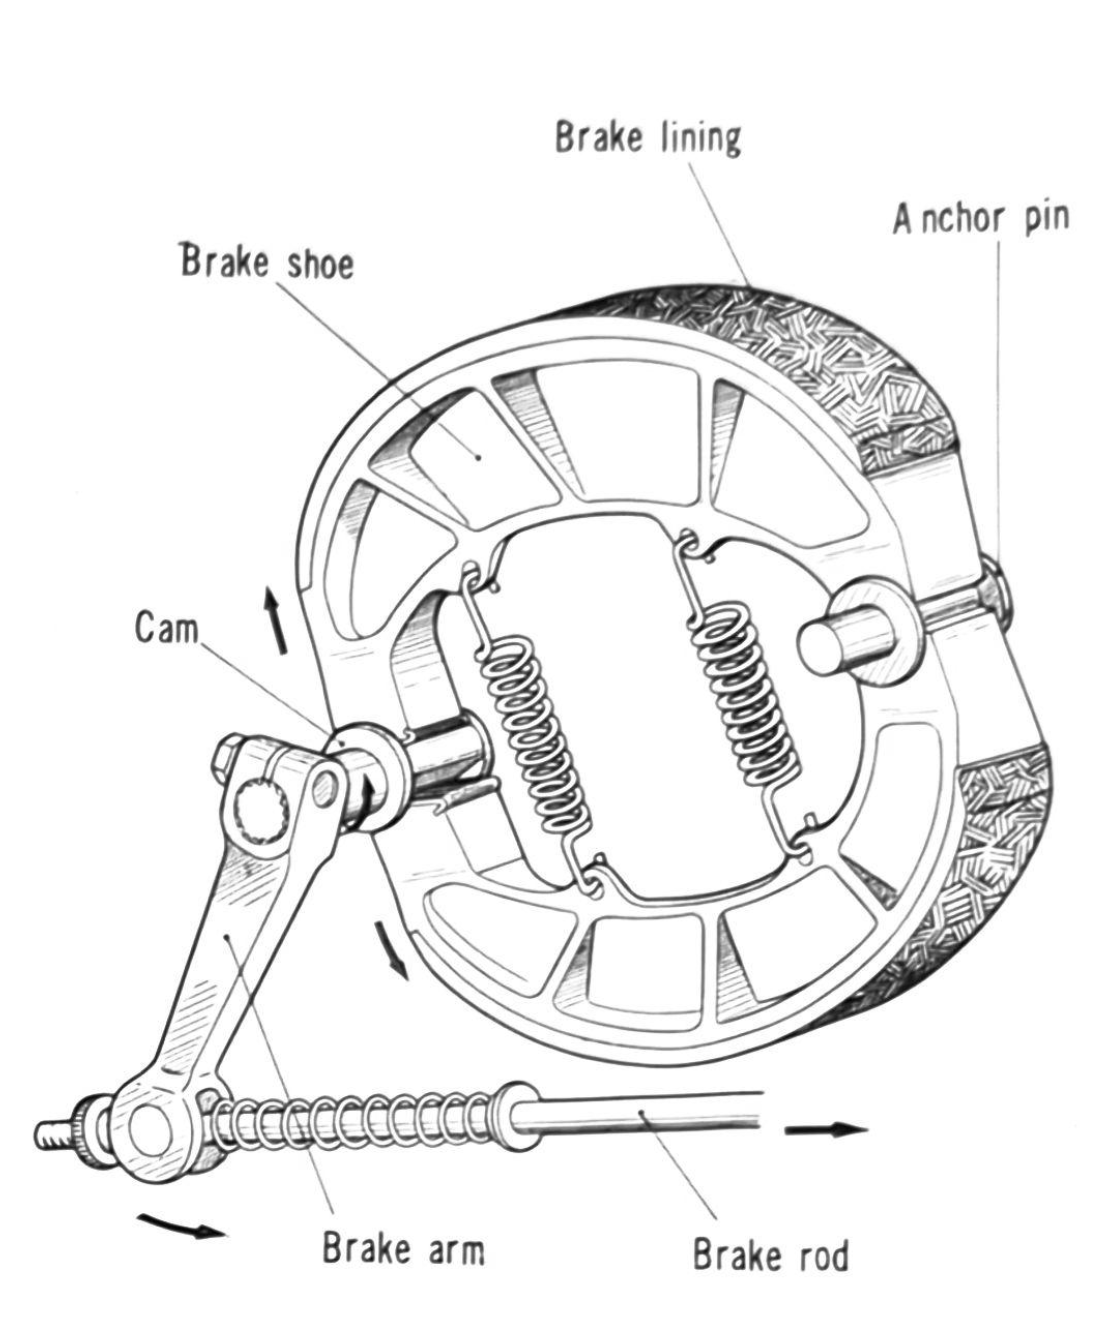
Rear brake operation
Break-in
Brake shoes bed-in with use, increasing the area of the shoe that contacts the drum and improving stopping power. Back in the day it was common for garages to offer "re-arcing" services for people replacing their brake shoes.
The process was done in two stages, first the drums were machined on a lathe to ensure they were round and then the shoe linings were ground to the correct size for the drum.
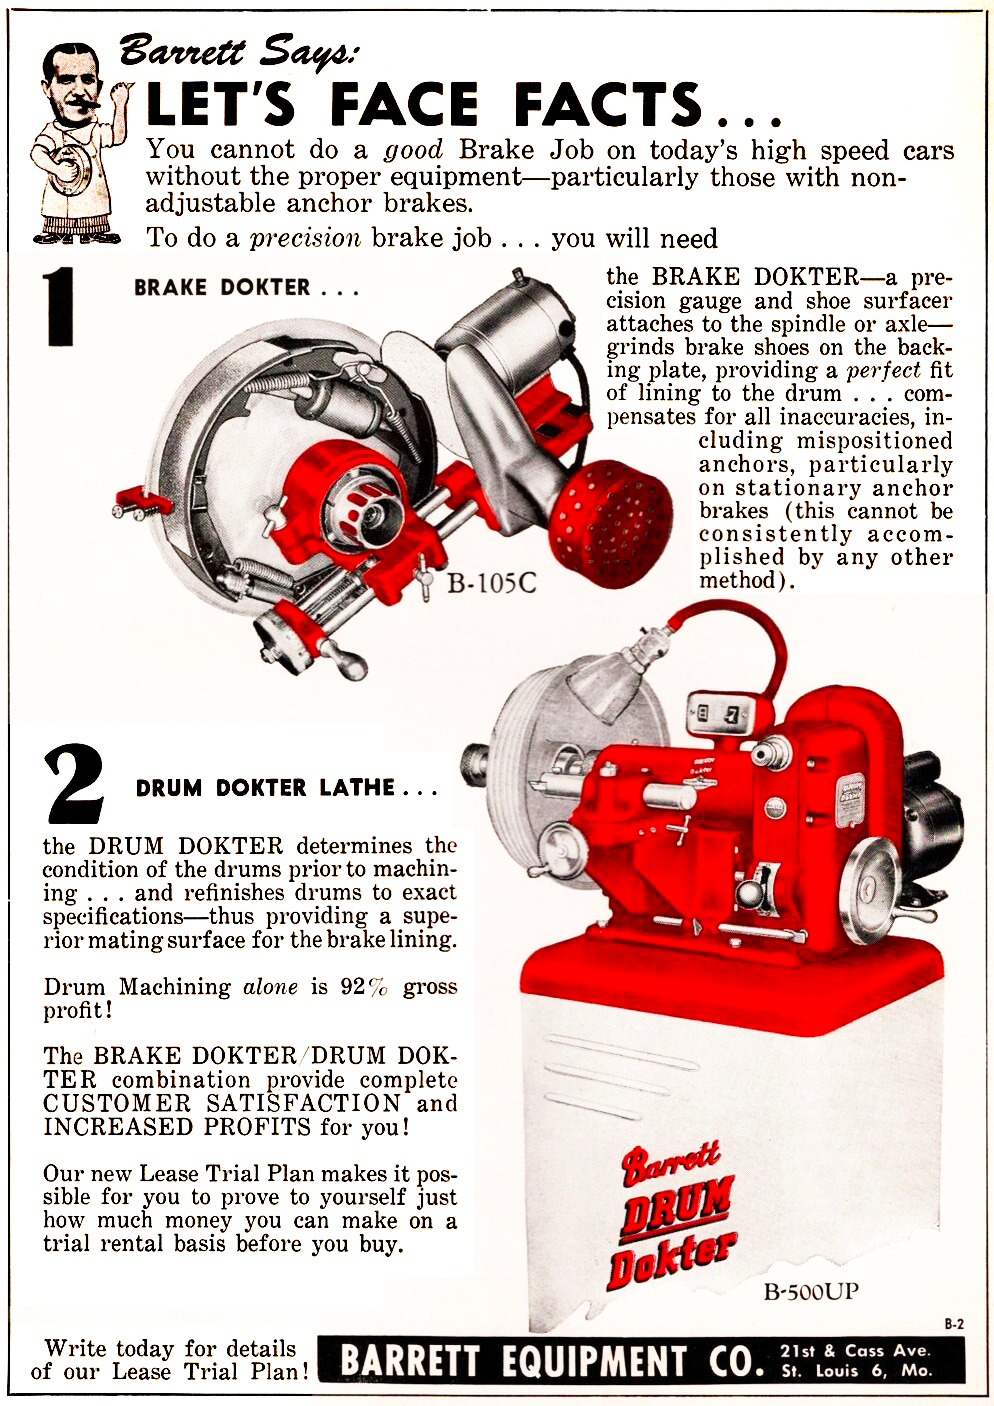
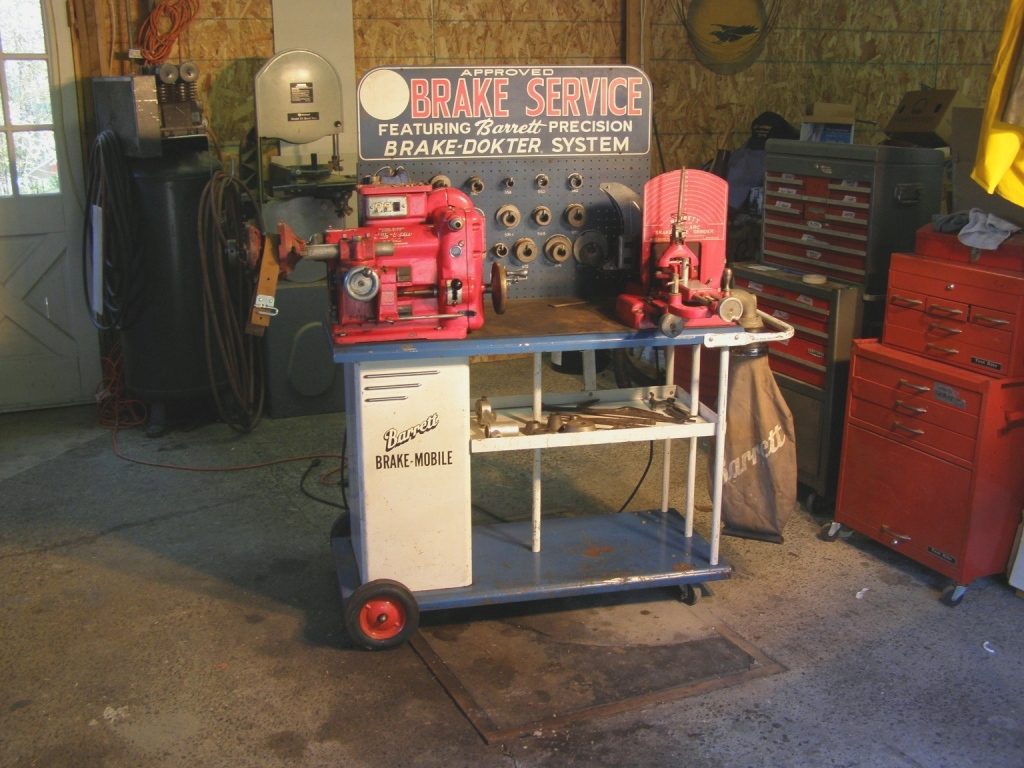
Apparently Barrett's brake and drum dokter stations were a common sight in US garages during the 50s and 60s. Note the brown hessian bag the (potentially lethal) dust created by the grinding machine.
You can see the Brake Doktor in action below
These machines are now a thing of the past, and today break-in has to happen over time with use. As break-in times may take 100s of miles this may take a while - particularly for vintage bikes that are not used daily - and consequently it is sometimes recommended to accelerate the process by manually 'arcing' the shoes to match the brake drum. It is up to you whether you follow this advice (I did) but be warned it involves taking sandpaper to your brake shoes.
One way to do this is to line the inside the drum with a strip of sandpaper folded over the edge of the drum and taped down to stop it moving. You can then re-fit the brake plate and rotate it within the drum until you get an even scuff pattern across the entire surface. I can't find any Honda manuals sanctioning this type of thing, although the (very old!) C100 manual does suggest the following:
Sand down lining face to shoe with rough emery paper if foreign matter is found or facing is rough.
left: burnishing showing where the linings touch the drum prior to arcing / right: checking progress on the arcing
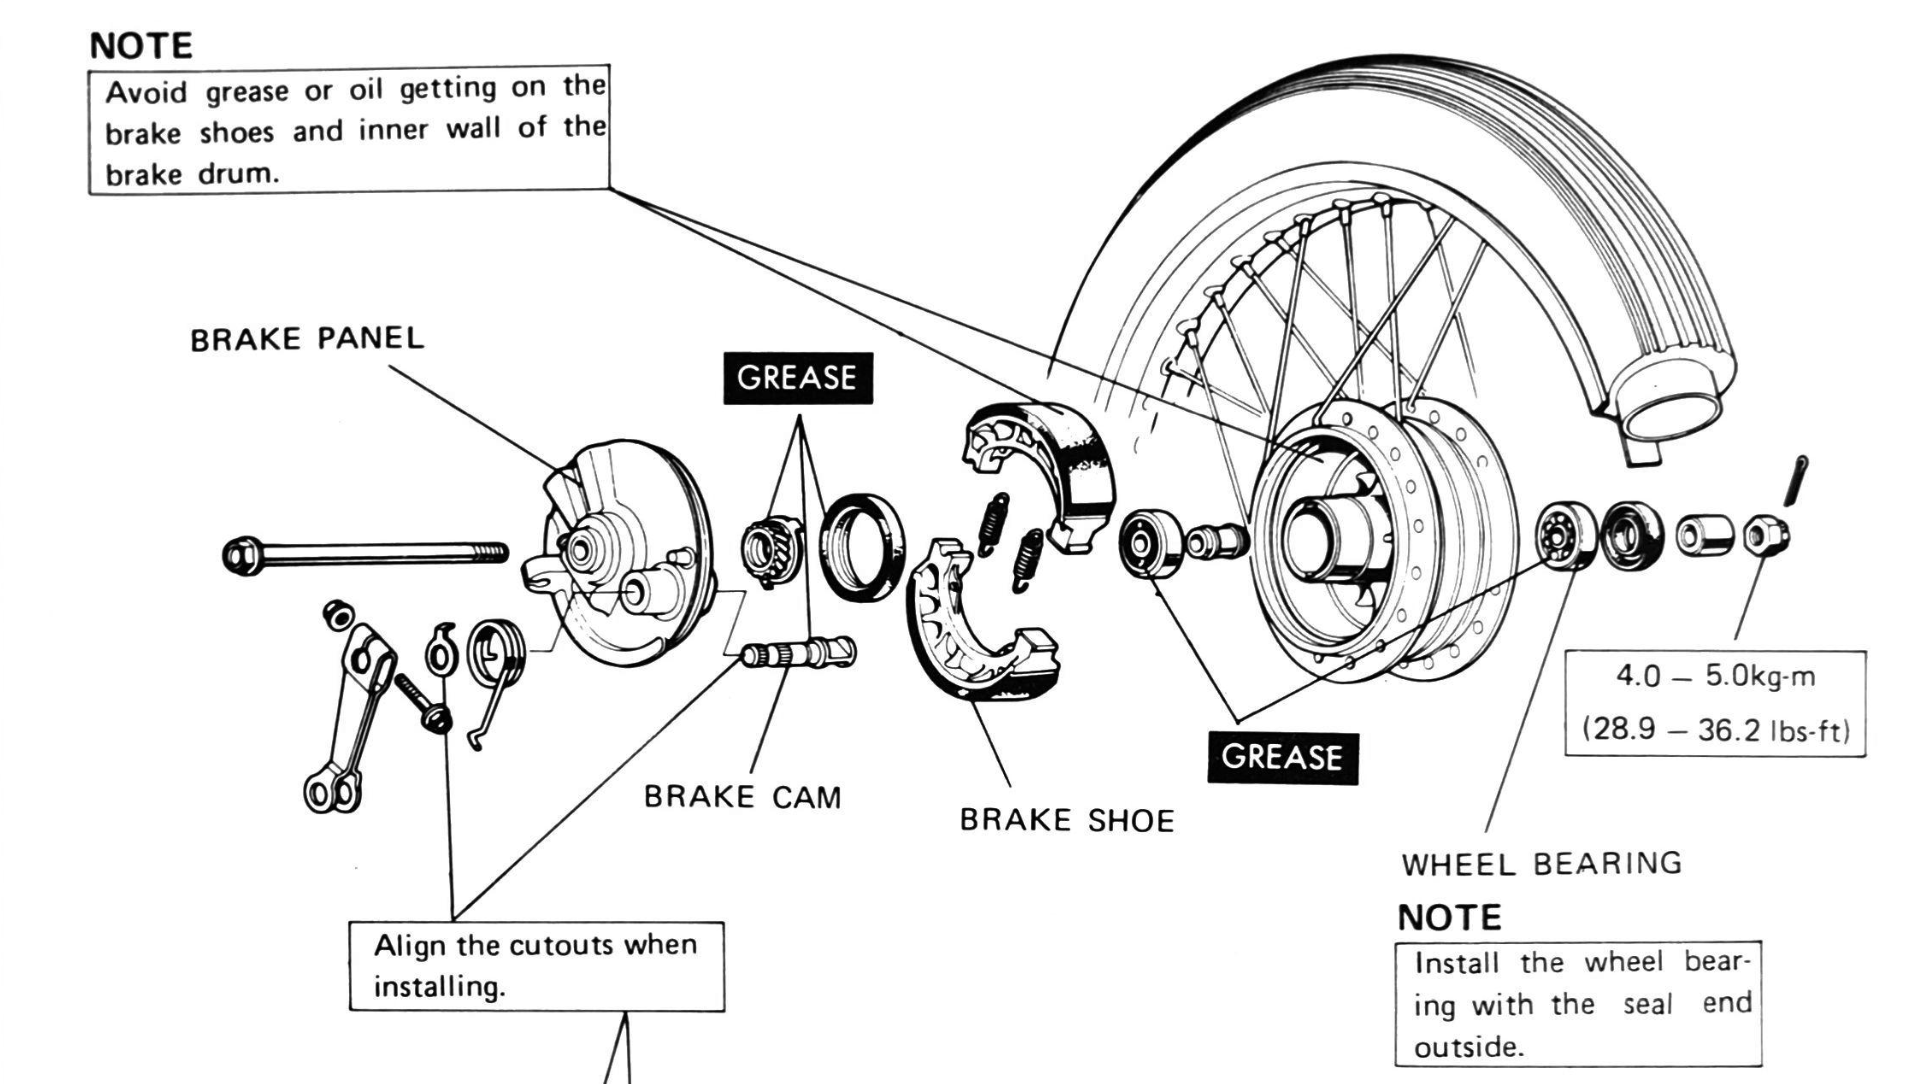
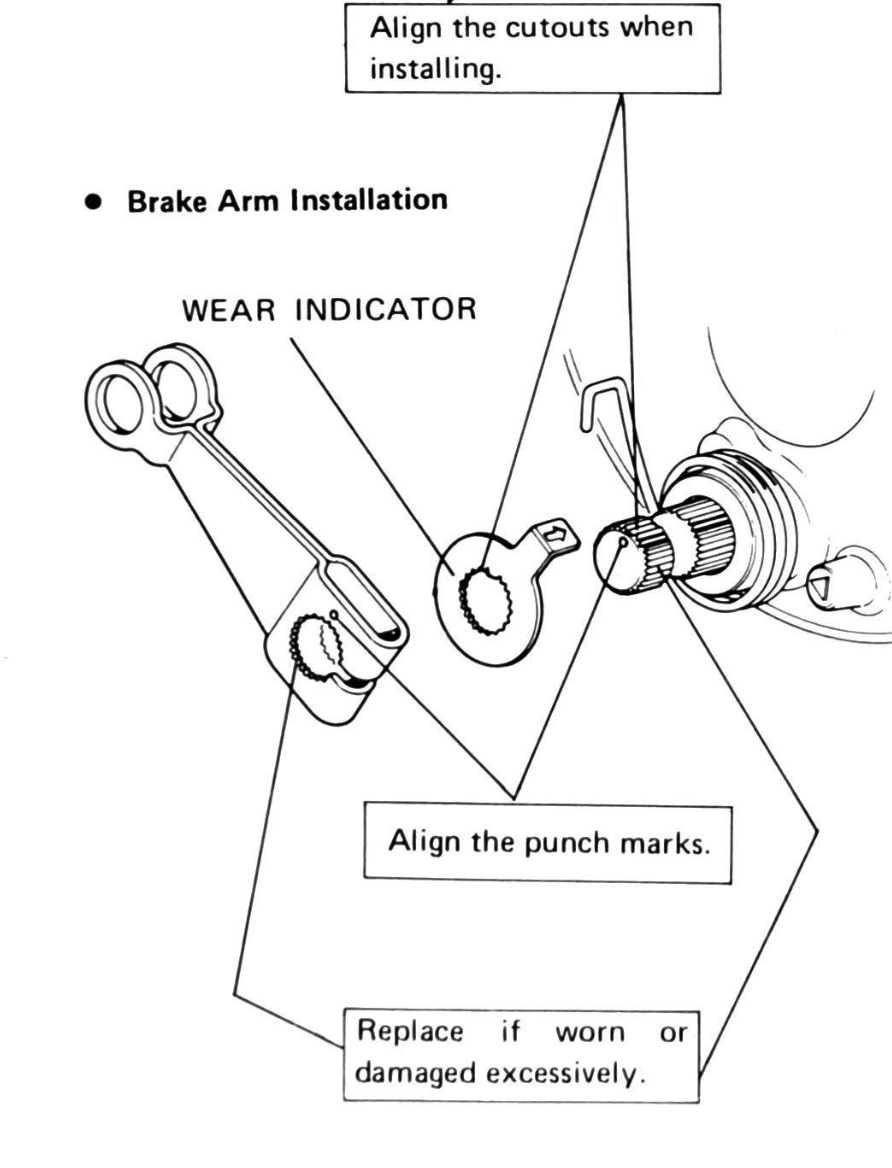
Installation and service limits
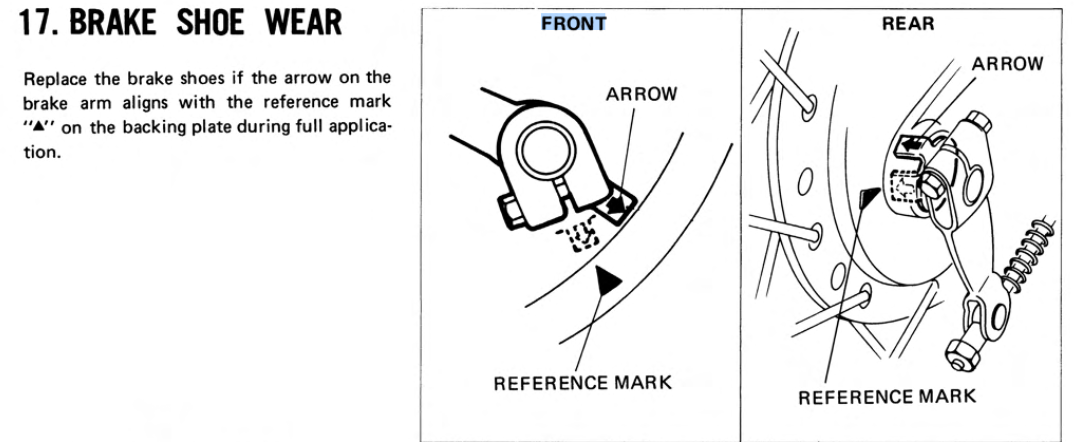
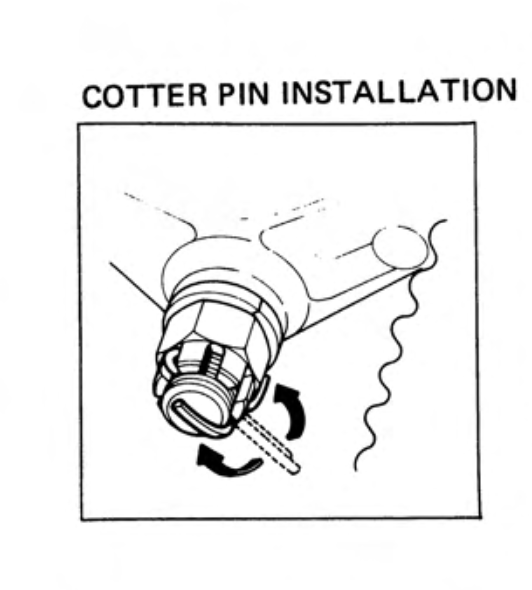
Instructions below - there is not much to know, but note the alignment marks on the cam and brake arm shown in the centre diagram below and the correct way to install the cotter pin on the castellated nut (shown on the right).
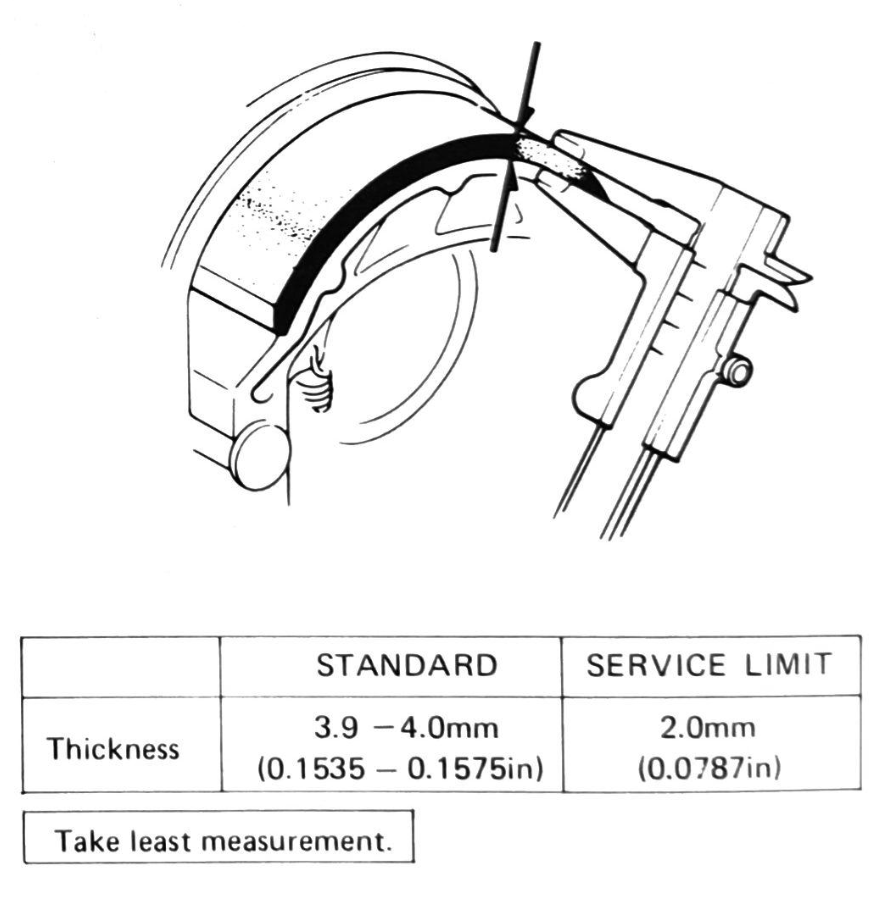
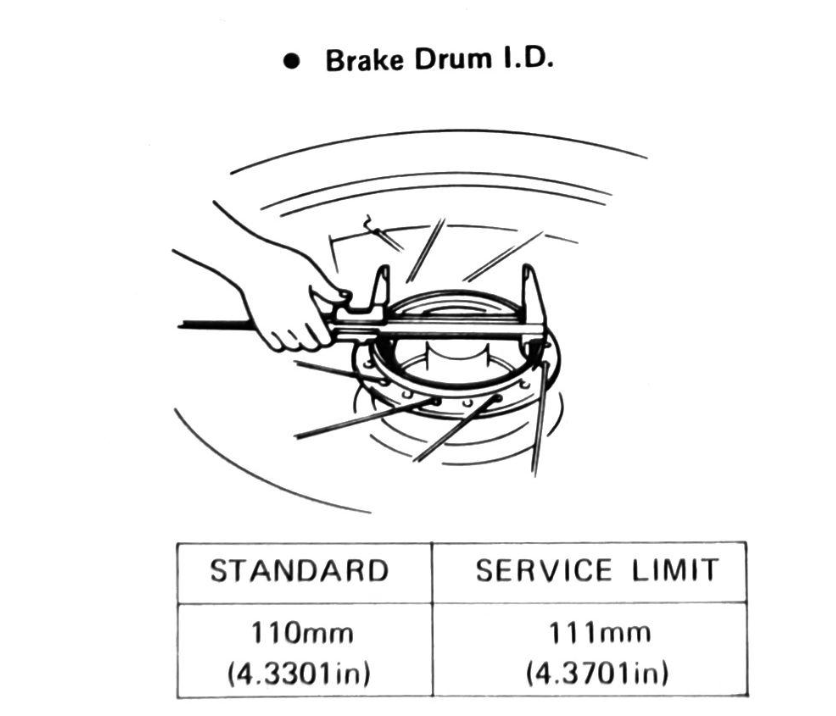
The service limits are shown below