Over the past couple of weeks I have been moving this website from Wordpress to Ghost.
Modern web technology
Moving to a modern solution based on HTML, CSS, and JavaScript seemed like a good opportunity to learn some new things, since I haven't done any front-end development before (well, apart from in the early 90s when we were still creating form based applications):
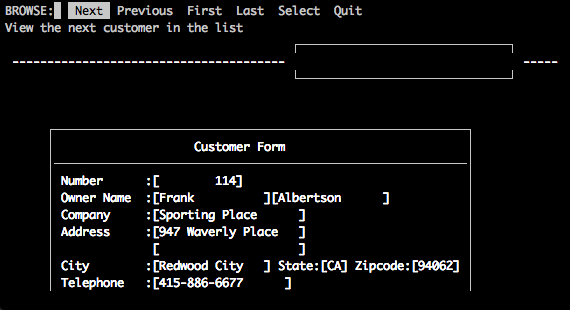
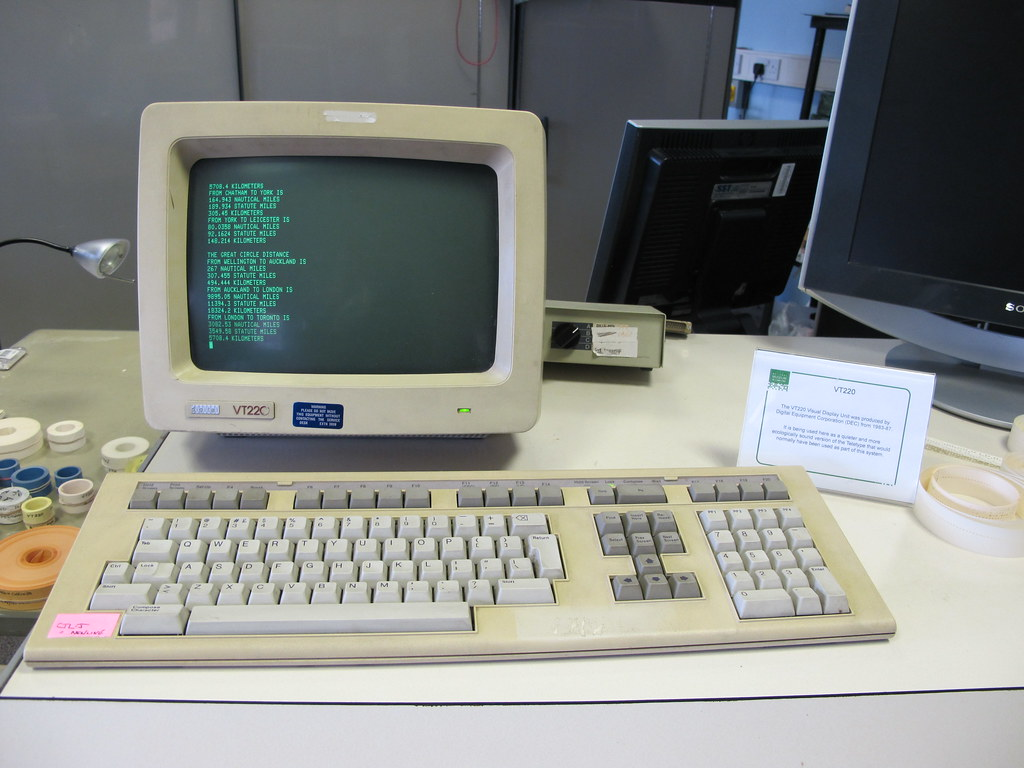
once upon a time we wrote form based user interfaces like this and ran them on dumb terminals like the vt220 shown on the right.
Ghost
Ghost is a free, open-source solution that is built using modern technologies and provides a comprehensive API to manage your content and site.

Amazon Lightsail Hosting
Ghost.org offer a reasonably priced managed hosting solution - Ghost(Pro) - but if you are happy to take care of the server, patches and backups, then you can install it yourself for free.
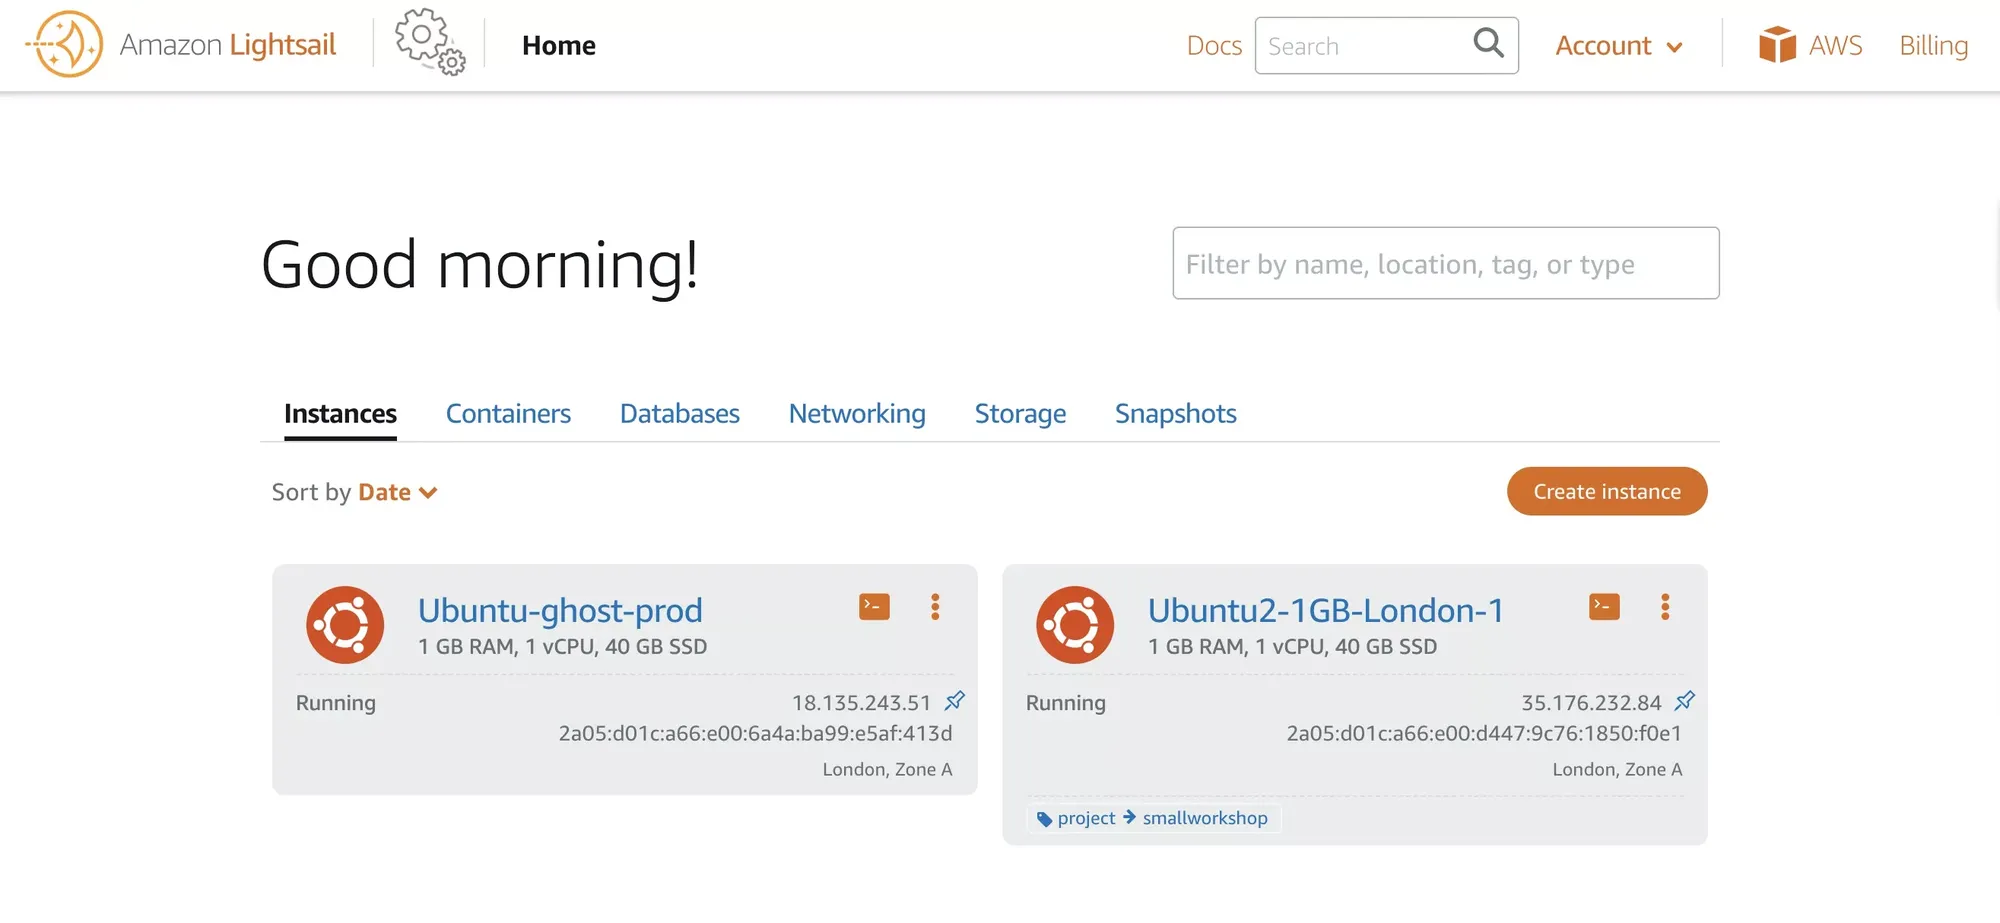
I have been self-hosting the old wordpress site on an Amazon Lightsail instance for a few years now and decided to stick with this approach for the Ghost version.
Lightsail is wrapper on top of the Amazon AWS EC2 service that disguises some of the mind boggling complexity involved in figuring out the pricing, configuration and management options associated with a typical AWS deployment.
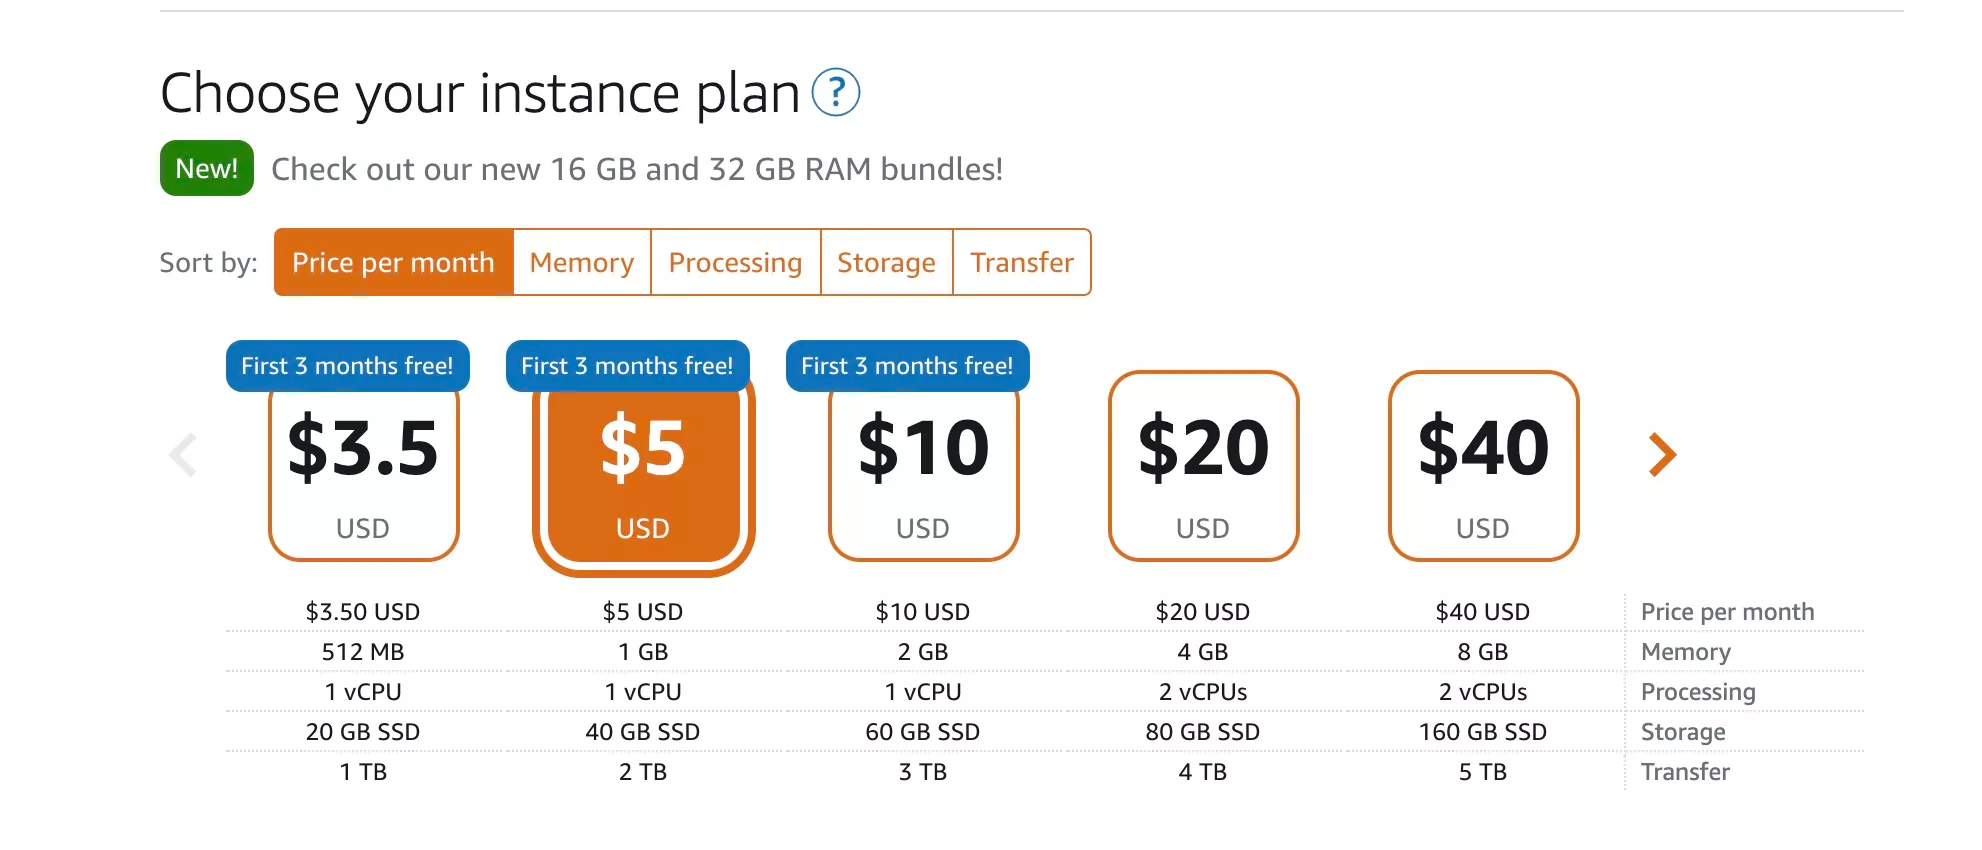
A limited set of instance configurations with a simple fixed monthly fee are available:
Server Installation
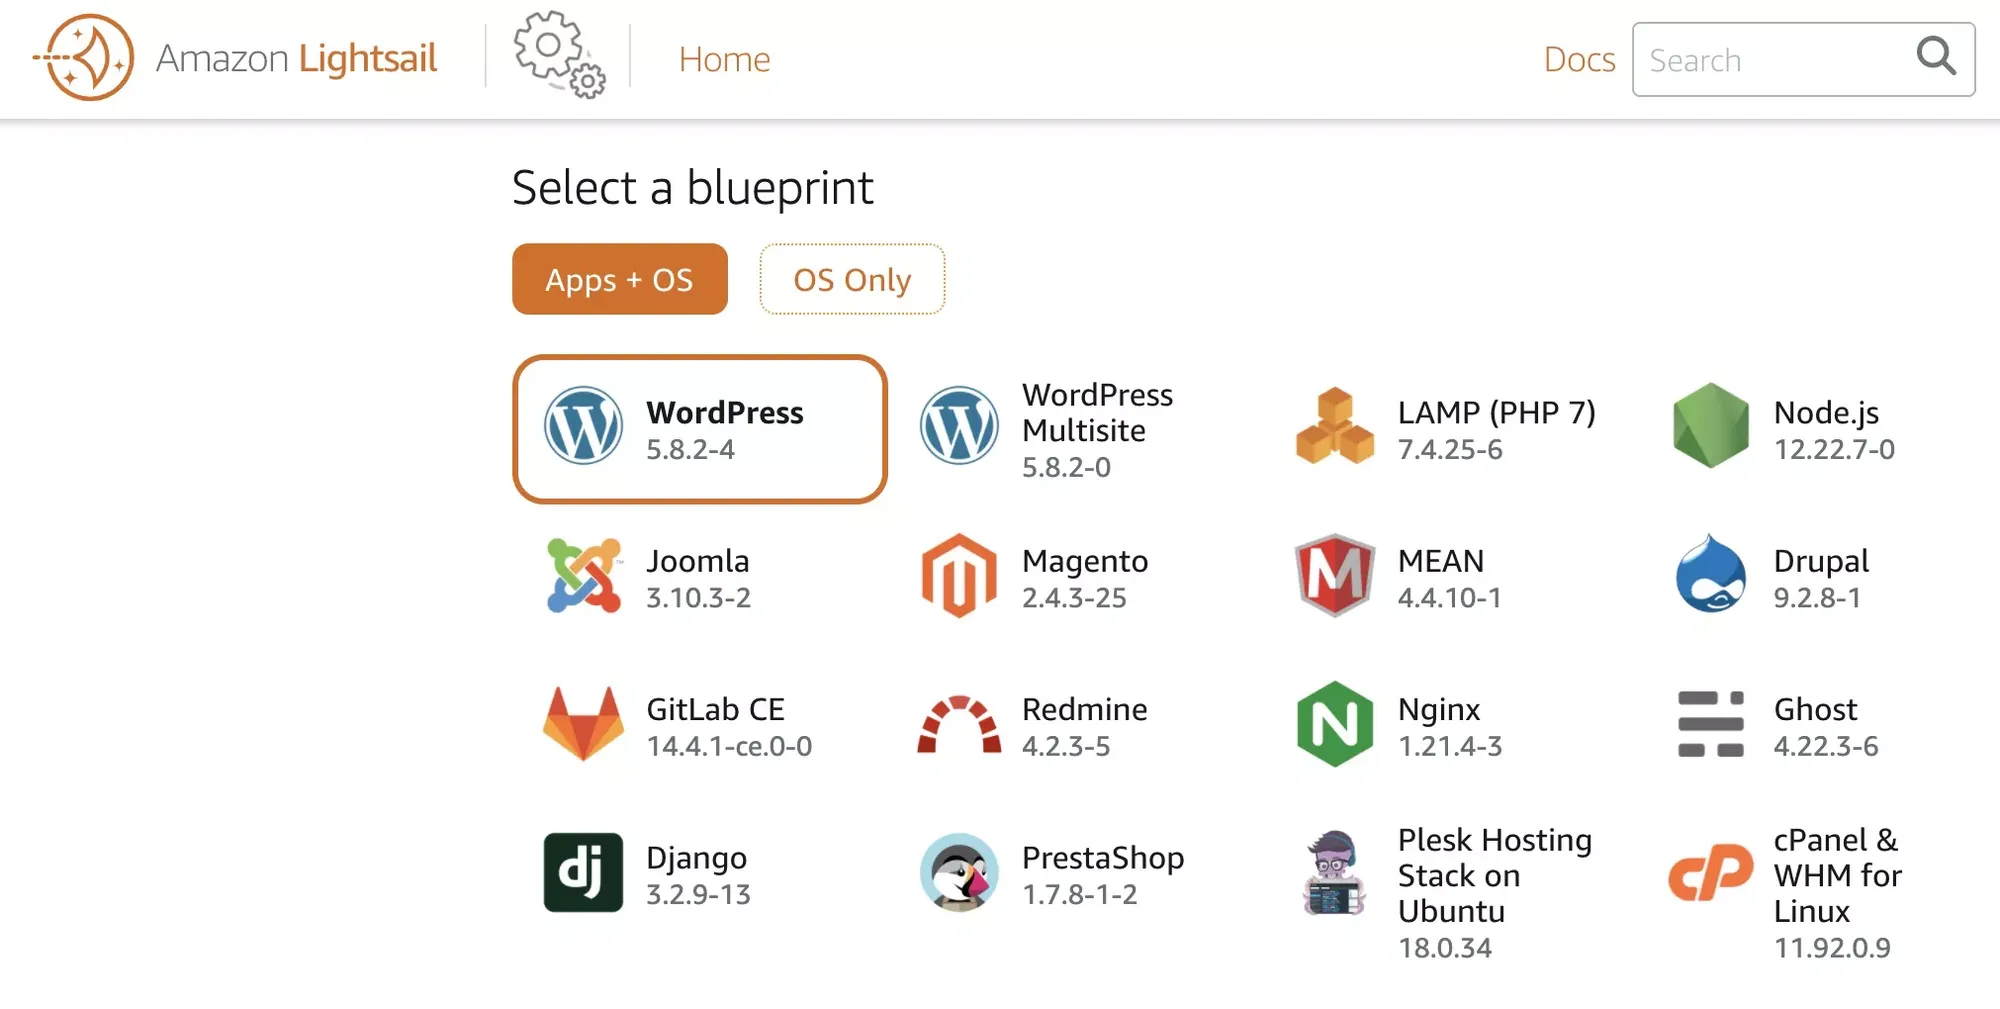
Amazon offer a variety of 'blueprint' images, including a Ghost server, but it is easy enough to deploy a vanilla OS image and install the software yourself.
The recommended linux version is Ubuntu (I am running Ubuntu 22.04) and the installation instructions are here:

As explained above there are a few prerequisite packages to install, including the relational database that Ghost uses (mysql), a webserver (nginx) and node.js.
Although Ghost runs happily on the 1 GB instance, the ghost installer is a bit of a memory hog. I needed to use the --no-mem-check option to get it to run at all then the installer would hang the virtual server before completing. I was eventually able to get it to finish by using nice:
nice -21 ghost install --no-mem-check.. but the better fix is to free up some memory. This is easily done by disabling the MySQL performance schema which frees up about 200Mb of memory. On an ubuntu server you can disable the performance schema on startup by adding:
[mysqld]
performance_schema = 0
... to /etc/mysql/my.cnf
Network settings
The default dynamic public IP address attached to your instance changes every time you stop and restart it, so you will want to create a static IP address. You can then point your registered domain name to the static IP and avoid having to update your domain's DNS records each time you restart your instance.
If you don't already have a domain name registered you'll need to do that now.
Like IP addresses, domain names need to be unique on the internet so a registration process is required to make sure that the same domain name is not allocated to more than one person. The domain name registration process is overseen by ICANN, and this organisation accredits commercial Domain Registrars who handle the registration process and charge a fee for their services.
The registrar I use is Namecheap. The process is simple: the first step is to find a domain name that has not already been registered, and then to decide how long you would like to rent the name for. Finally supply your payment details and you are all done.
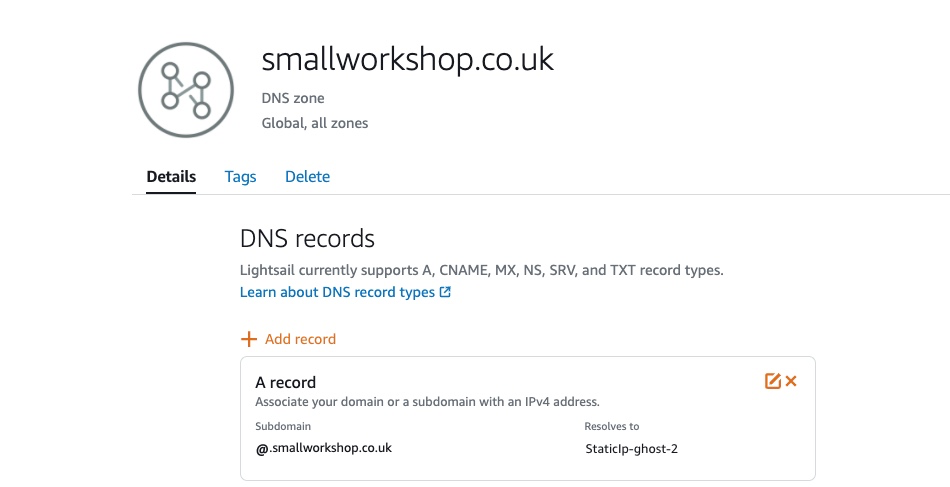
After you have associated your new static IP to the virtual server, you can associate your domain name to the IP. To do this you add an entry to the Domain Name System (DNS) records for your domain. You can manage the DNS records for your domain using the registrar's software or you can choose to manage them using Lightsail. I find it convenient to manage my DNS records in Lightsail so all the server and network admin can be done in one place. The instructions for setting this up are here:


This guide shows you how to create a Lightsail DNS zone for your domain, and how to transfer management of your domain's DNS records to Lightsail
Note that transferring management of your domain's DNS records to Lightsail does not alter your commercial relationship with the domain's registrar who will continue to handle billing and renewals.
The next step is to configure the Nginx web server. The vanilla Nginx configuration installed by Ghost should work. I modified my configuration so that - amongst other things - I can serve up webp versions of standard image files. You can see what I did it his post:
 Nick
Nick
Depending on your hosting arrangements, you may need to install a firewall on the server. In the case of a Lightsail installation, Amazon automatically enables a virtual firewall for all new instances. The default rules only allow ssh (remote secure shell/copy access) and HTTP access. You will need to allow HTTPS access once you have your SSL certificate arranged. I use certbot to manage a Let's Encrypt certificate. The Ghost installer can automatically install a certificate for you if you would rather not do it yourself.
You can read all about SSL Certificates here:
Nick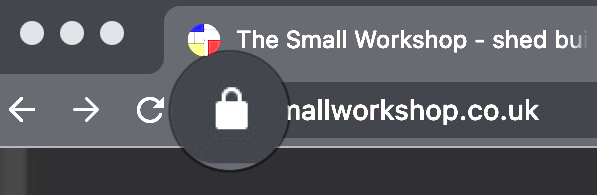
Migrating Wordpress content
If you are moving from Wordpress the instructions to migrate your WP content are here. I found it was easier to load the json export separately and then copy the WP image archive to the new server directly. As explained in the instructions, you can update the href attributes in the json file if you want to change the directory structure used (as I did in order to remove the references to wp-content/uploads).
Content Fixes
My content was imported with only a couple of issues: footnotes and gallery images did not always work and these I fixed by hand. The post body comes across as a single block of html. If you copy the block contents and paste into the Ghost editor it automatically converts the content into Ghost blocks which make for easier editing in future.
Theme
The last step is to pick a Theme. I have developed my own theme - you are welcome to use it. See the demo site for more information.