I am in the process of making a saw bench, my first attempt at making anything with hand tools. Needless to say I am making my fair share of mistakes.
I am making it from a couple of scaffold boards. The design is a bit convoluted compared to traditional saw benches, but hopefully this will be good for learning.
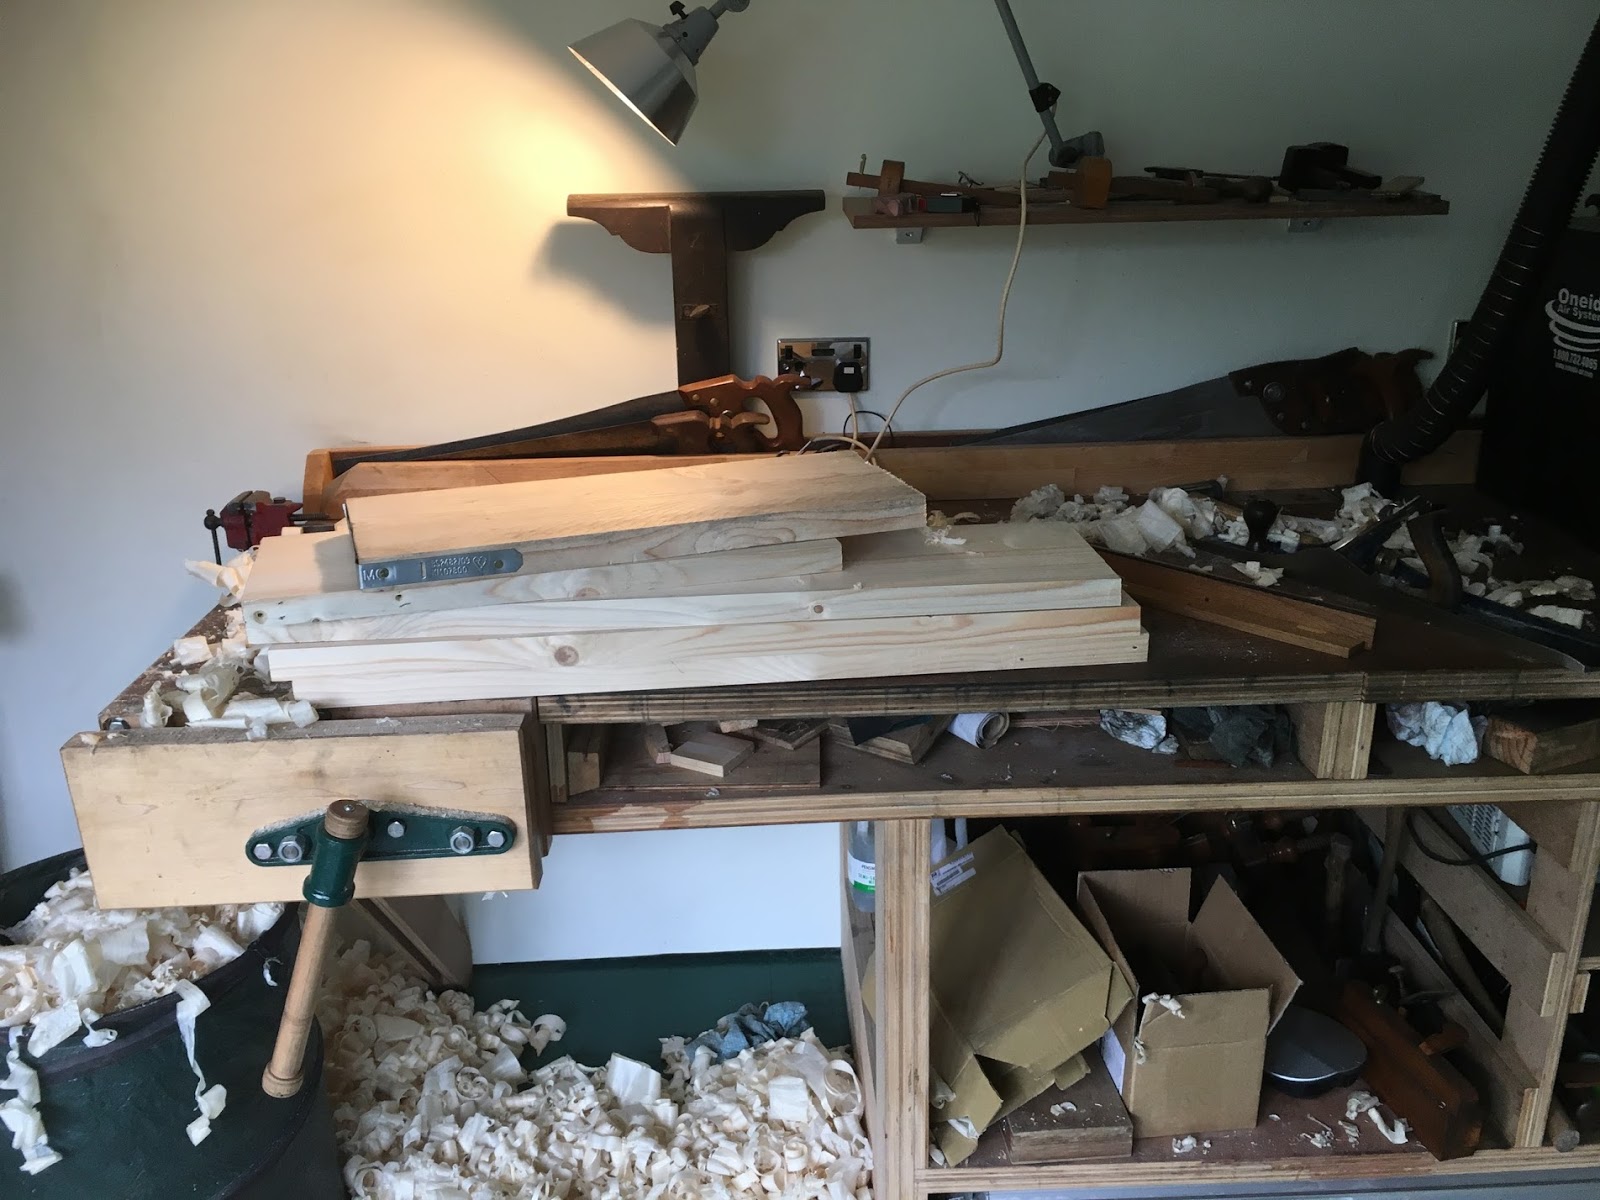
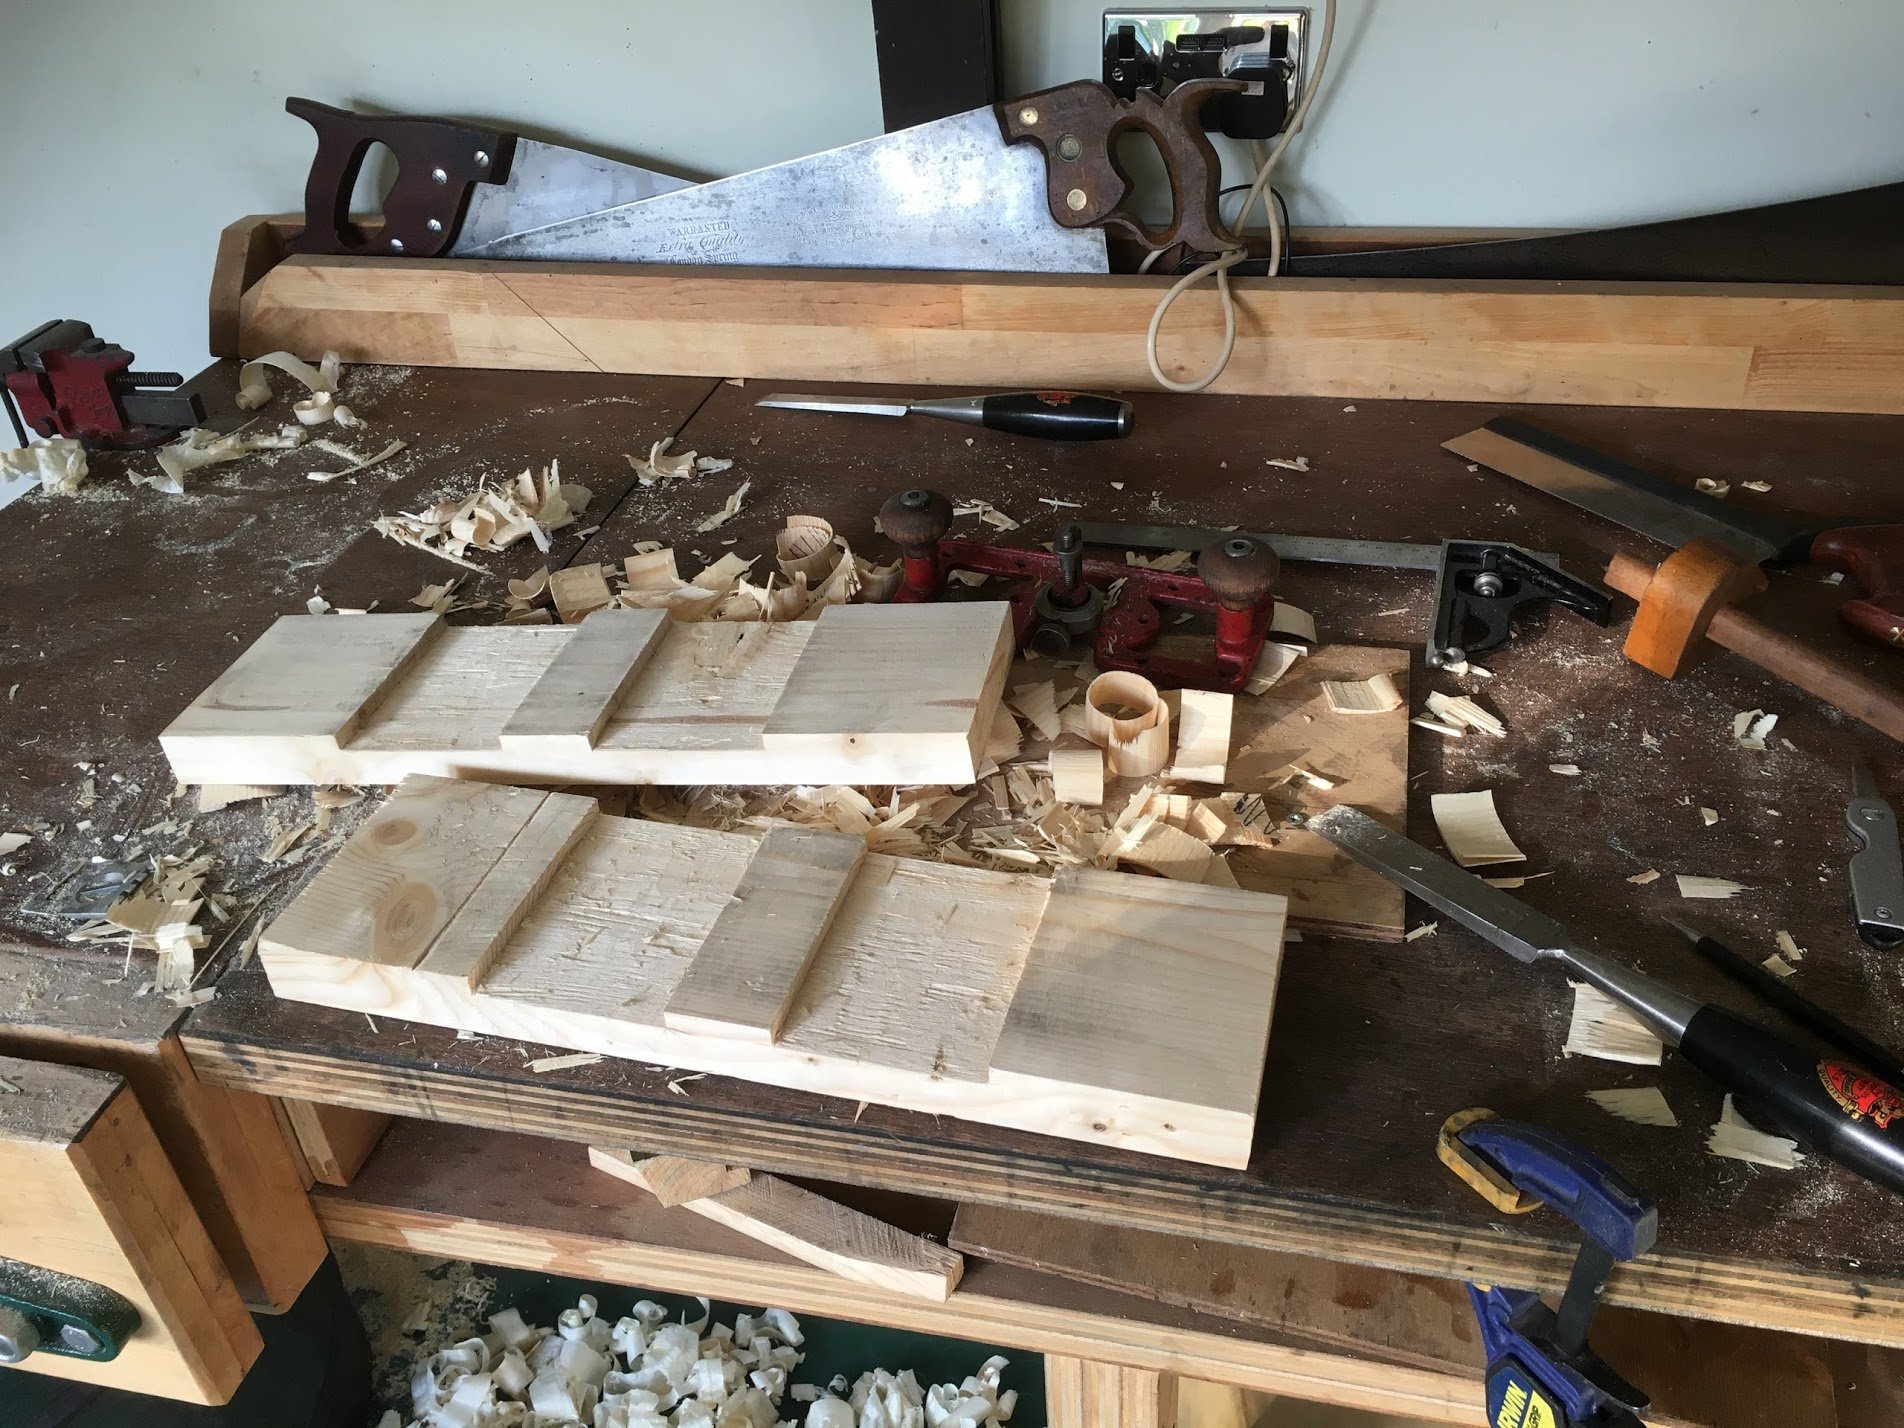
The first job is to “rip” the scaffold boards into suitably widths, then the component parts need cutting to length and dimensioning. It turns out I am not very good at sawing in a straight line, although I had improved a bit by the end of the day, and besides the wobbly edges created a good opportunity to practice planing.
I am watching Richard Maquire’s workbench series while doing the work in order to get some tips – too late unfortunately to find out that it is often a good idea to do a minimum amount of work to get things flat and untwisted before moving on to getting the main parts cut to size, else you can end up doing some of the prep work twice.
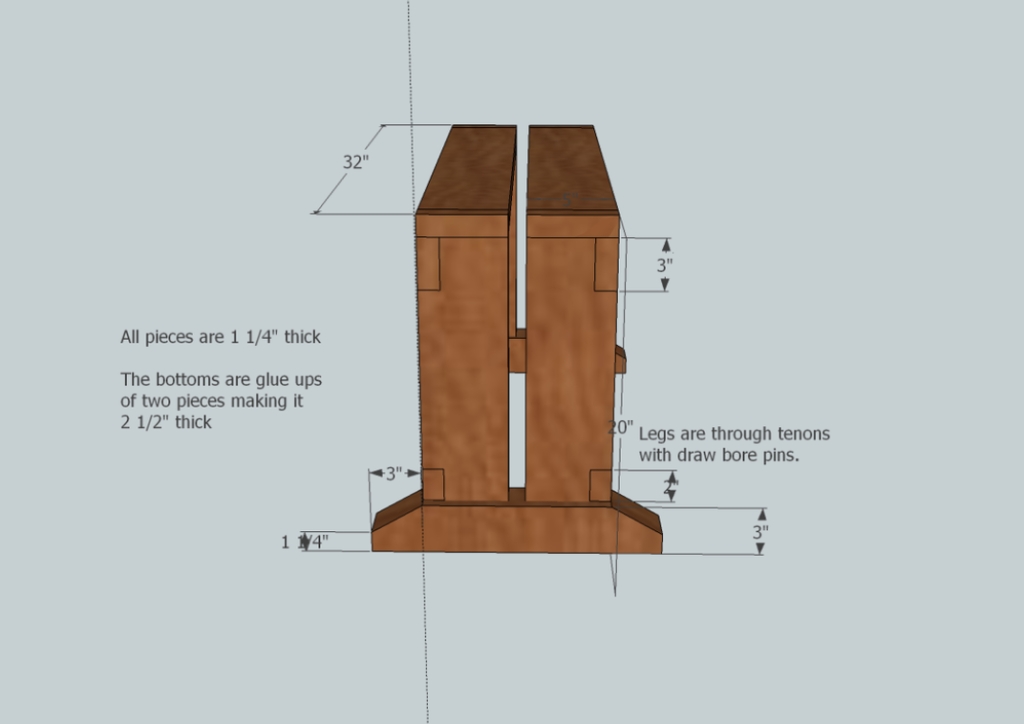
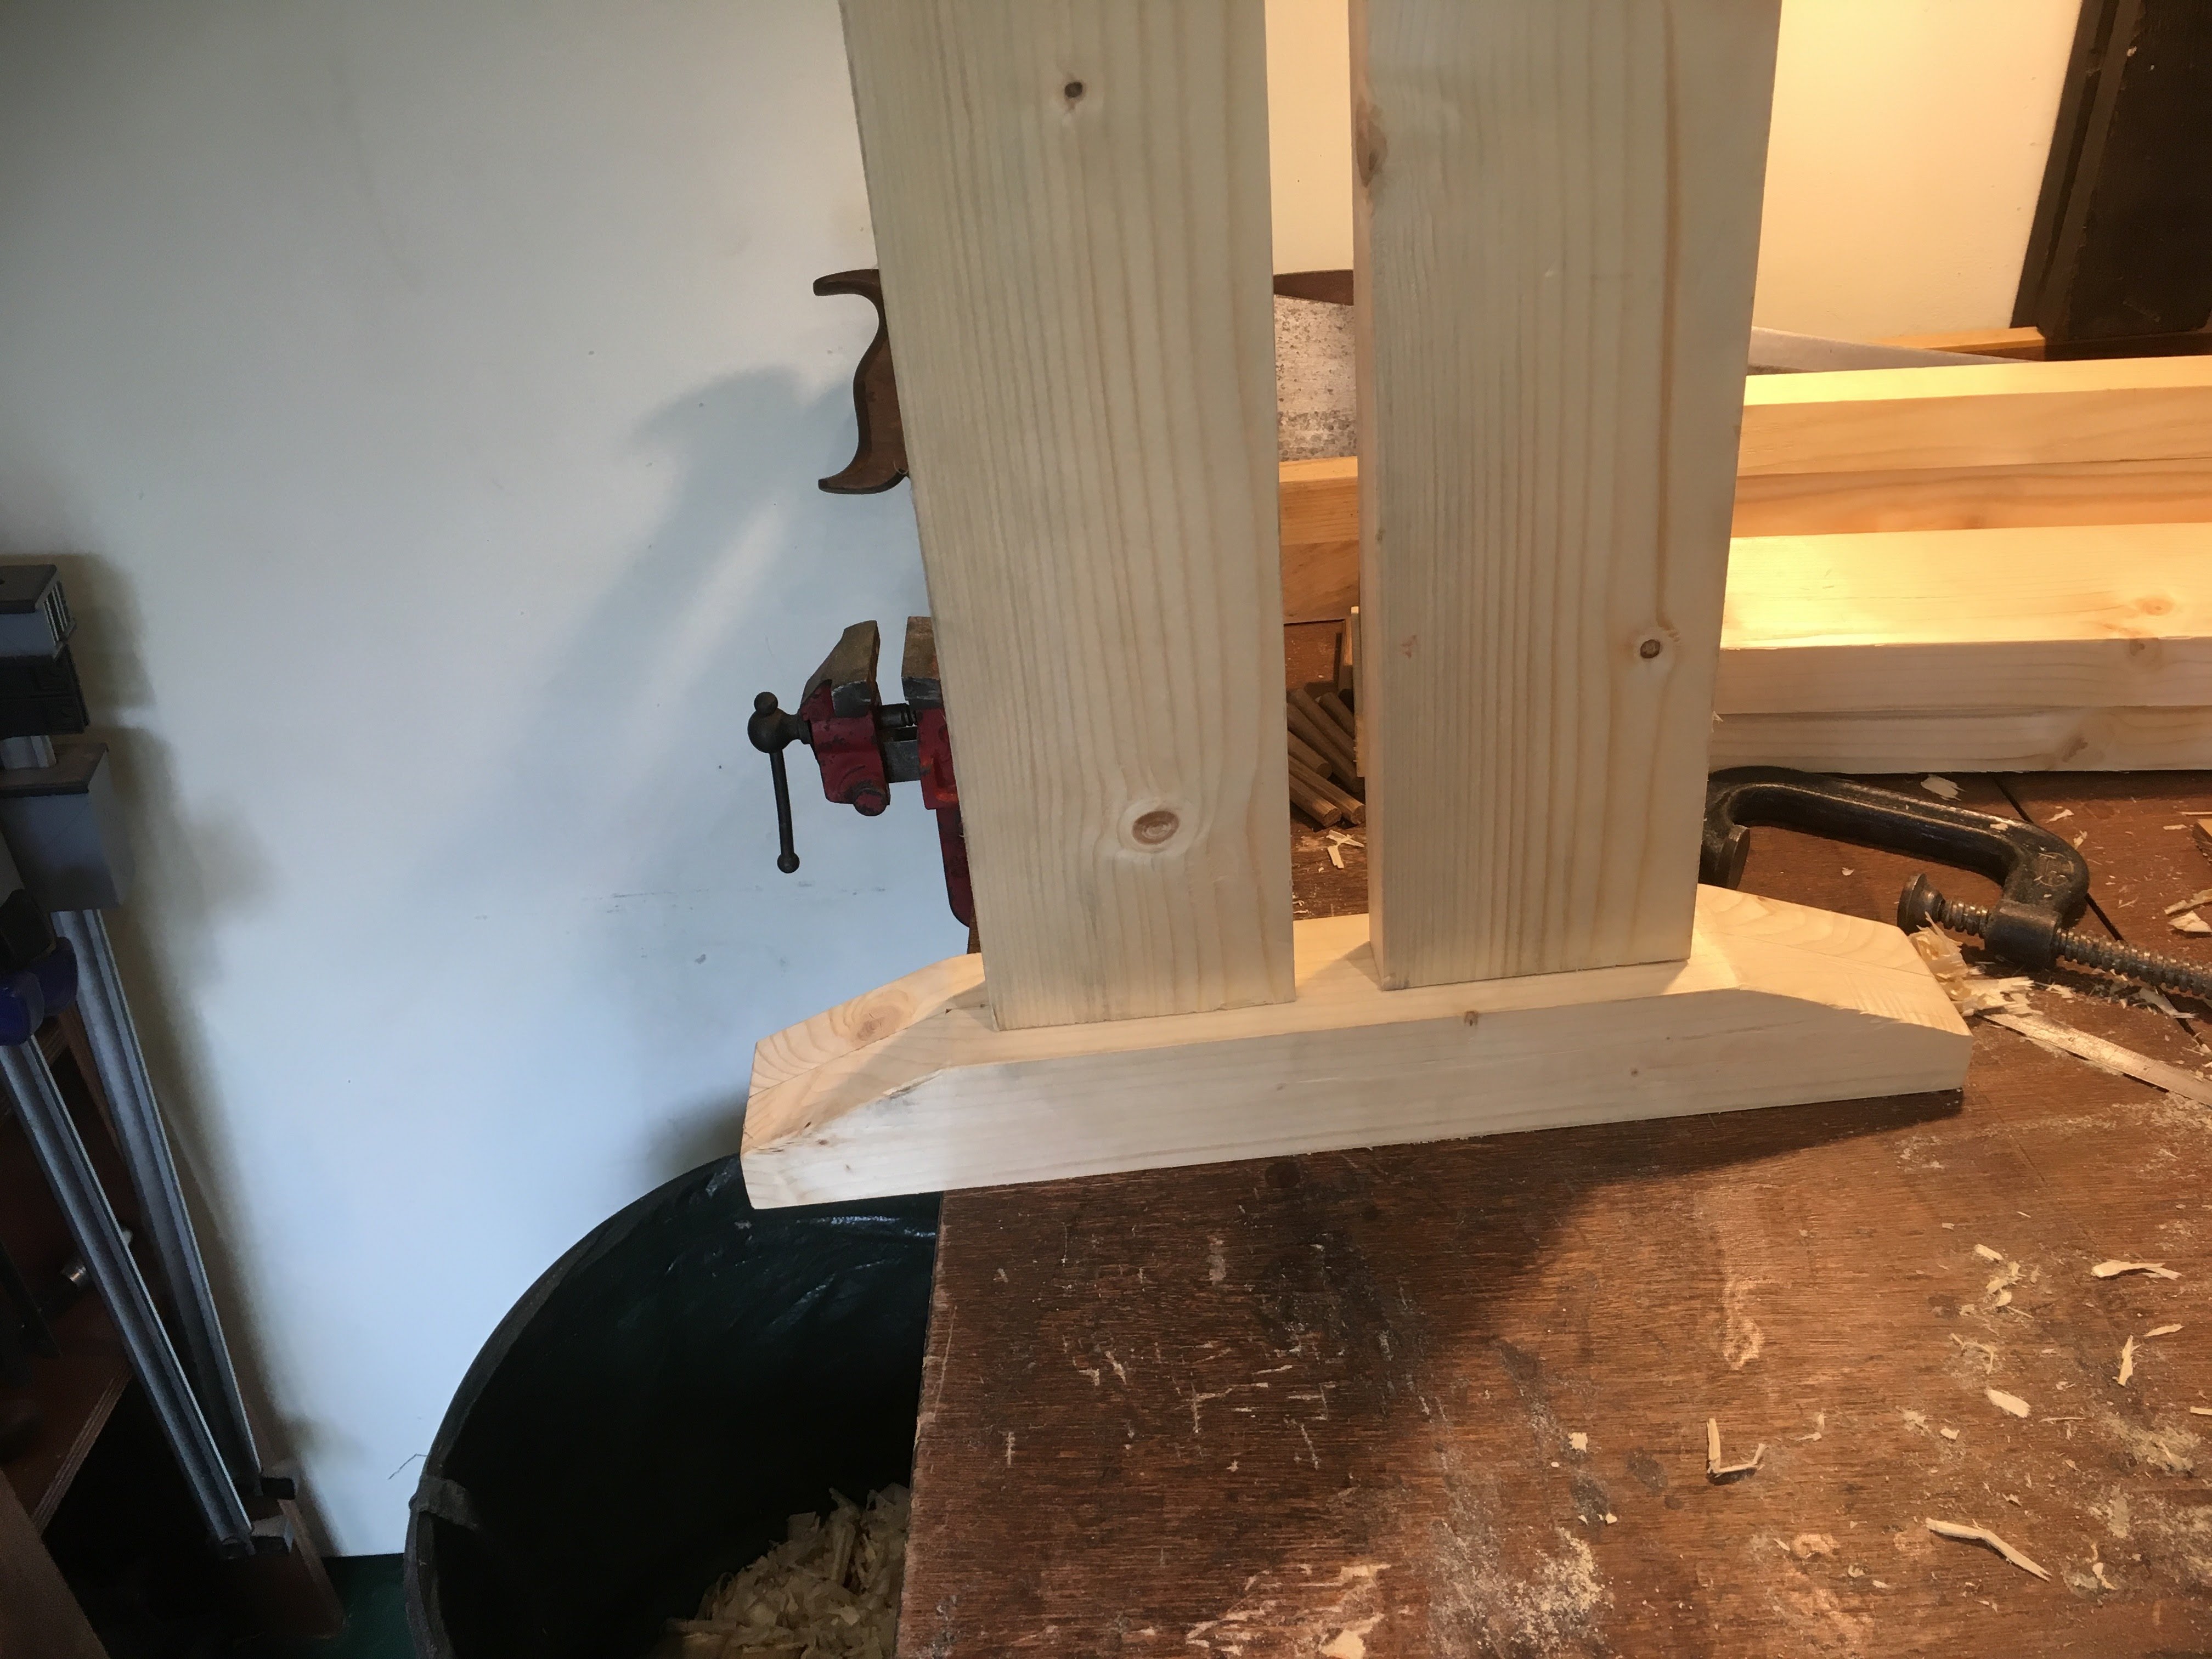
Anyhow, the end result is the main components are prepared wood and my first error: without looking at the plans I carefully measured the height of my kneecap (19.5′ inches) and then deducted the depth of the top and the base to get the height of the legs. Doh! they have to be full 19.5” as the ends of the legs form the tenon for the feet at one end and the pins that are part of the dovetail at the top.
I briefly considered amputating my feet to accommodate a scaled down bench, but on reflection decided it was better to just cut some more pieces of wood from my 2nd scaffold board.
I quite enjoyed the prep work.
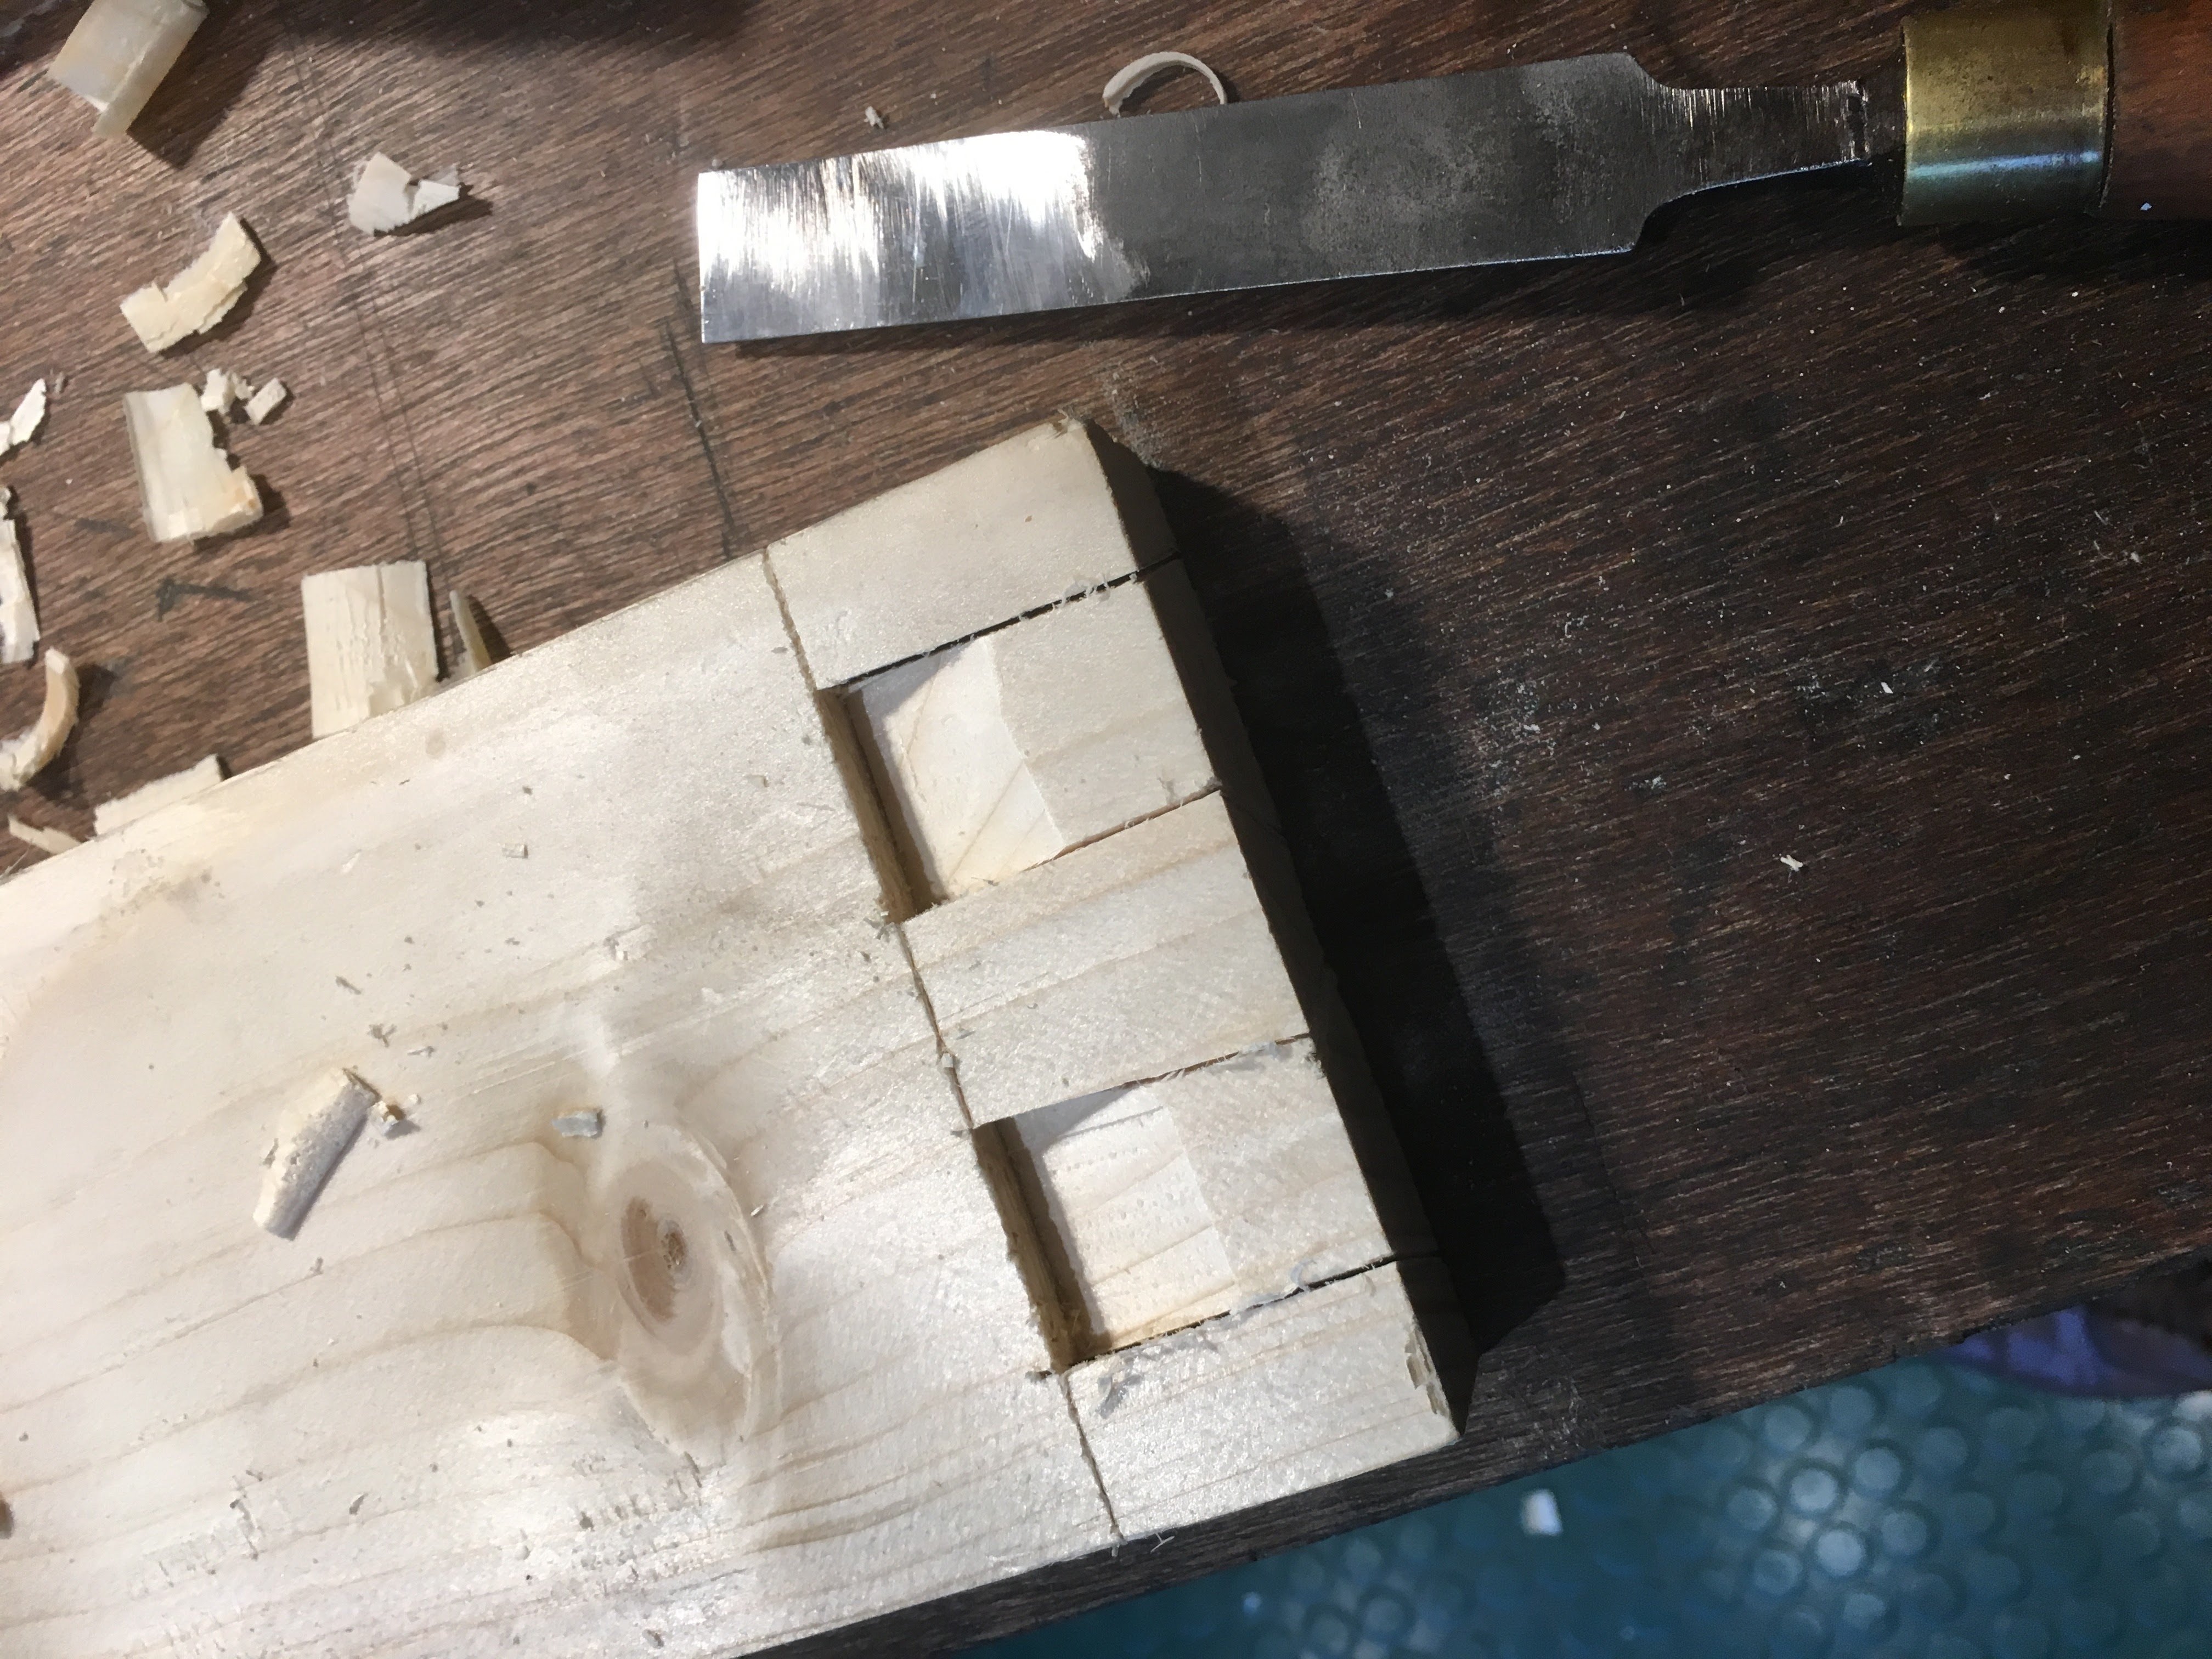
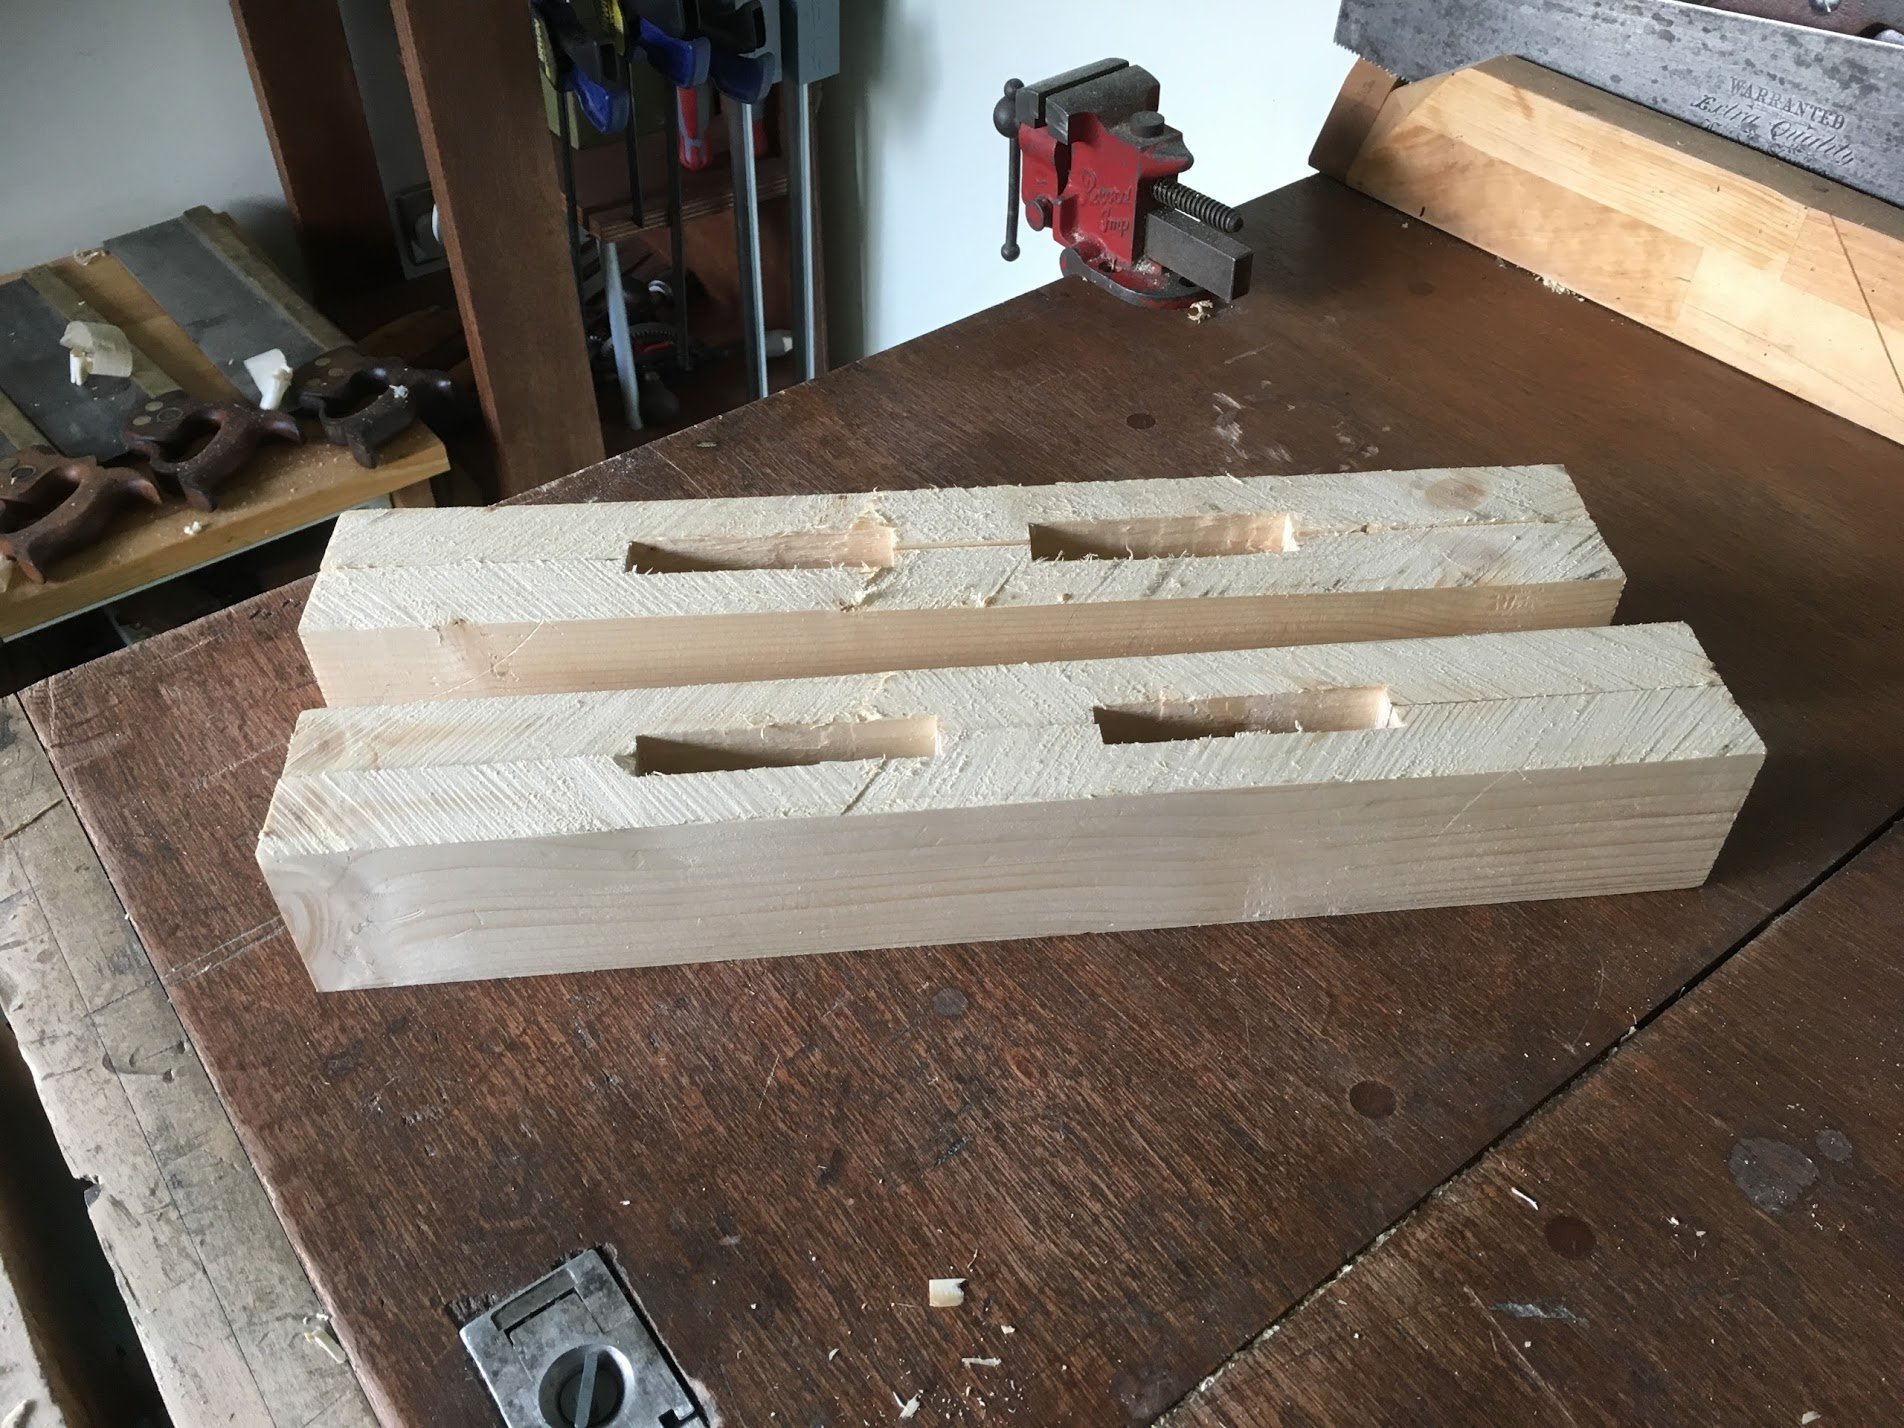
The next job job was to make the feet . First create two housings:
As you can see my technique requires some improvement! Today’s blunder involved measuring the position of one of the housing sides incorrectly – whenever I use a rule to measure something I am pretty much guaranteed to make a mistake, so I was not really surprised.
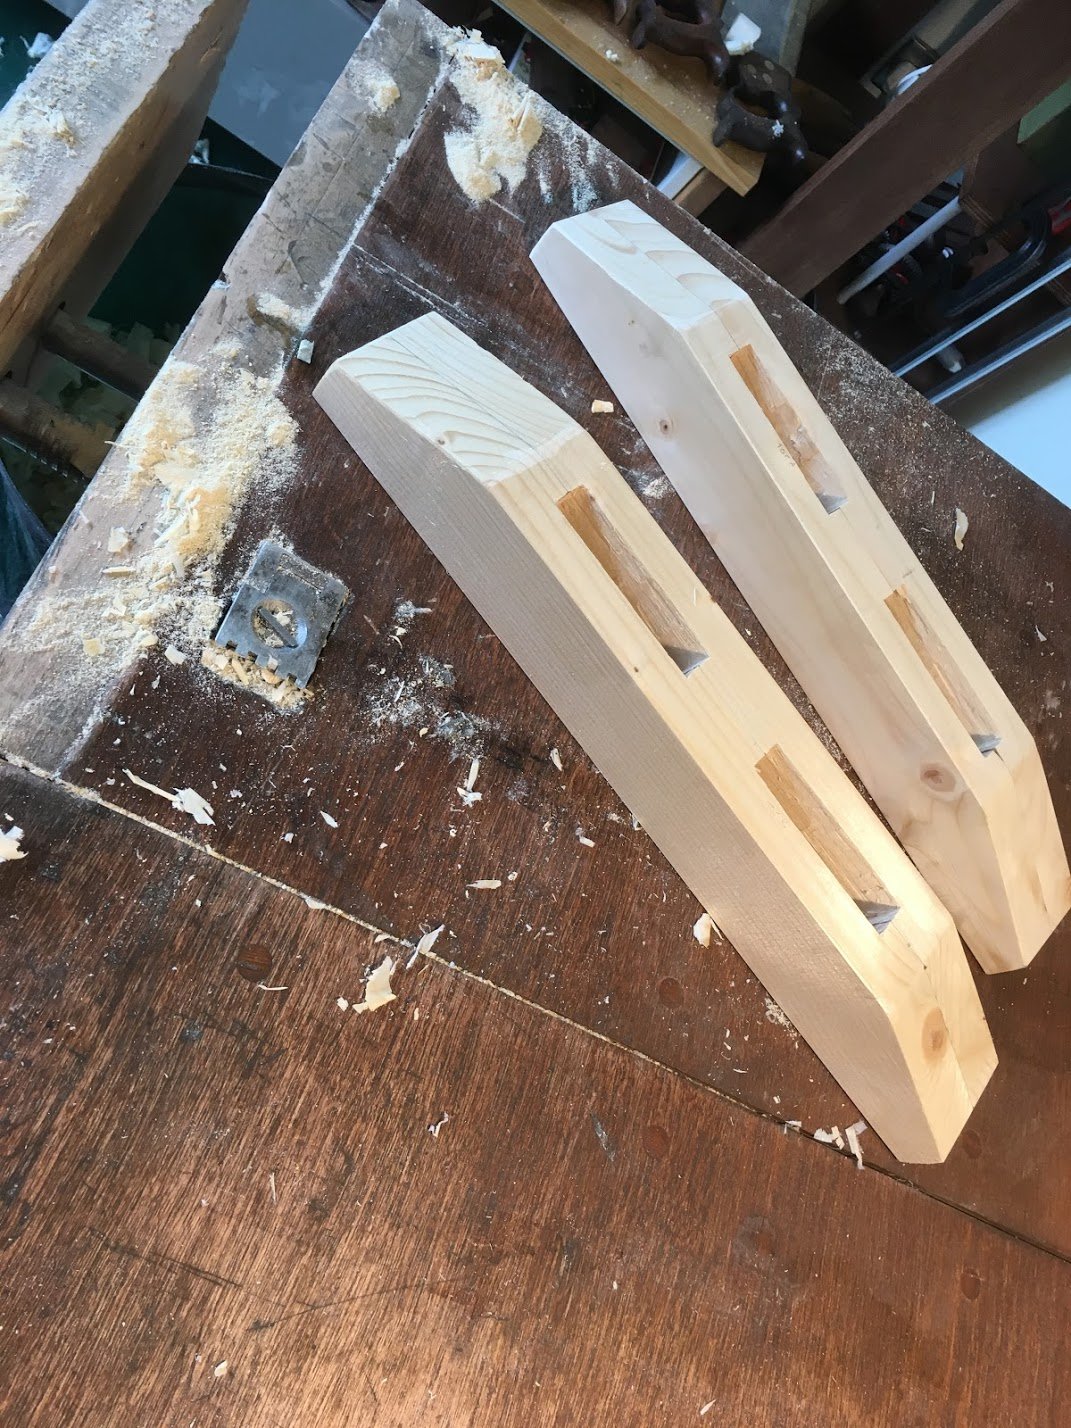
The next job is to cut them in half and glue them together in order to form a mortice – this creates reasonably chunky feet from relatively thin boards.
the one at the front is the 2nd attempt, and I would like to think the rip cut is a little less terrible than the first. Still it made for (more) good planing practice!
The final job is to flatten the tops and chop of the corners in an elegant fashion, like wot I did ere:
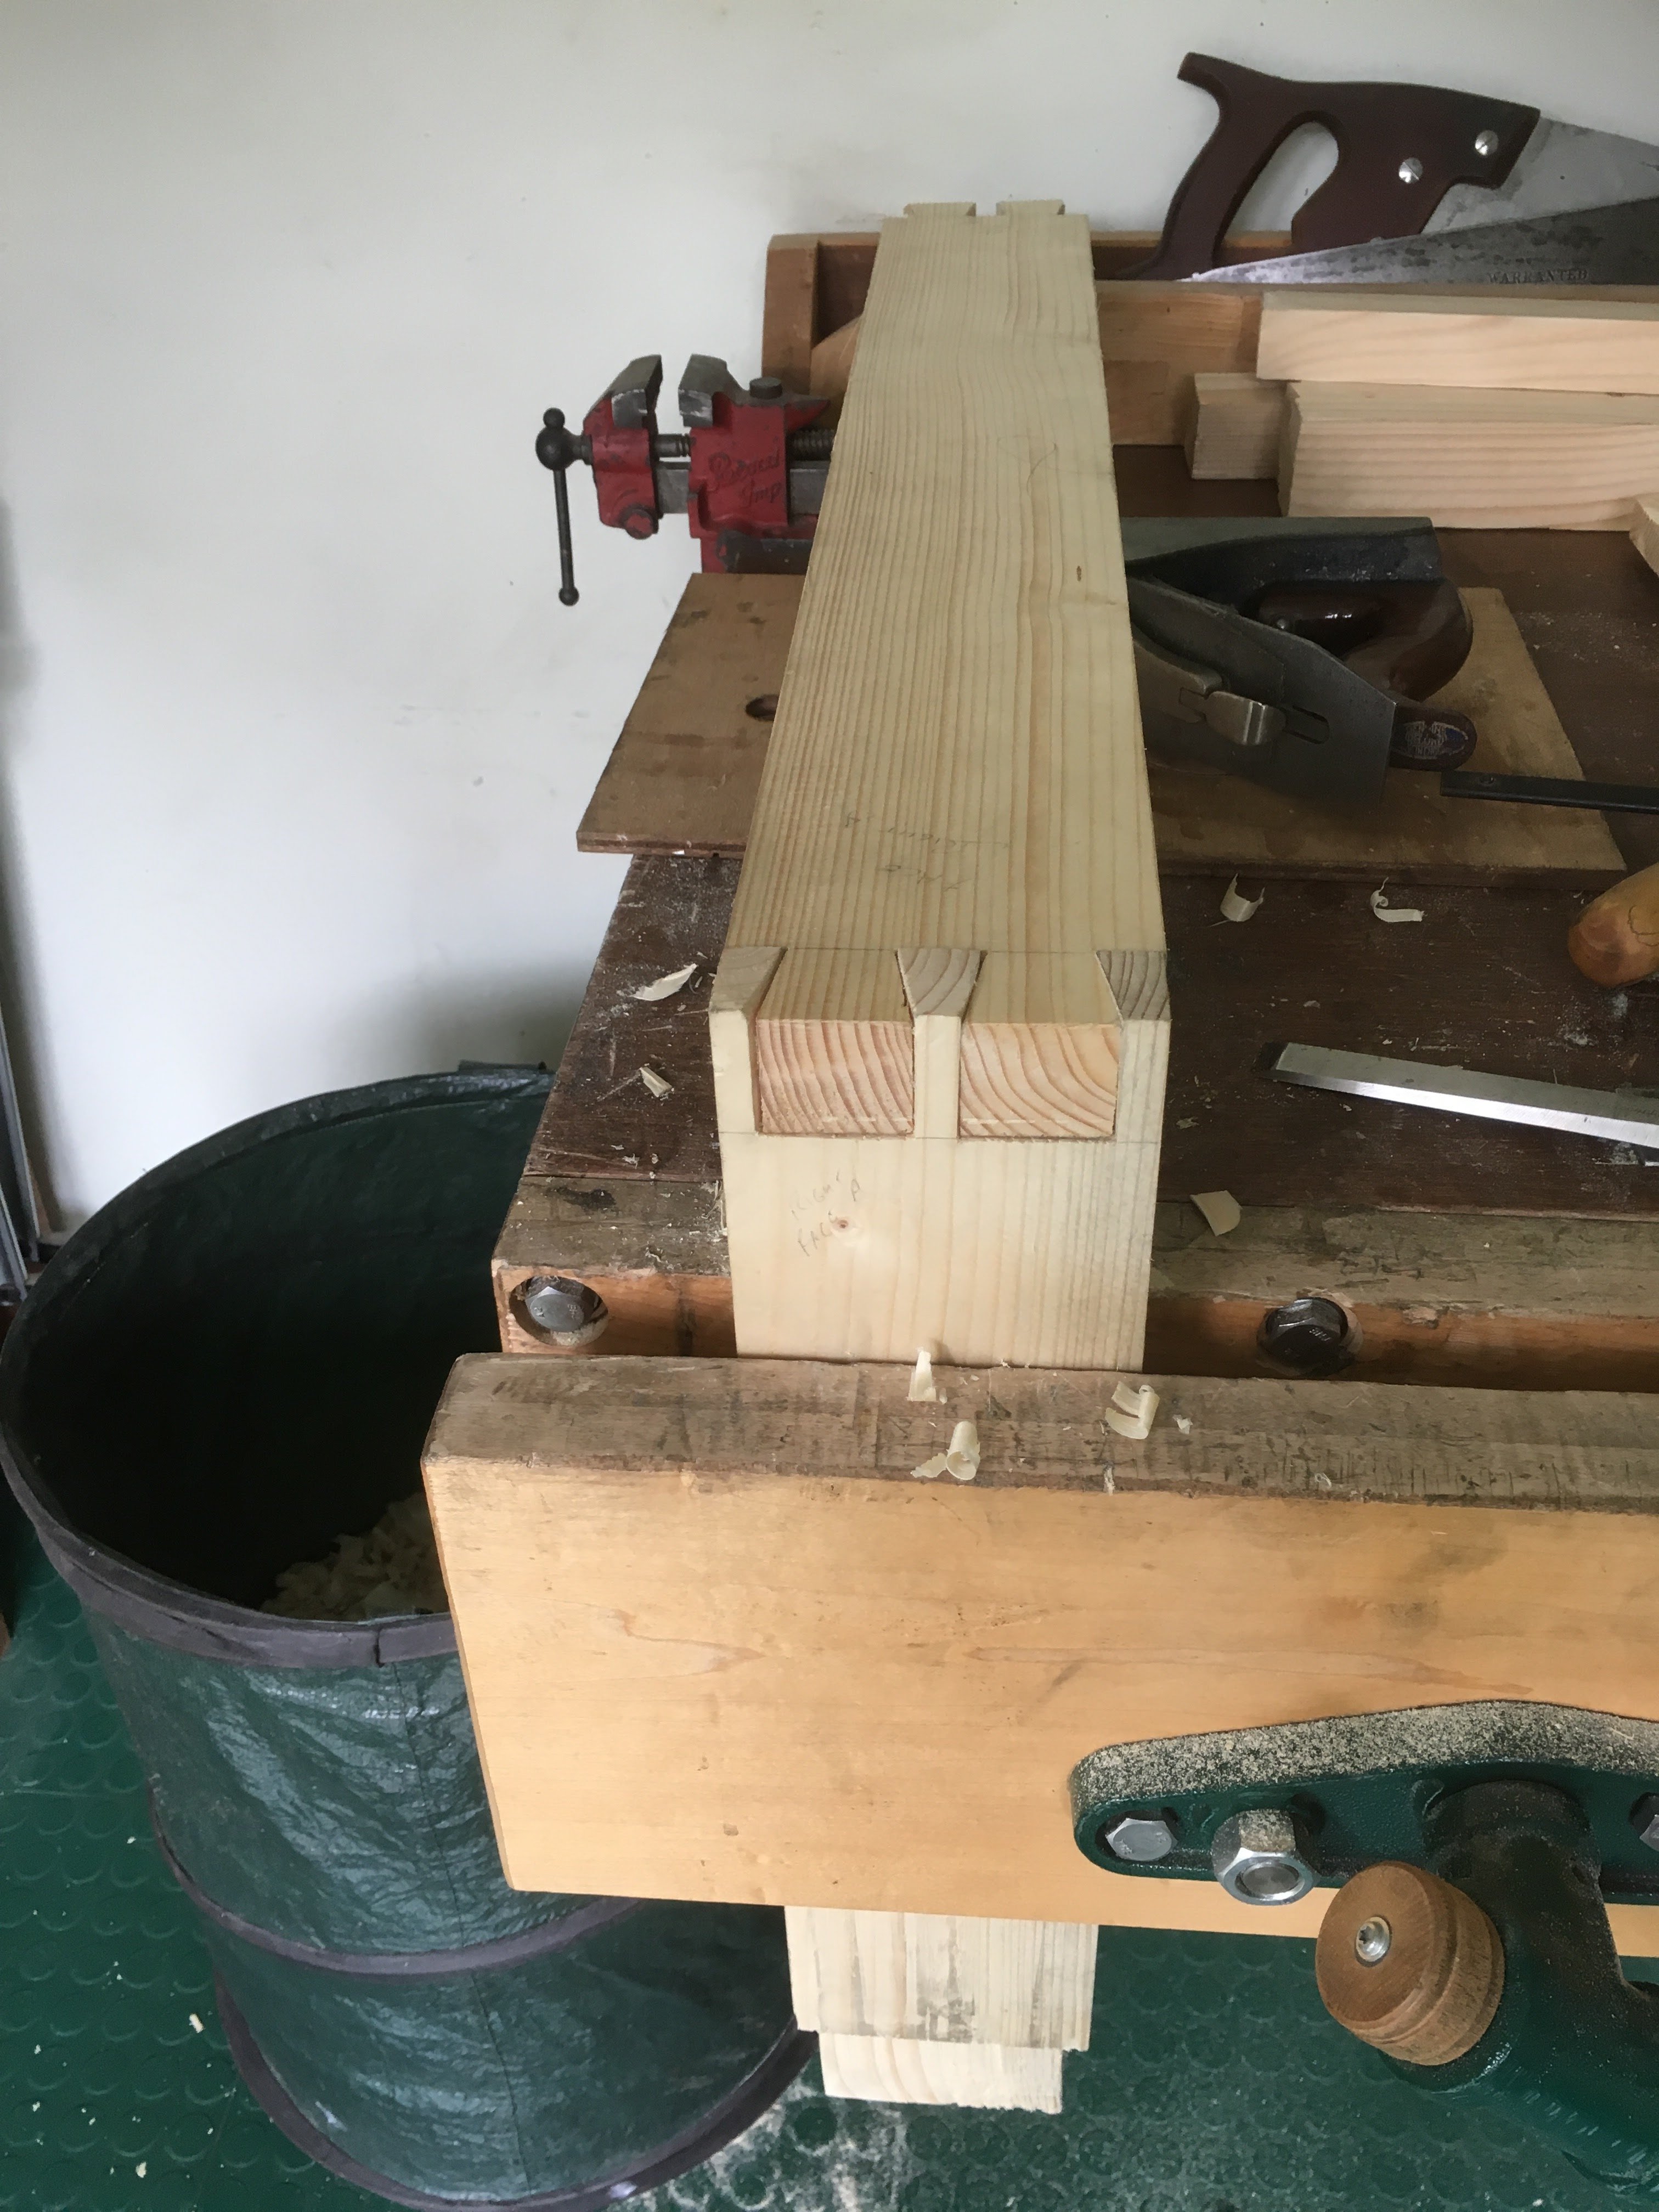
Today’s job was to cut the tenons in the legs – I got a bit better at sawing by the 4th one, but they all needed some work with the chisel to get them to fit. Although the fit in the end was quite tight, I think I was mainly benefiting from the very squashable timber I’m using ( I read somewhere that scaffold boards are often made of spruce) this meant that all the undulating bits in the joint that by rights should have stopped it from fitting together simply squished down making a tight fit. Excellent! luckily the joints will be reinforced with dowels using a technique that is called draw boring.
I made the dovetails to attach the top to the legs. I enjoyed the the pins more than the tails, at least as soon as I had worked out that it was not necessary to cut them accurately to the lines since you make the ‘pins’ by copying whatever you ended up with in the first stage.
I am quickly finding out that at least some of my shoddy work is down to my inability to do precise marking out. I am slowly improving at cutting to the line, but any slight lapse of attention means I can still manage to snatch defeat from the jaws of victory at any moment. As I did today, on the second ‘tail’ that I had to cut where I cut on the wrong side of the line. I had to make a shim to fill the resulting gap.
Efforts improved by the final joint, but I still was left with various unsightly gaps. Onwards and upwards!
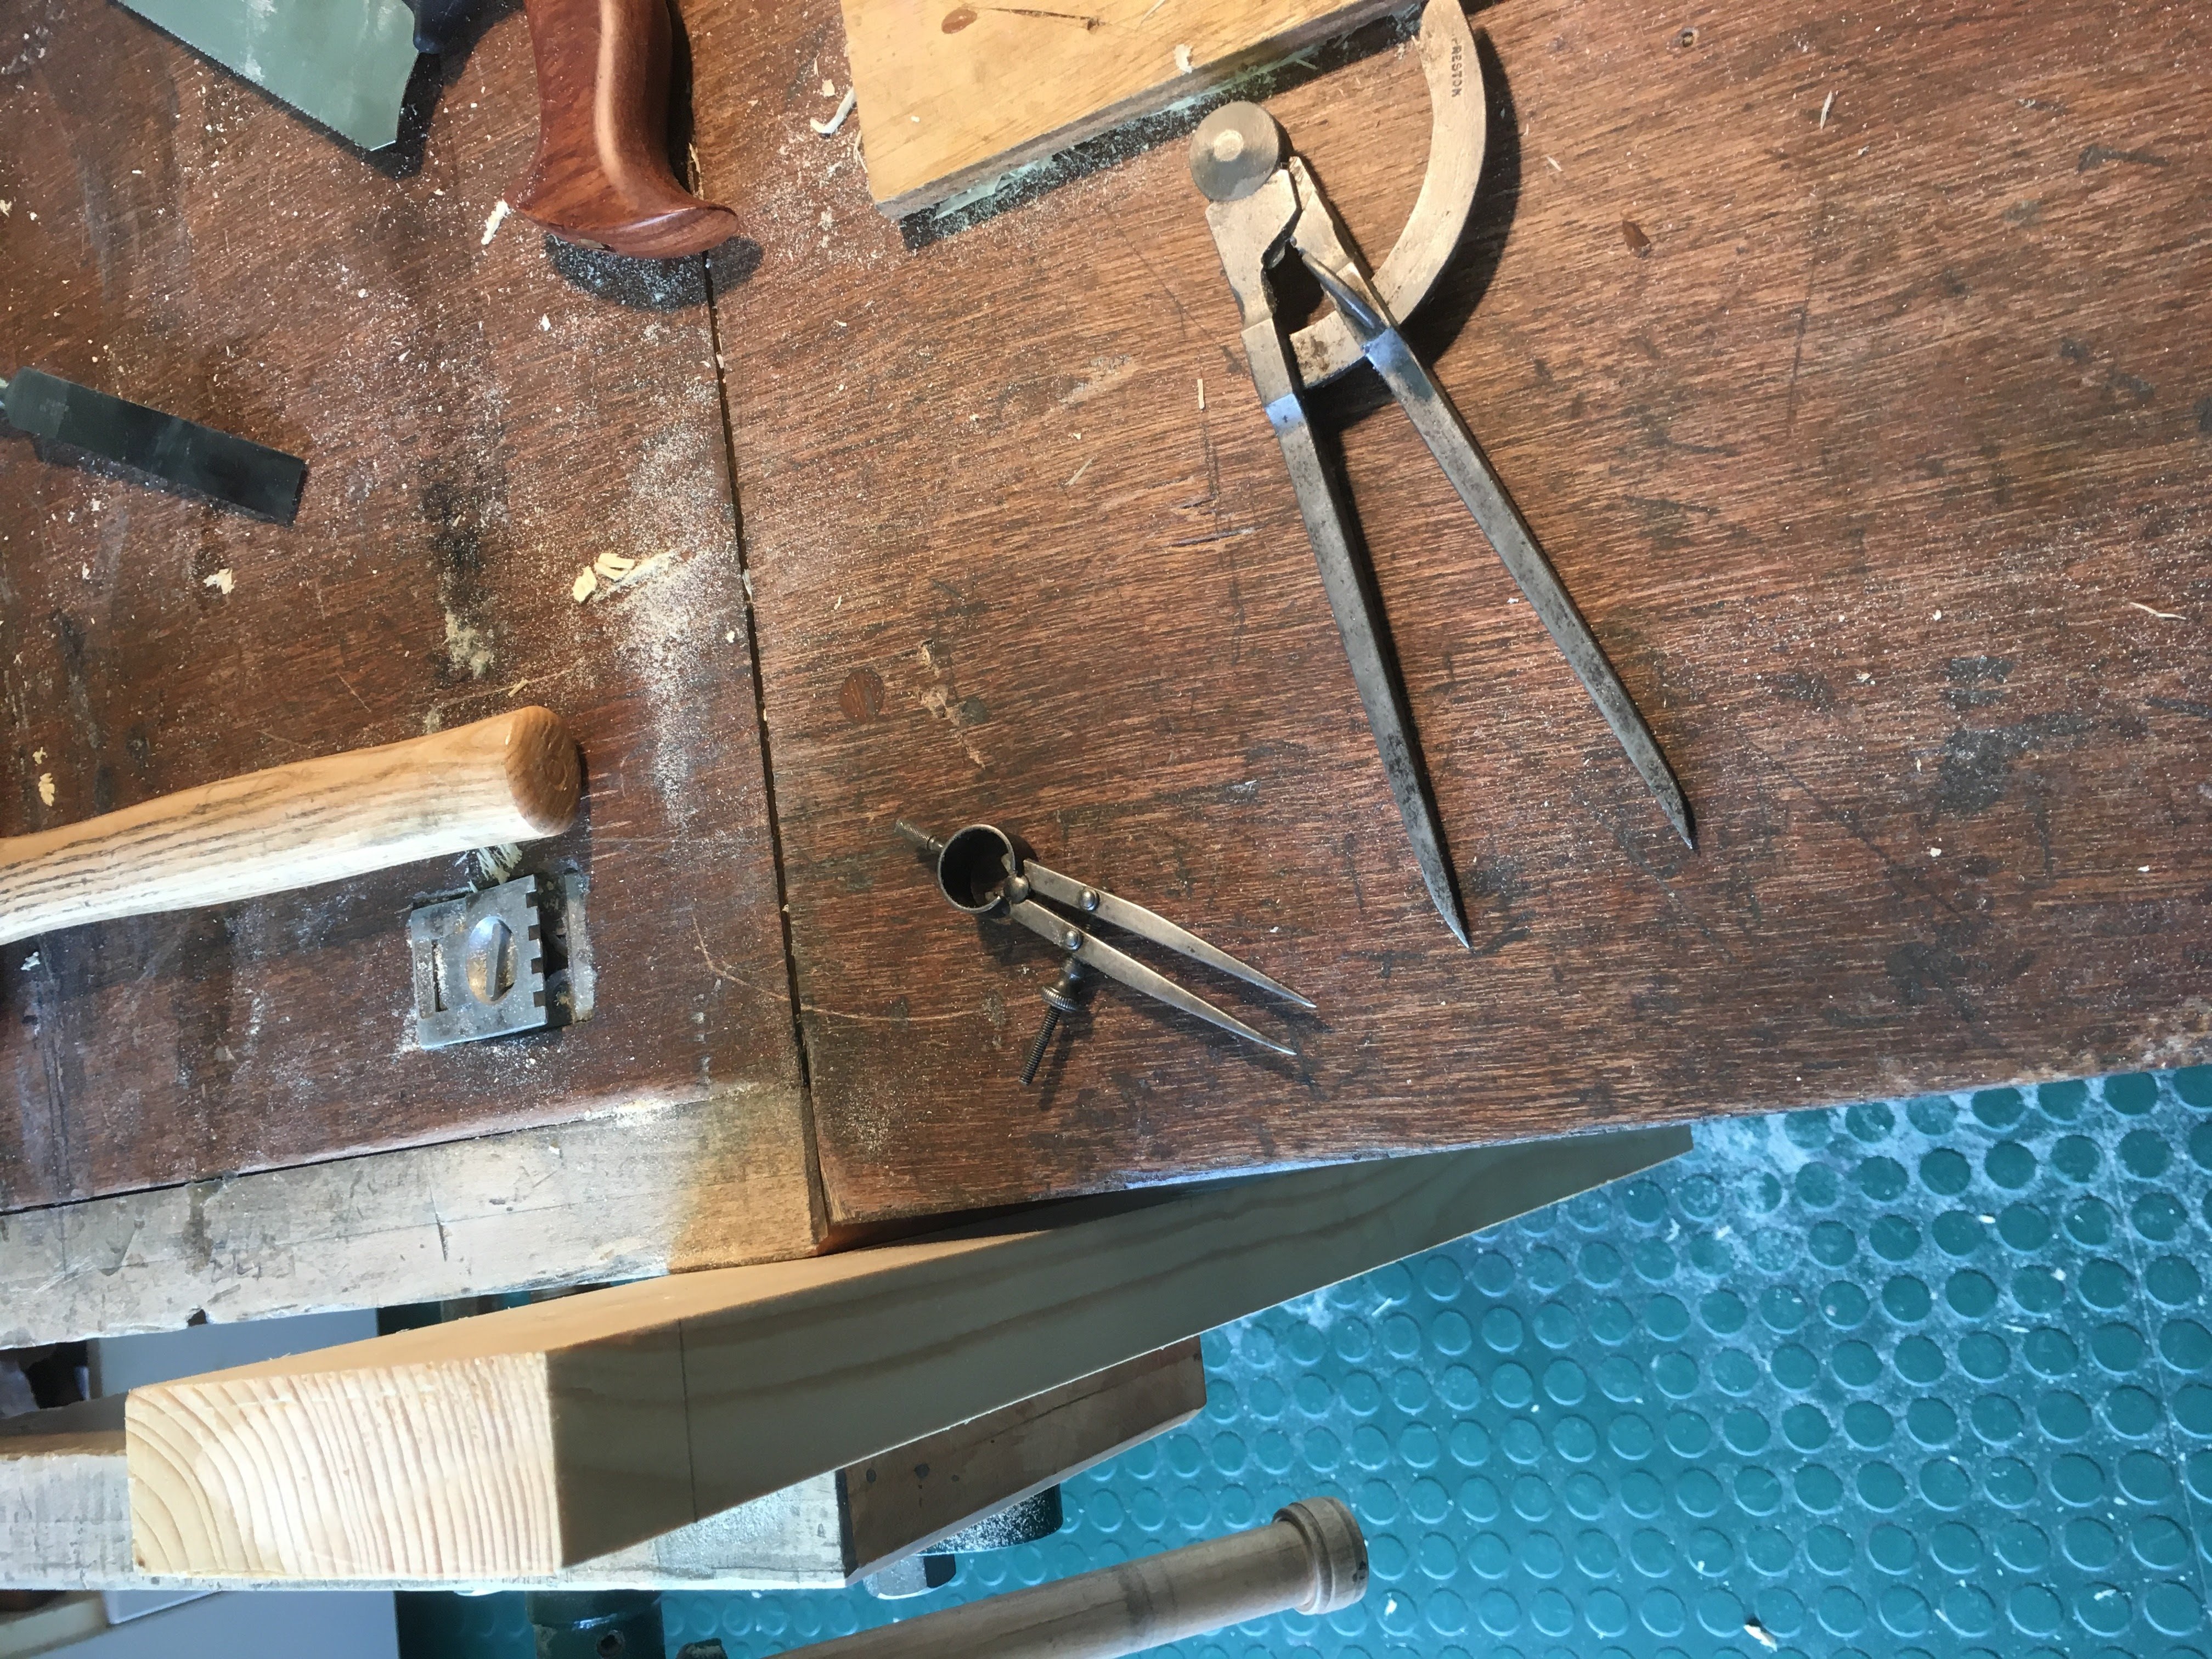
I used dividers to mark the positions of the pins – no rulers involved, so no mistakes
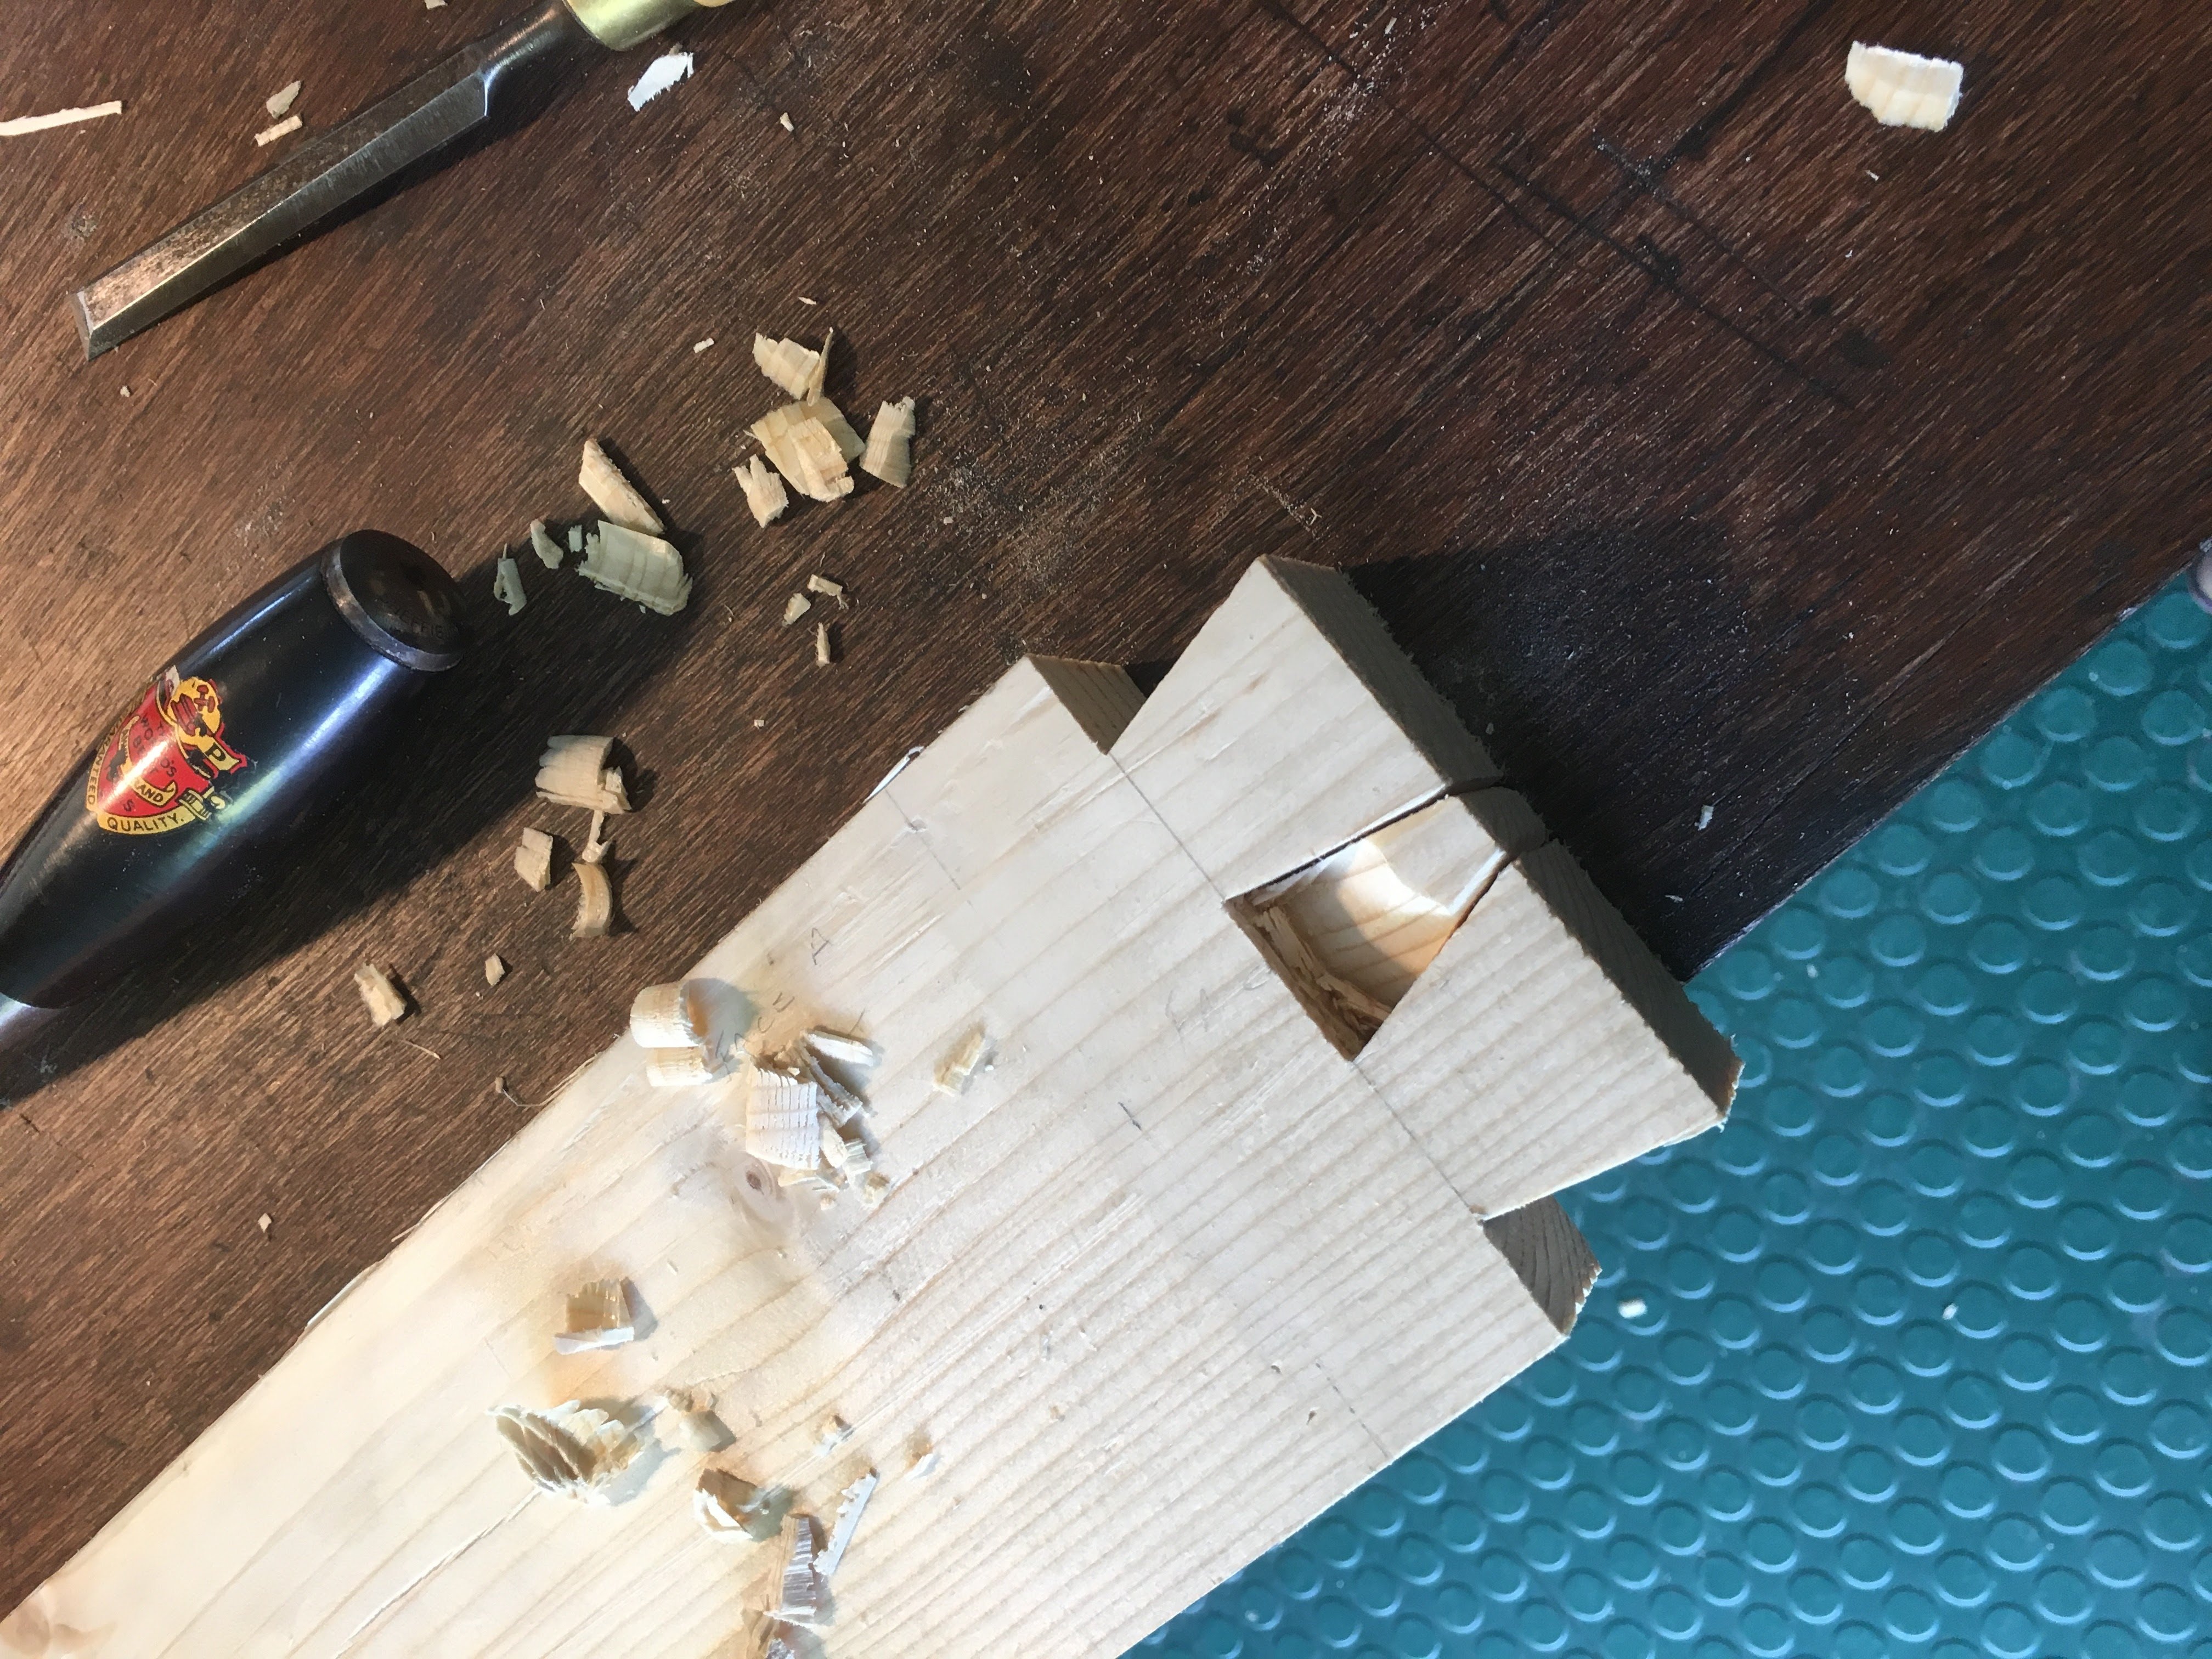
chisel out the bit in the middle:
tails cut:
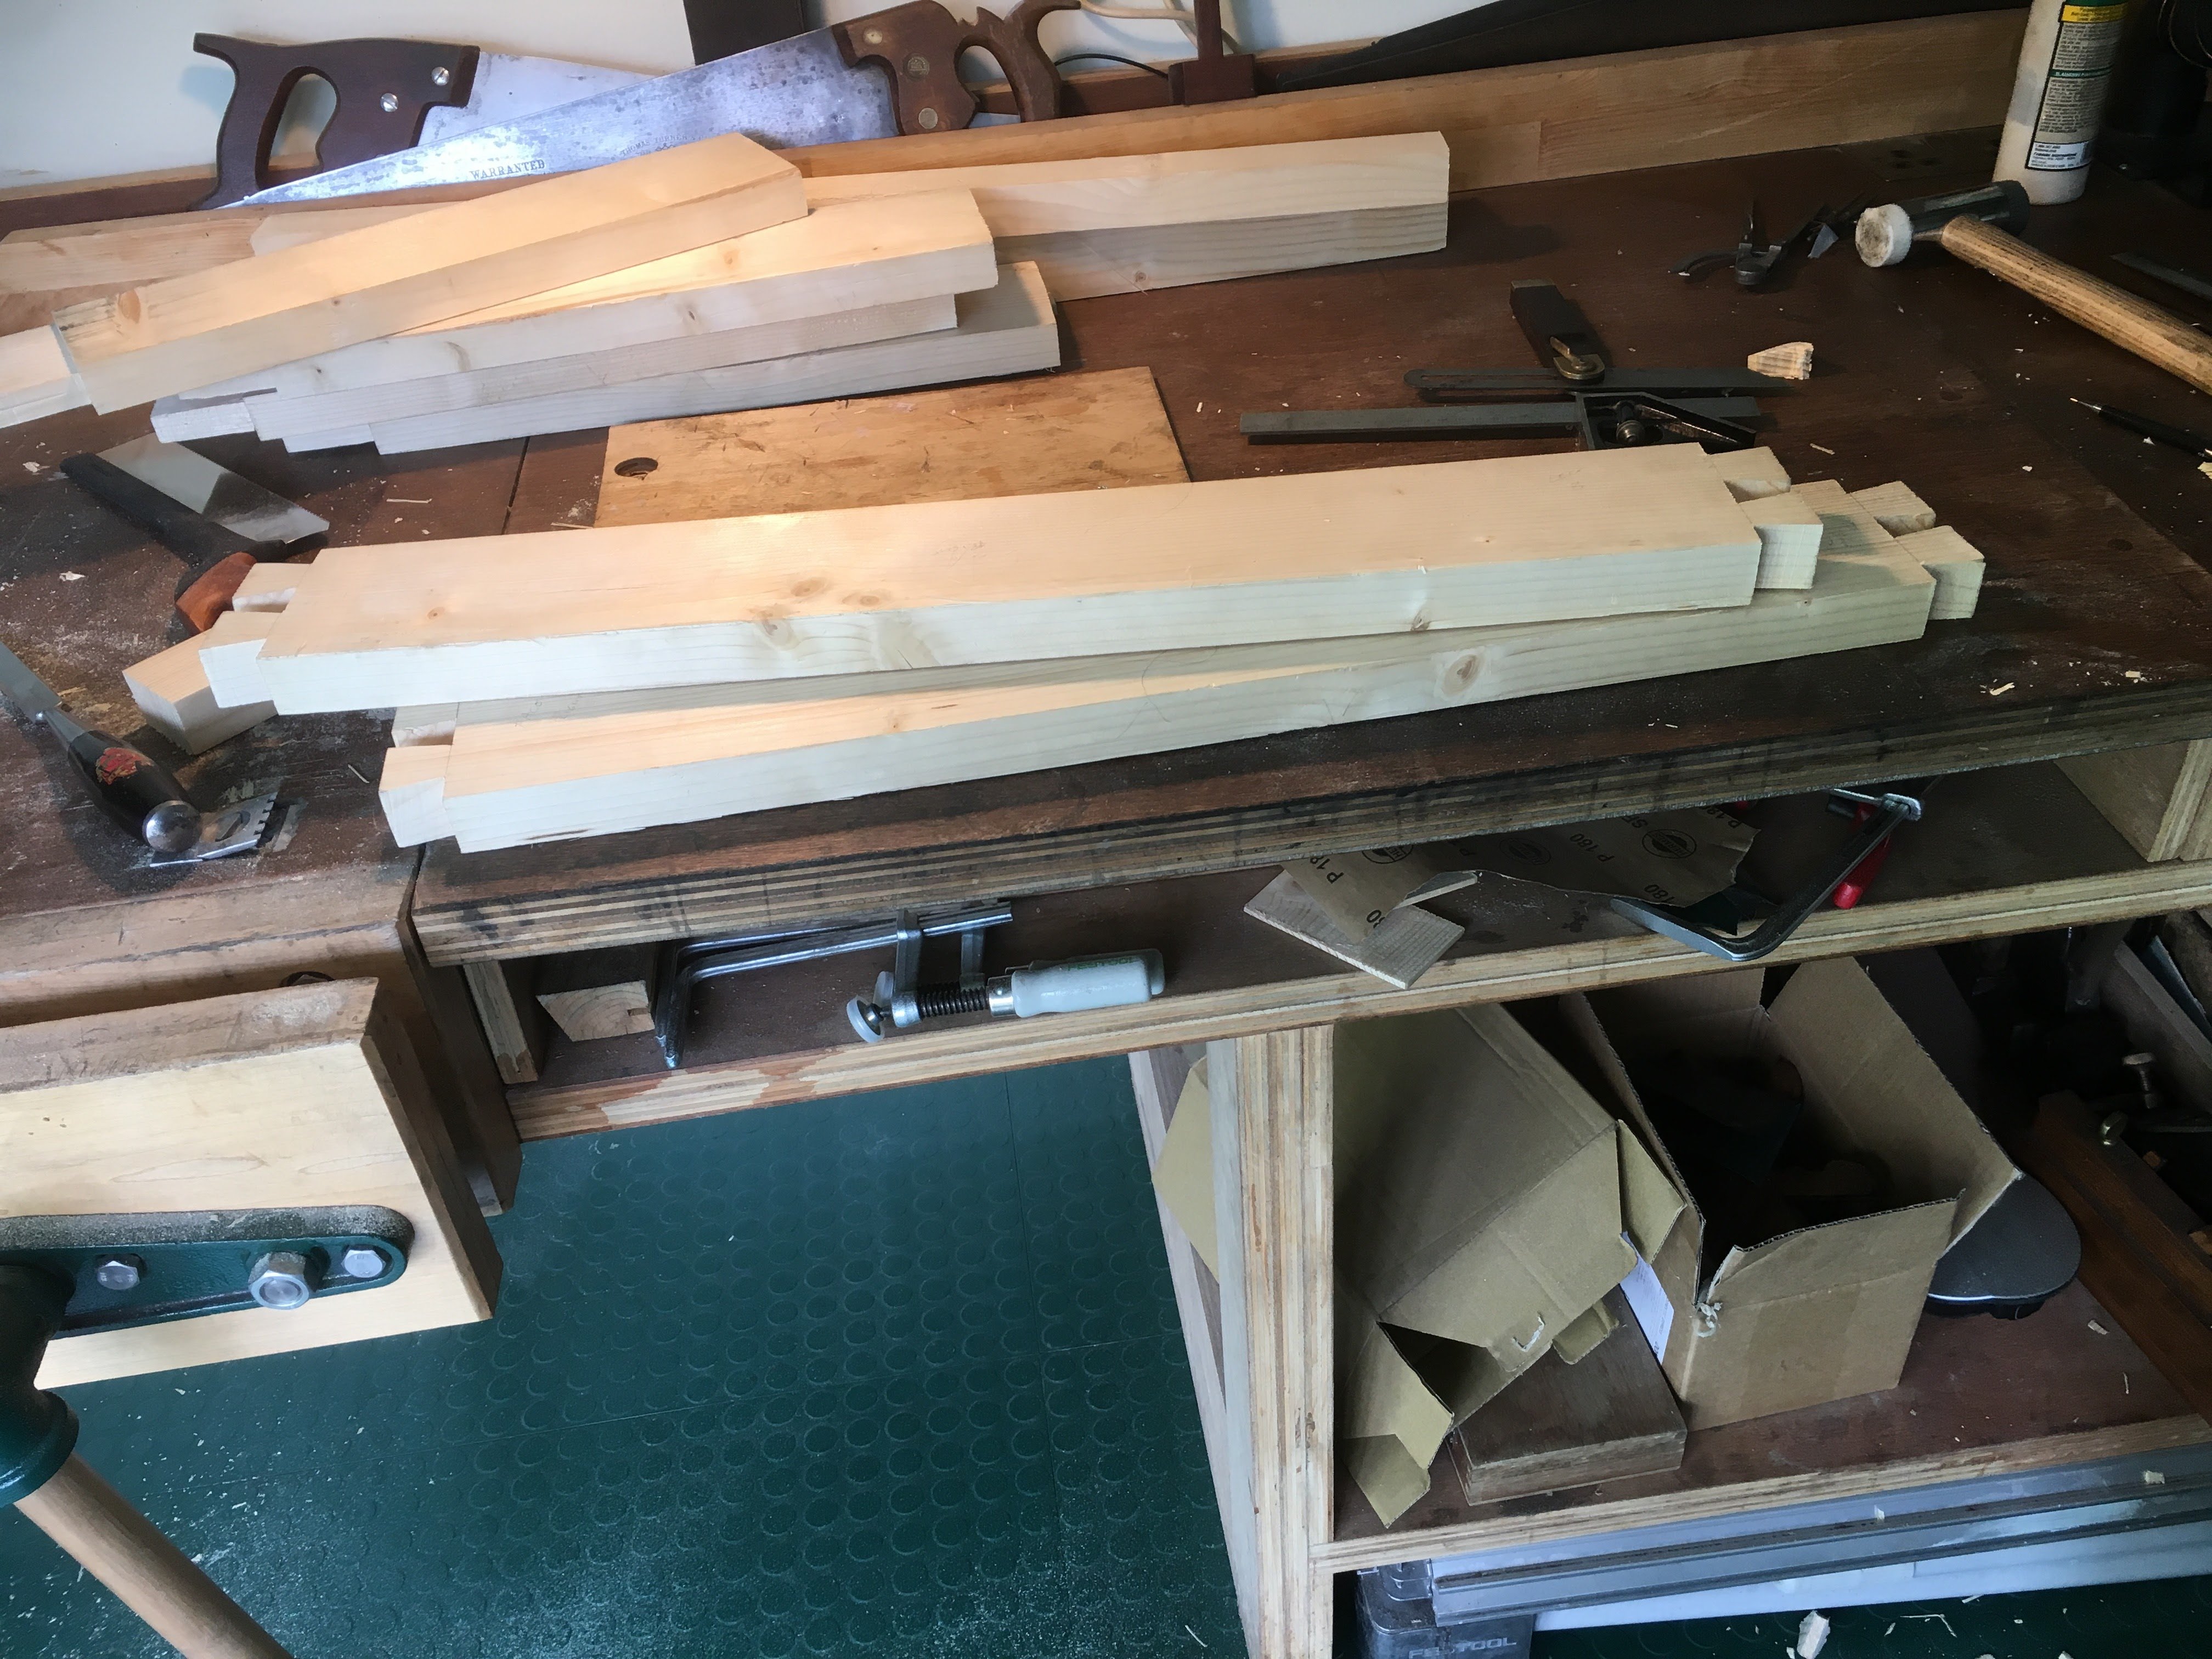
pins: