I got hold of a sorry looking example of this North Bros bench drill – it was very rusted and all of the moving parts were seized.

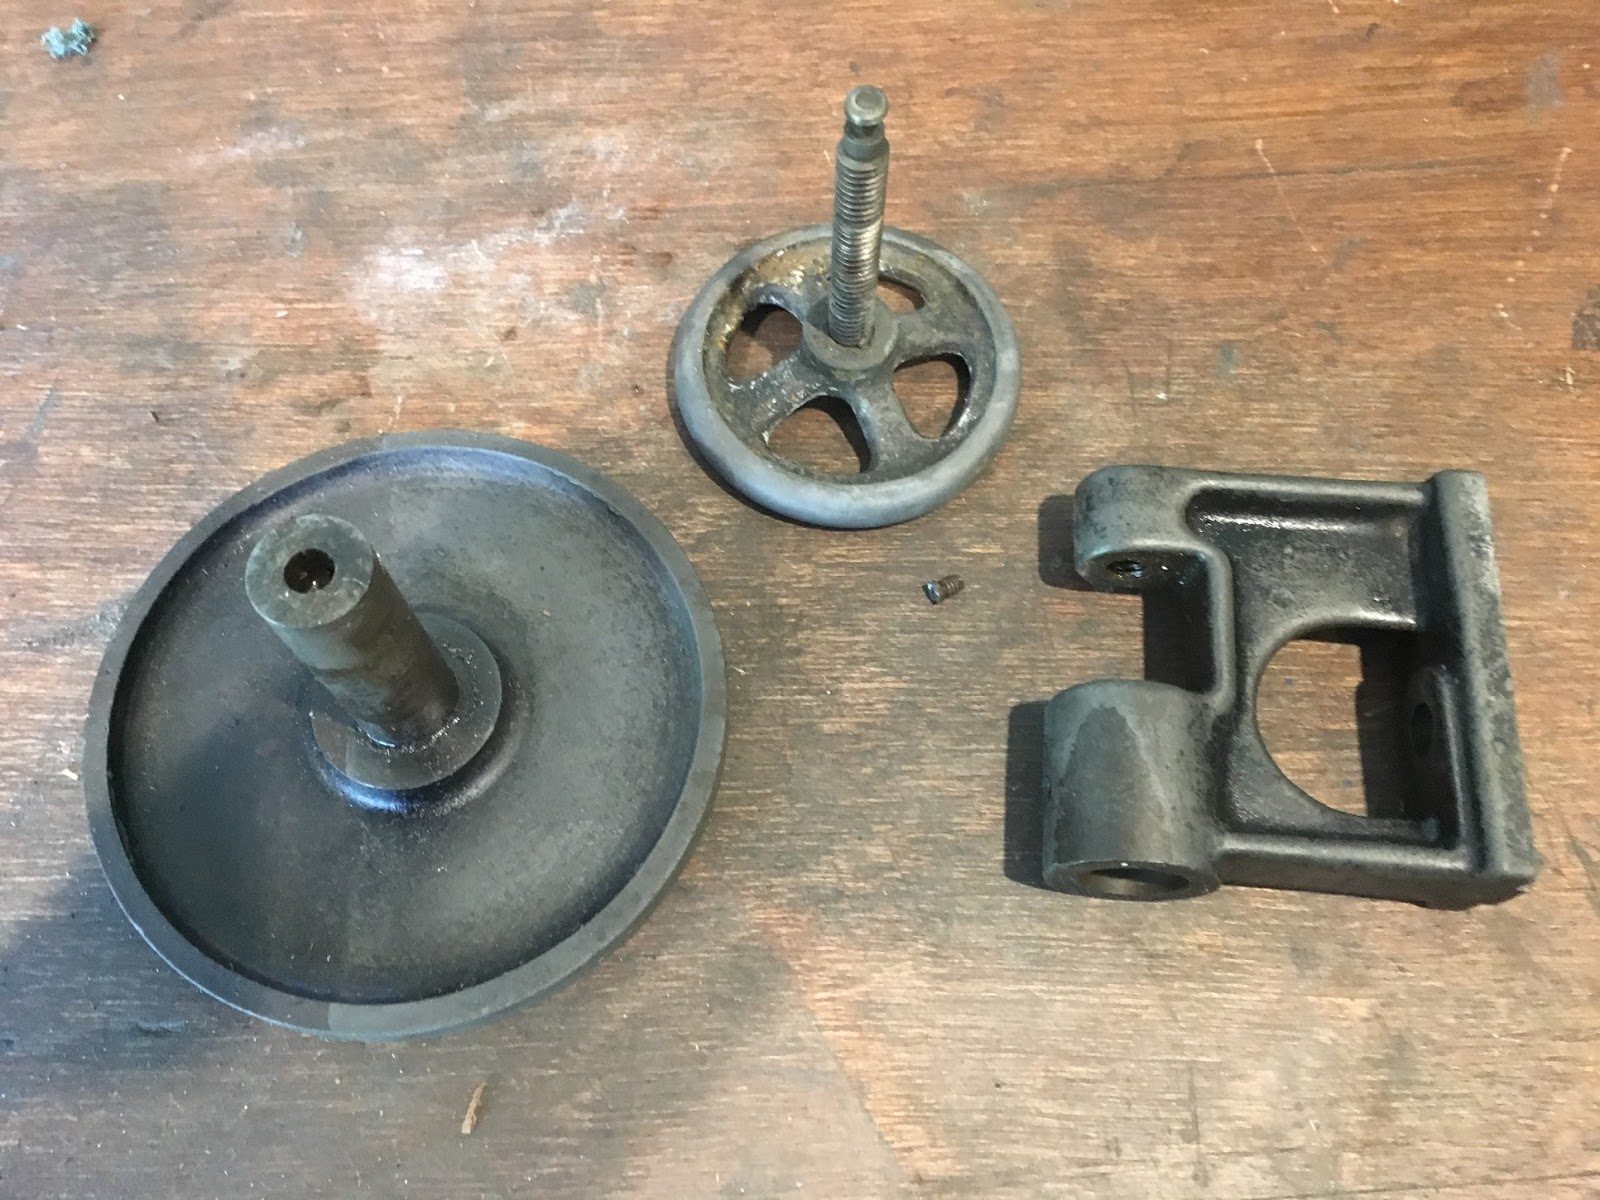
Adjustable table
Having removed and cleaned up the table I found the hand wheel only turned a couple of degrees in either direction before becoming stuck. The grub screw that locks the table to the shaft was also seized but a bit of gentle heat from a hair dryer was enough to start the it moving.

The shaft was rusted into the cast housing, despite lavish application of PlusGas Fast Release (an excellent penetrating lubricant) could not be moved. It took a couple of sharp wraps with a mallet and a fair amount of force to free it.
It is testament to how well made the drill is that – despite all the previous neglect – once apart all that was needed was a quick rub down with sandpaper and wire wool and the table now works as well as if it were made yesterday.
Chuck
I managed to take apart the chuck which also required a fair bit of leverage:
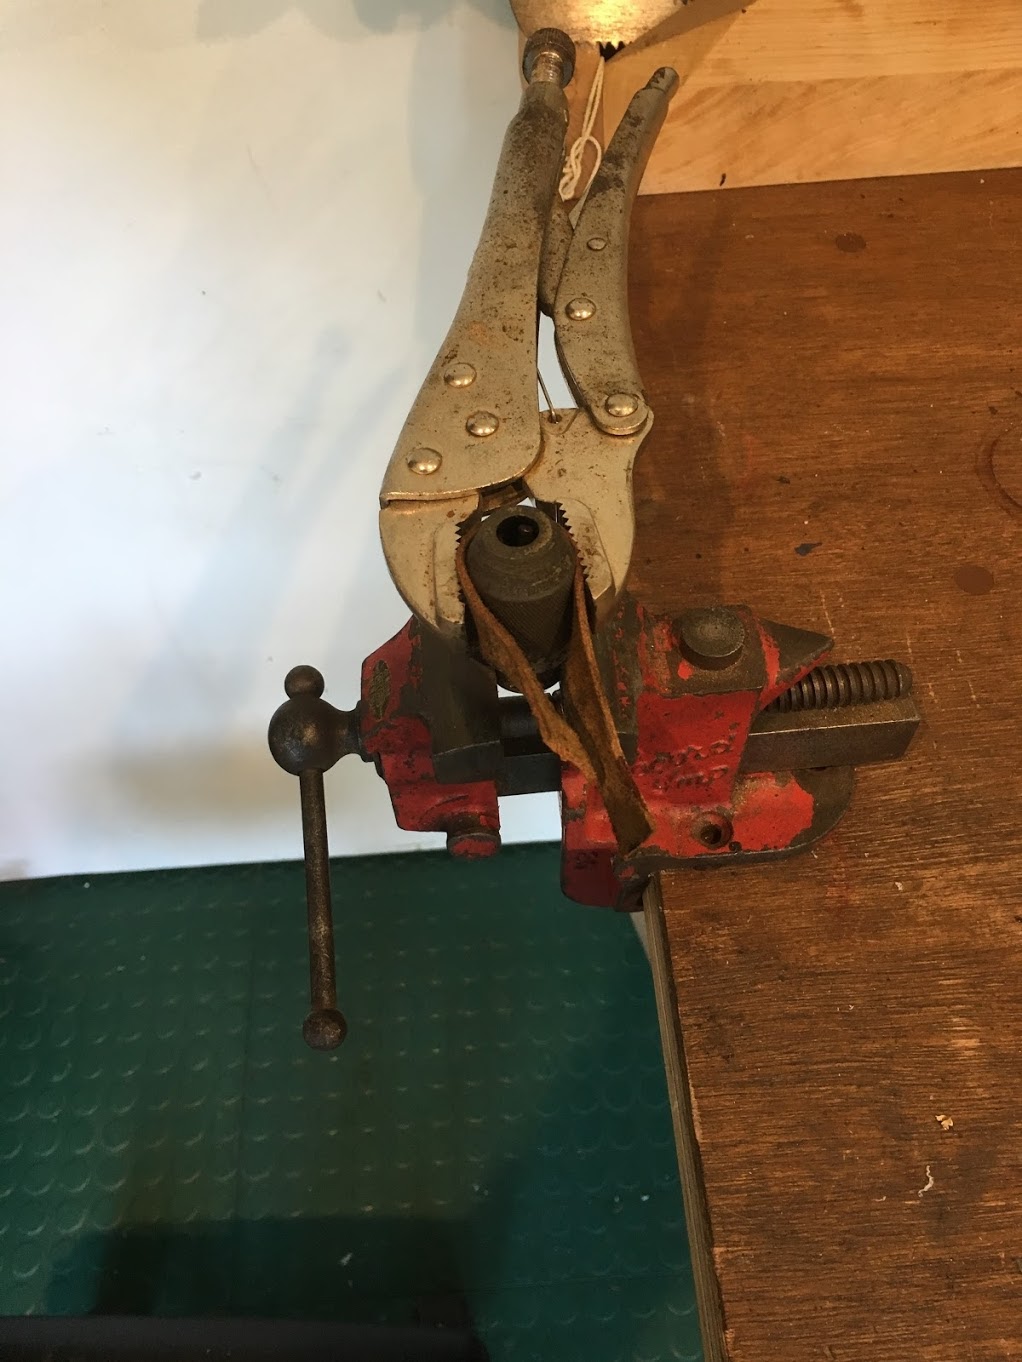
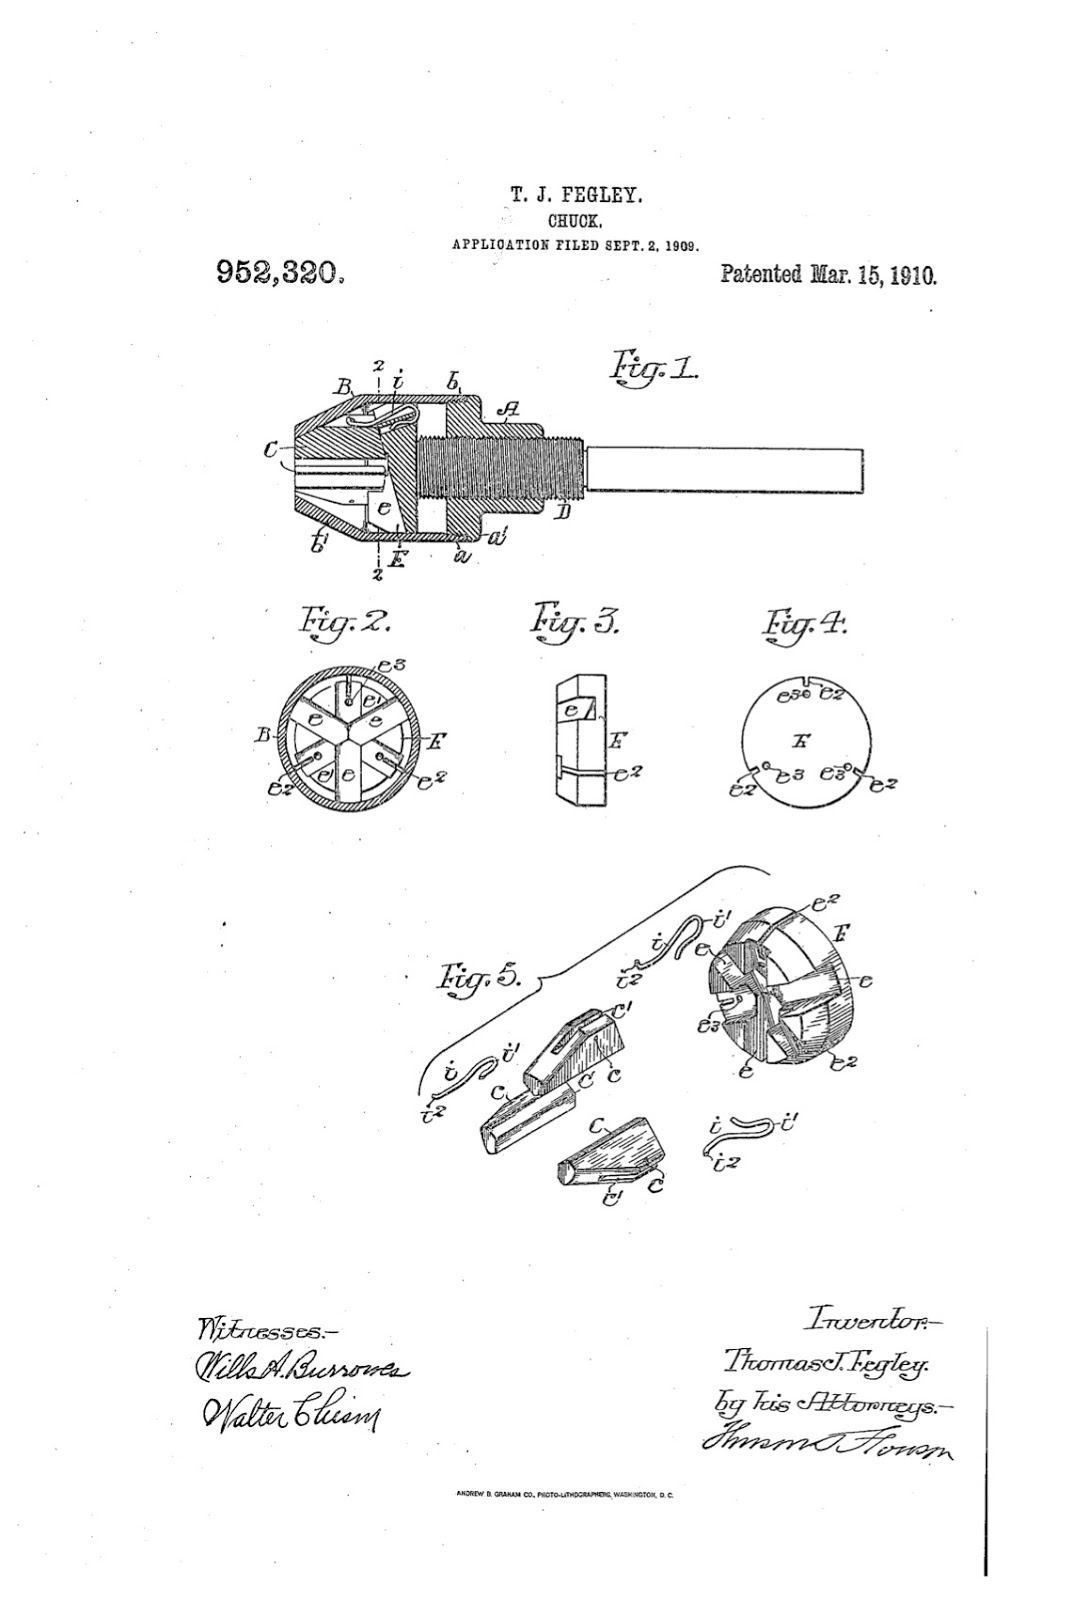
There is a patent date just about legible on the chuck that says Mar-15-10 – this is a reference to US952320 applied for on March 15th 1910:
The chuck was very rusty inside, so I used some wire wool stuck to the end of a suitable bit of rod mounted in a drill to polish the inside surface. A quick rub down of the jaws with sandpaper and it now works perfectly. Not bad when you think it is at least 80 years old, and appears to have spent some of its life underwater!
It is a very clever design – similar to the spring loaded 3 jaw chuck you find in some old miller falls hand drills, but with the addition of slots in the carrier that receive the 3 jaws and stop them moving from side to side.
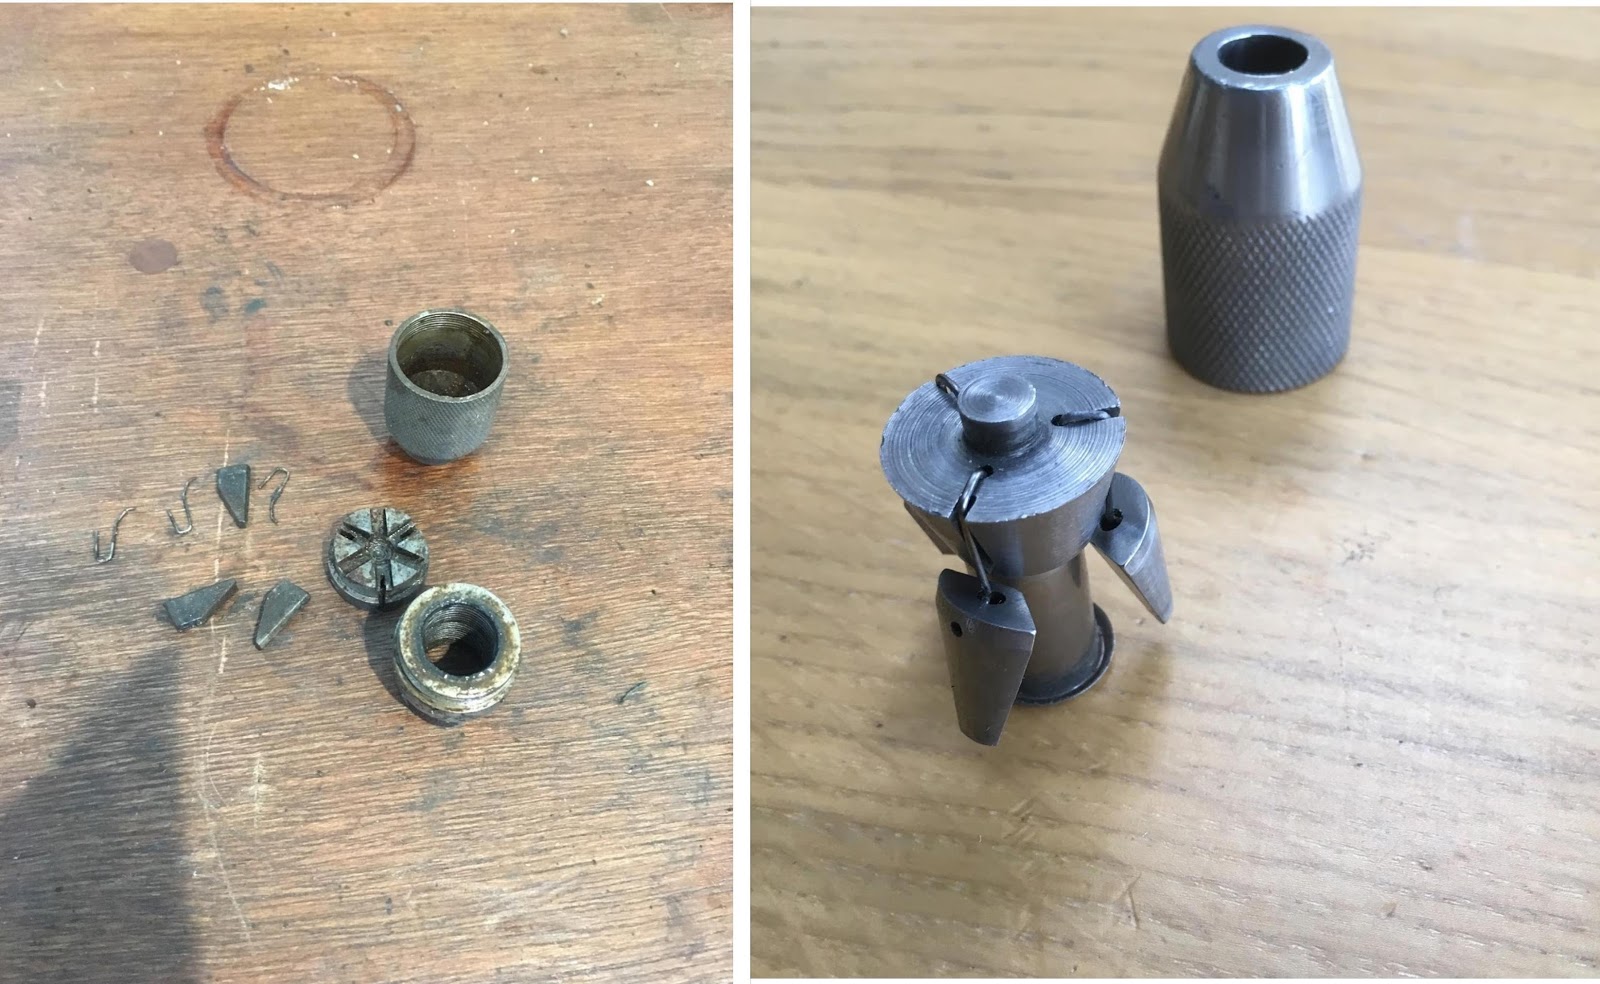
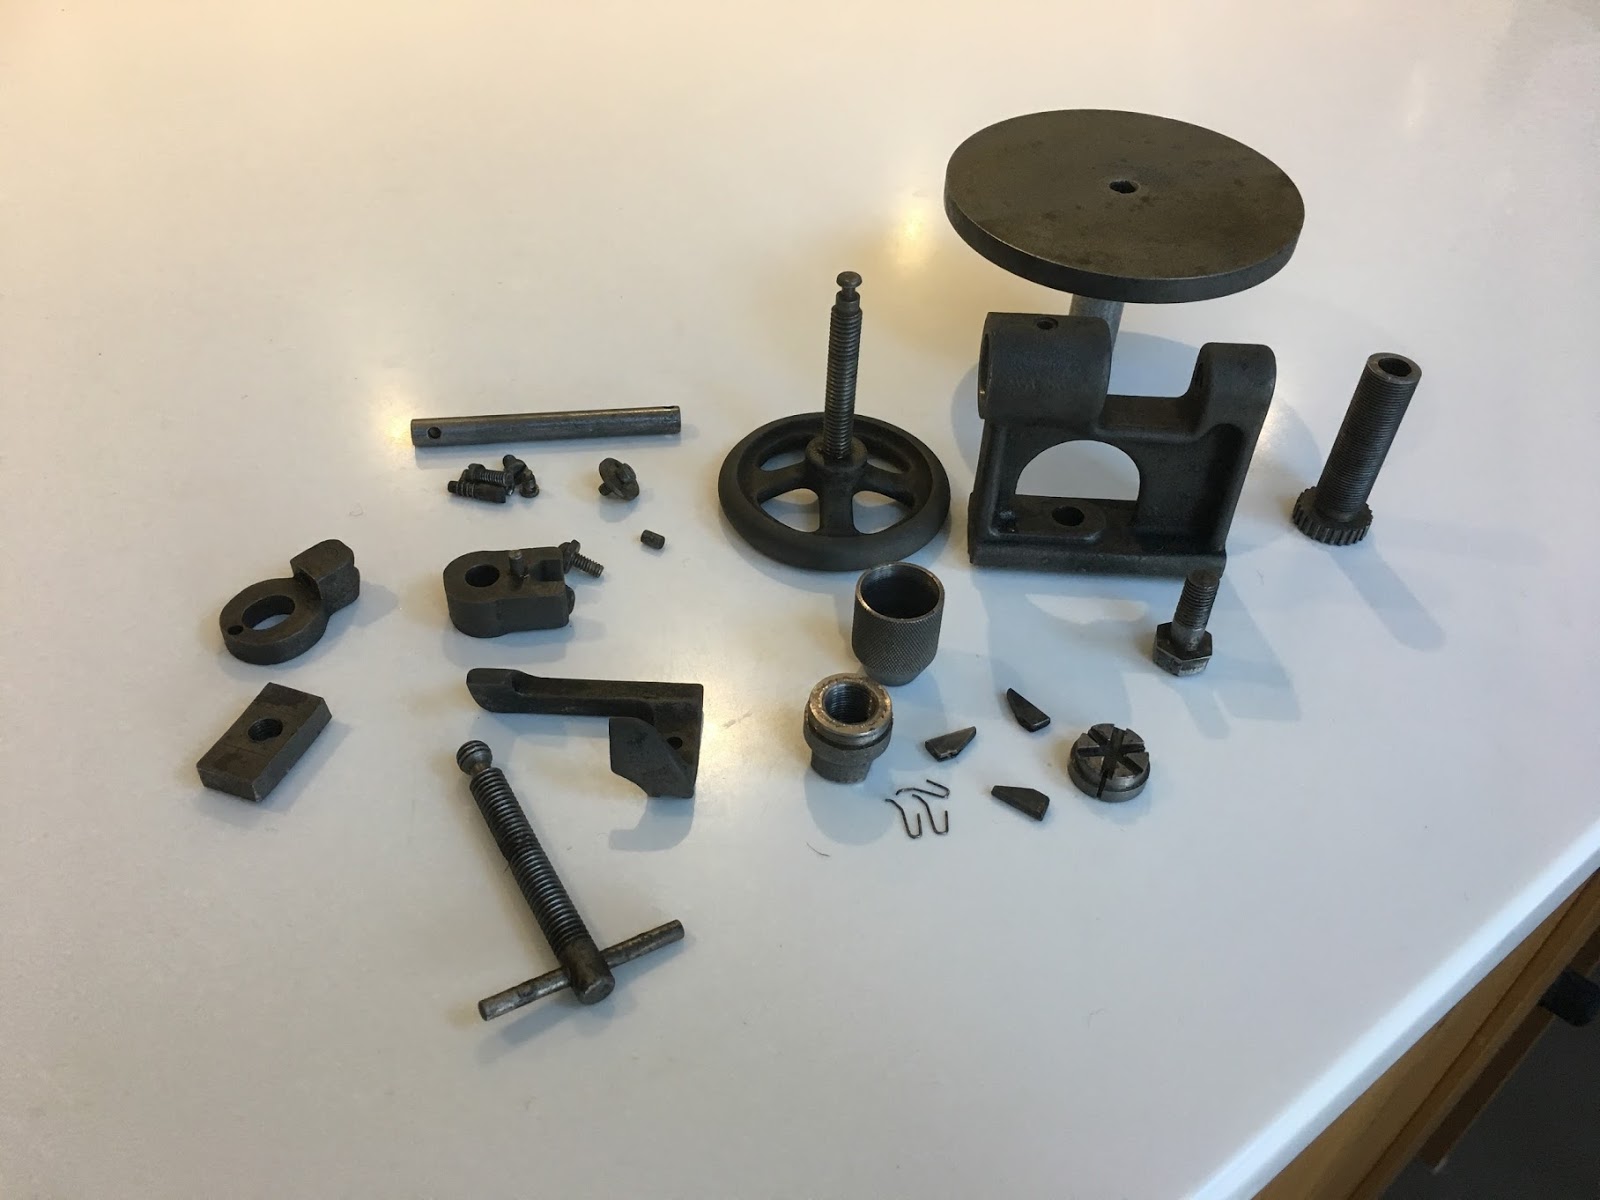
I then cleaned the parts:
Automatic ratchet feed
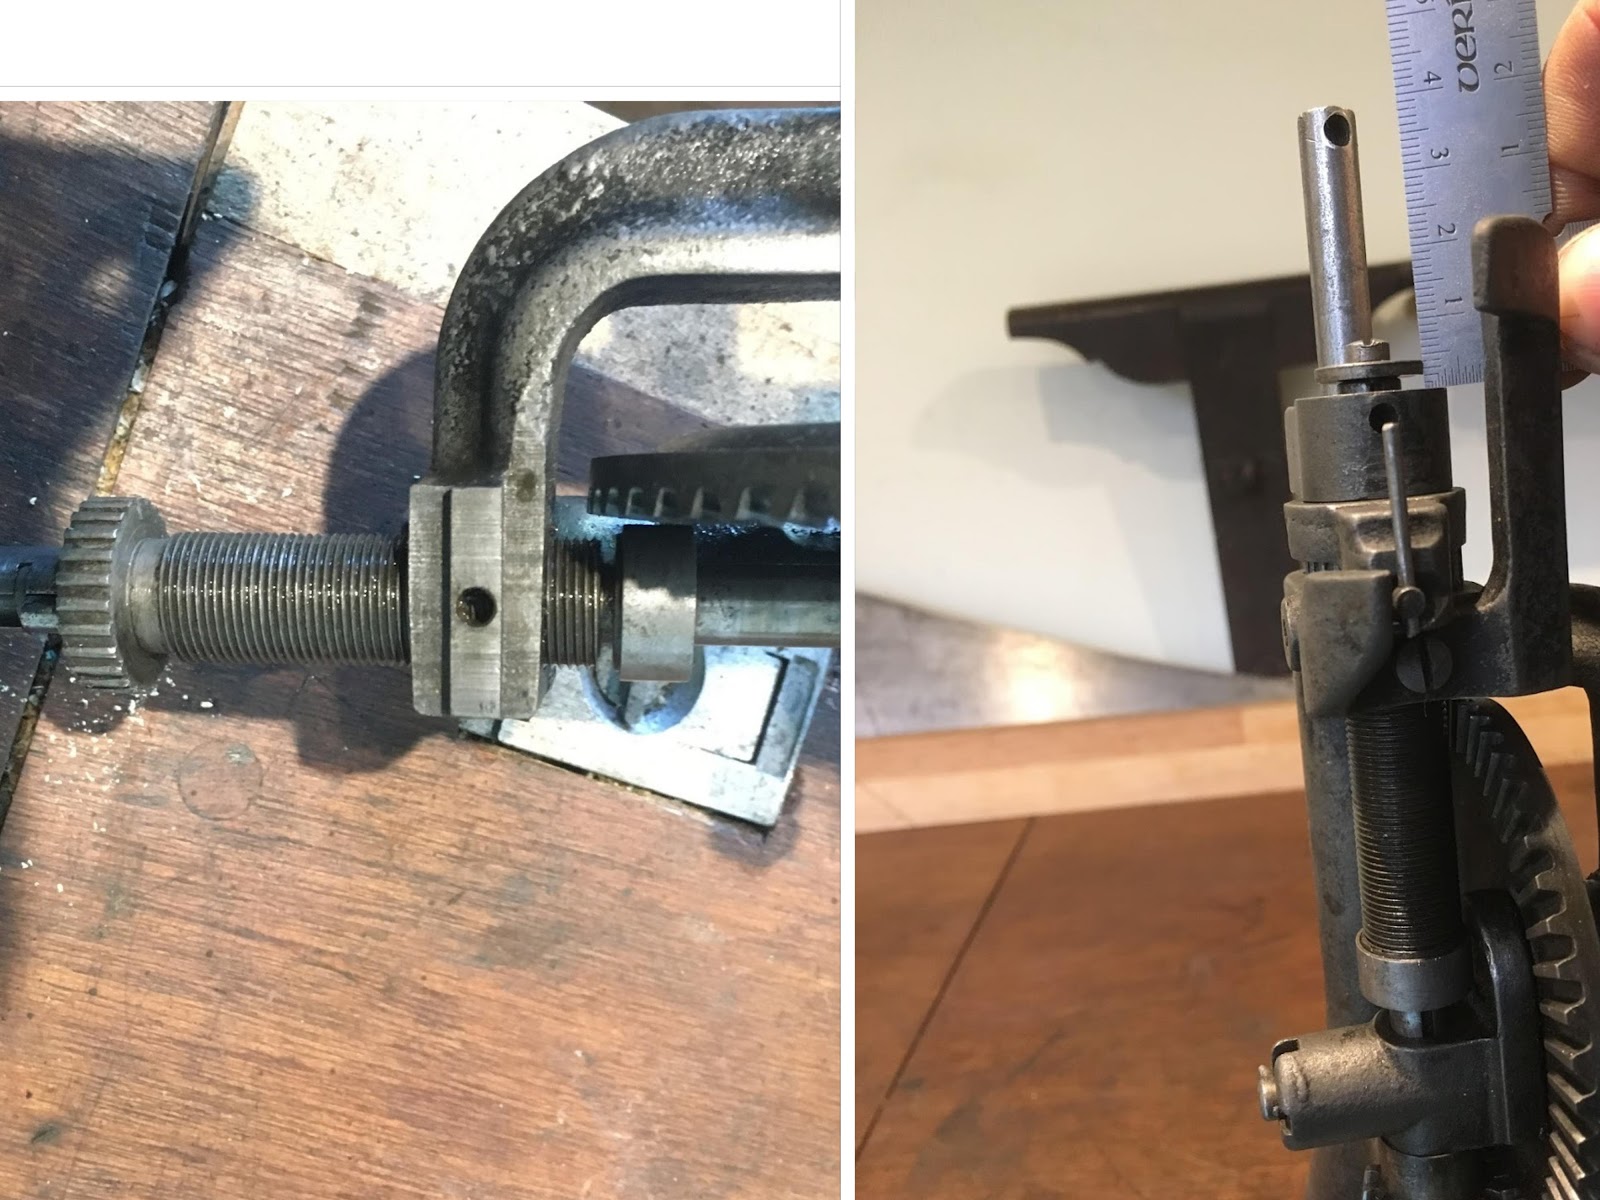
Having reassembled the drill I found there was a couple of mm play between the base of the main thread and the housing holding the ball bearings.
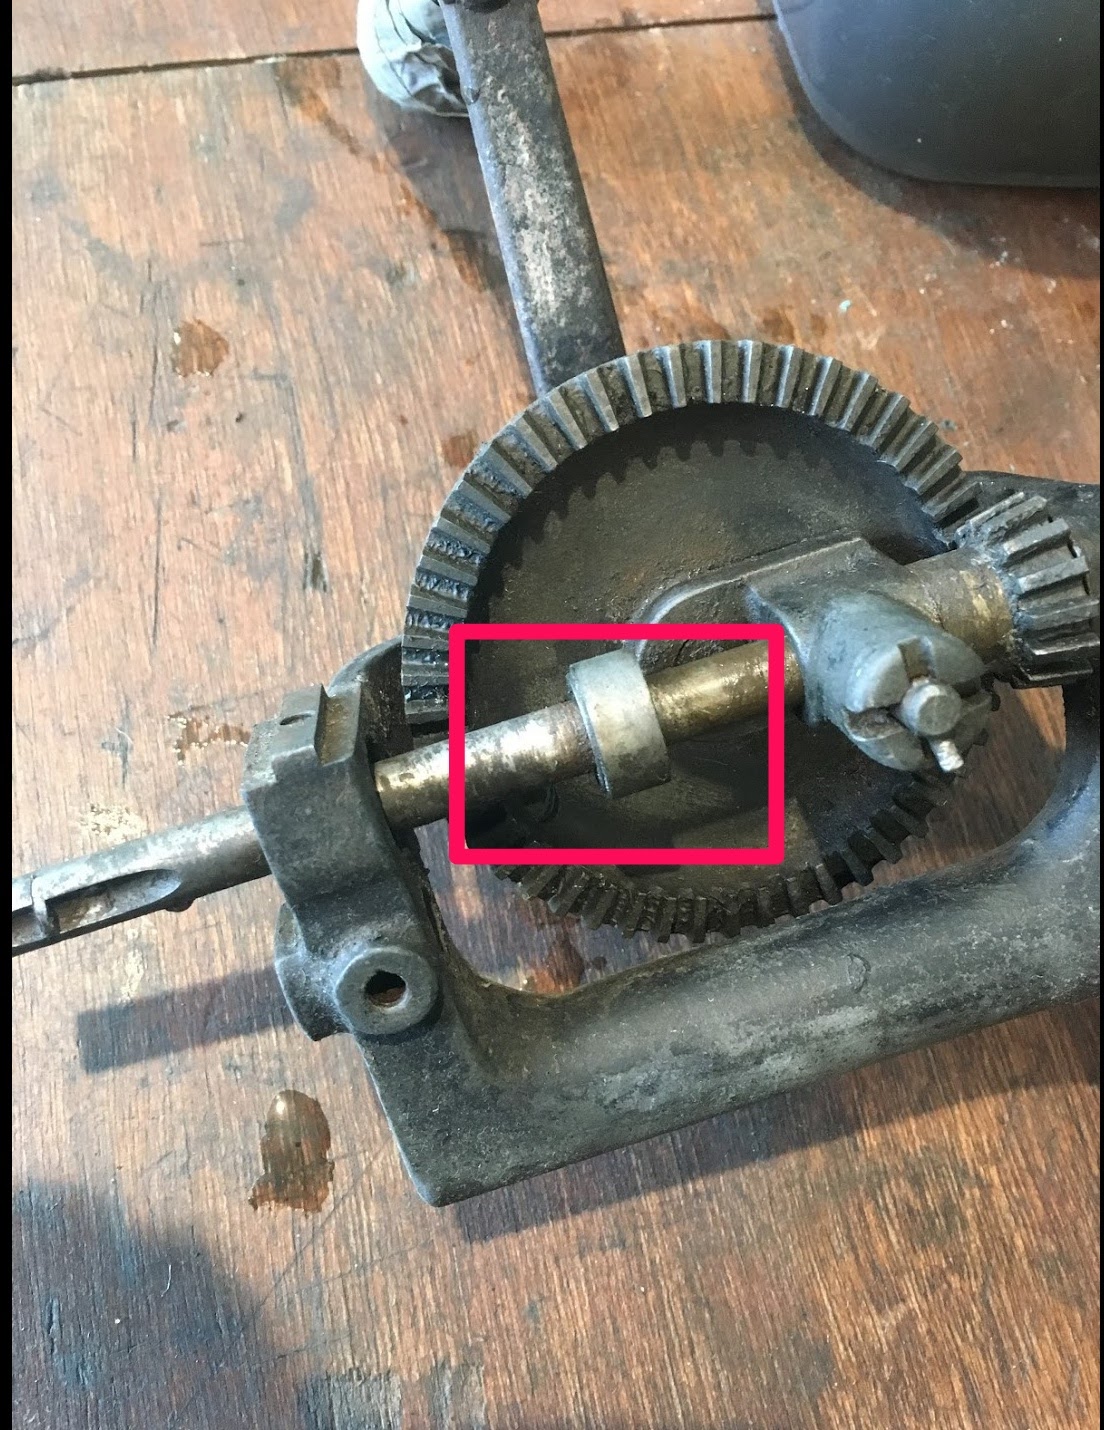
The only explanation I could think of is that the housing (in red below) had either been crushed or knocked down the spindle.
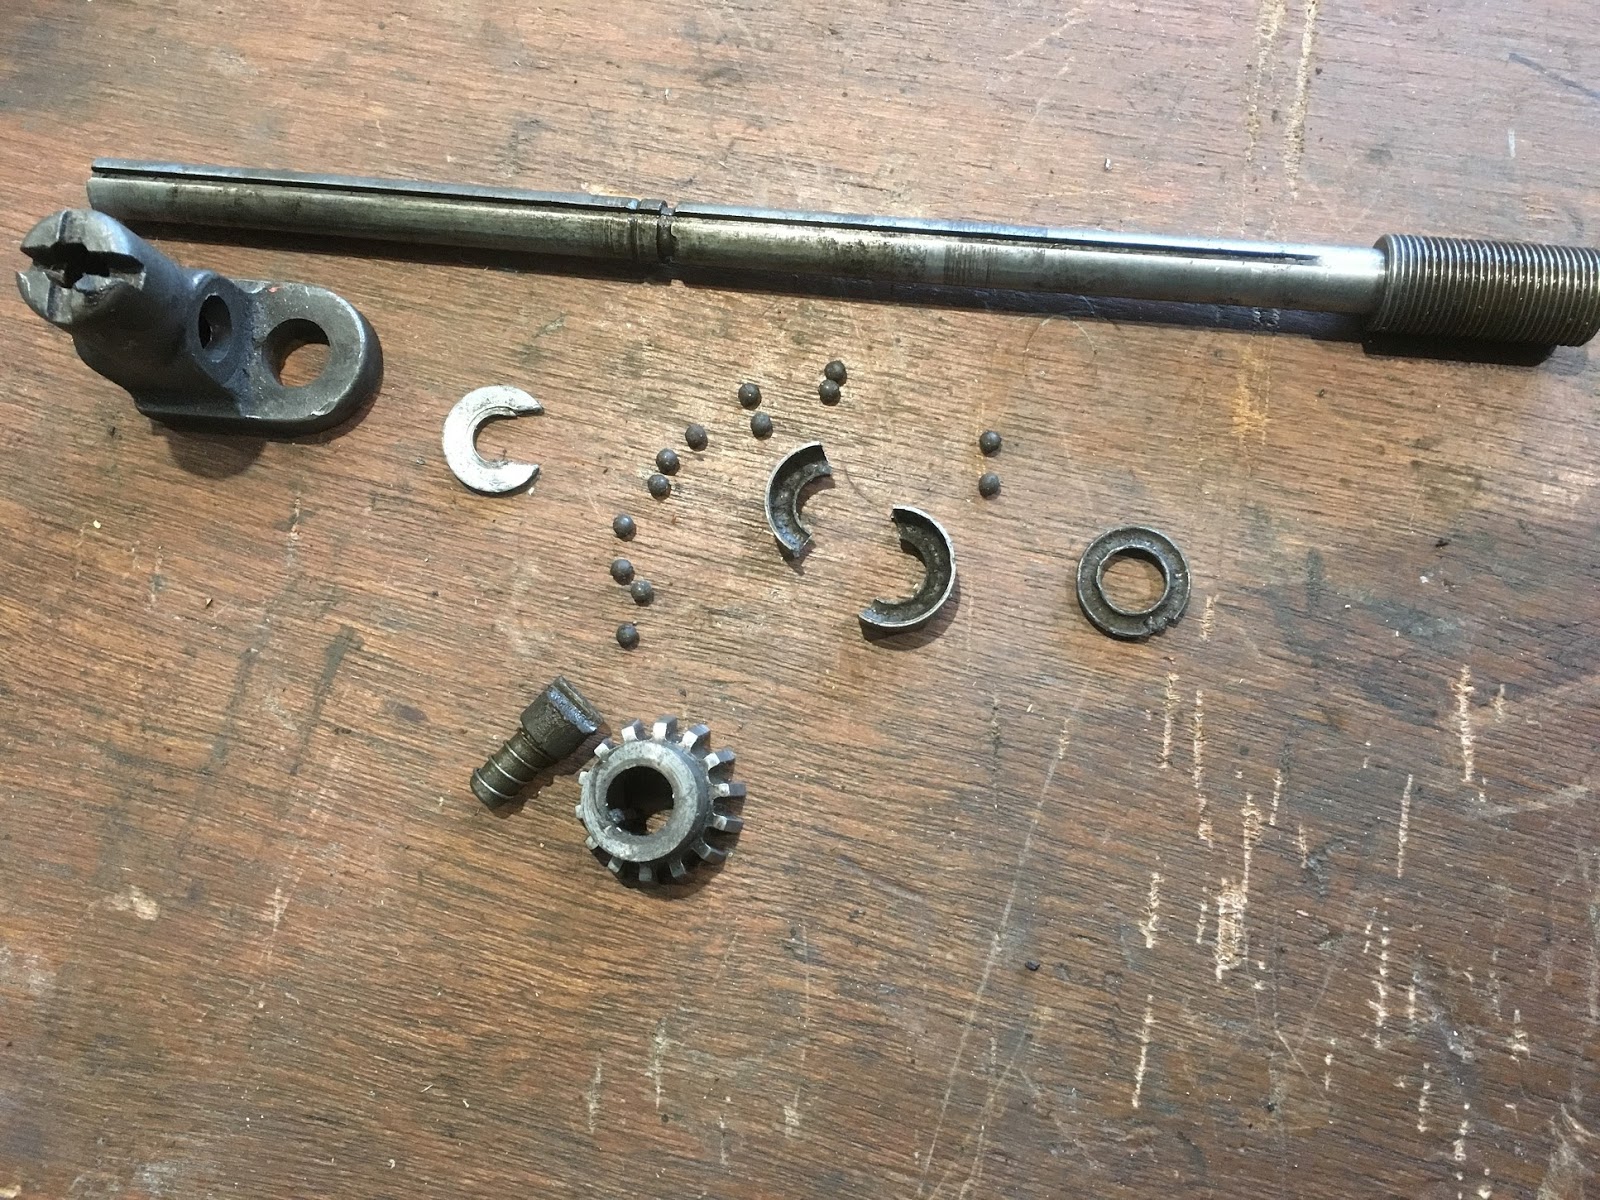
In the end I decided to cut the housing off and then to look for a replacement bearing.
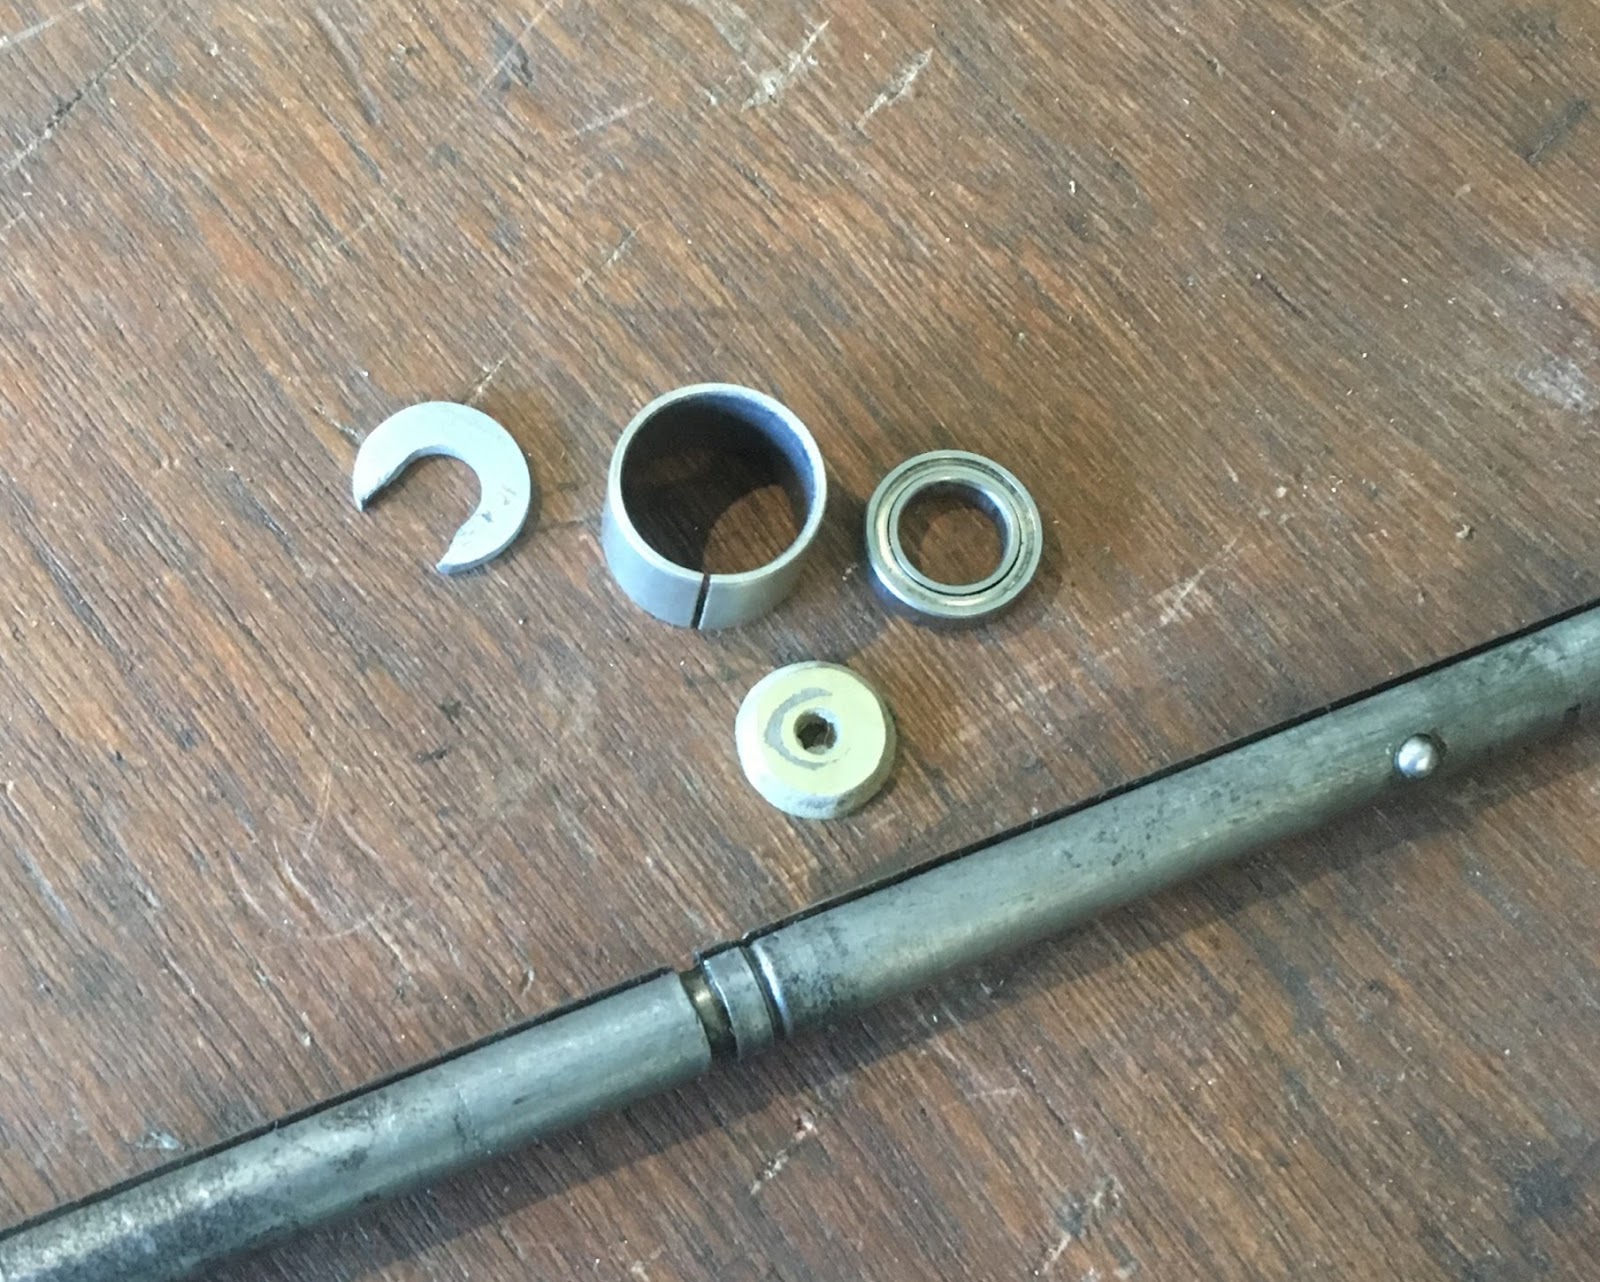
Looking at the result I think this was the right decision – the top of the housing appears to have been forced down onto the ball bearings, all of which were very corroded. The C-washer shows signs of wear, and I assume that the second groove on the spindle was caused by the housing rubbing after it could no longer spin freely:
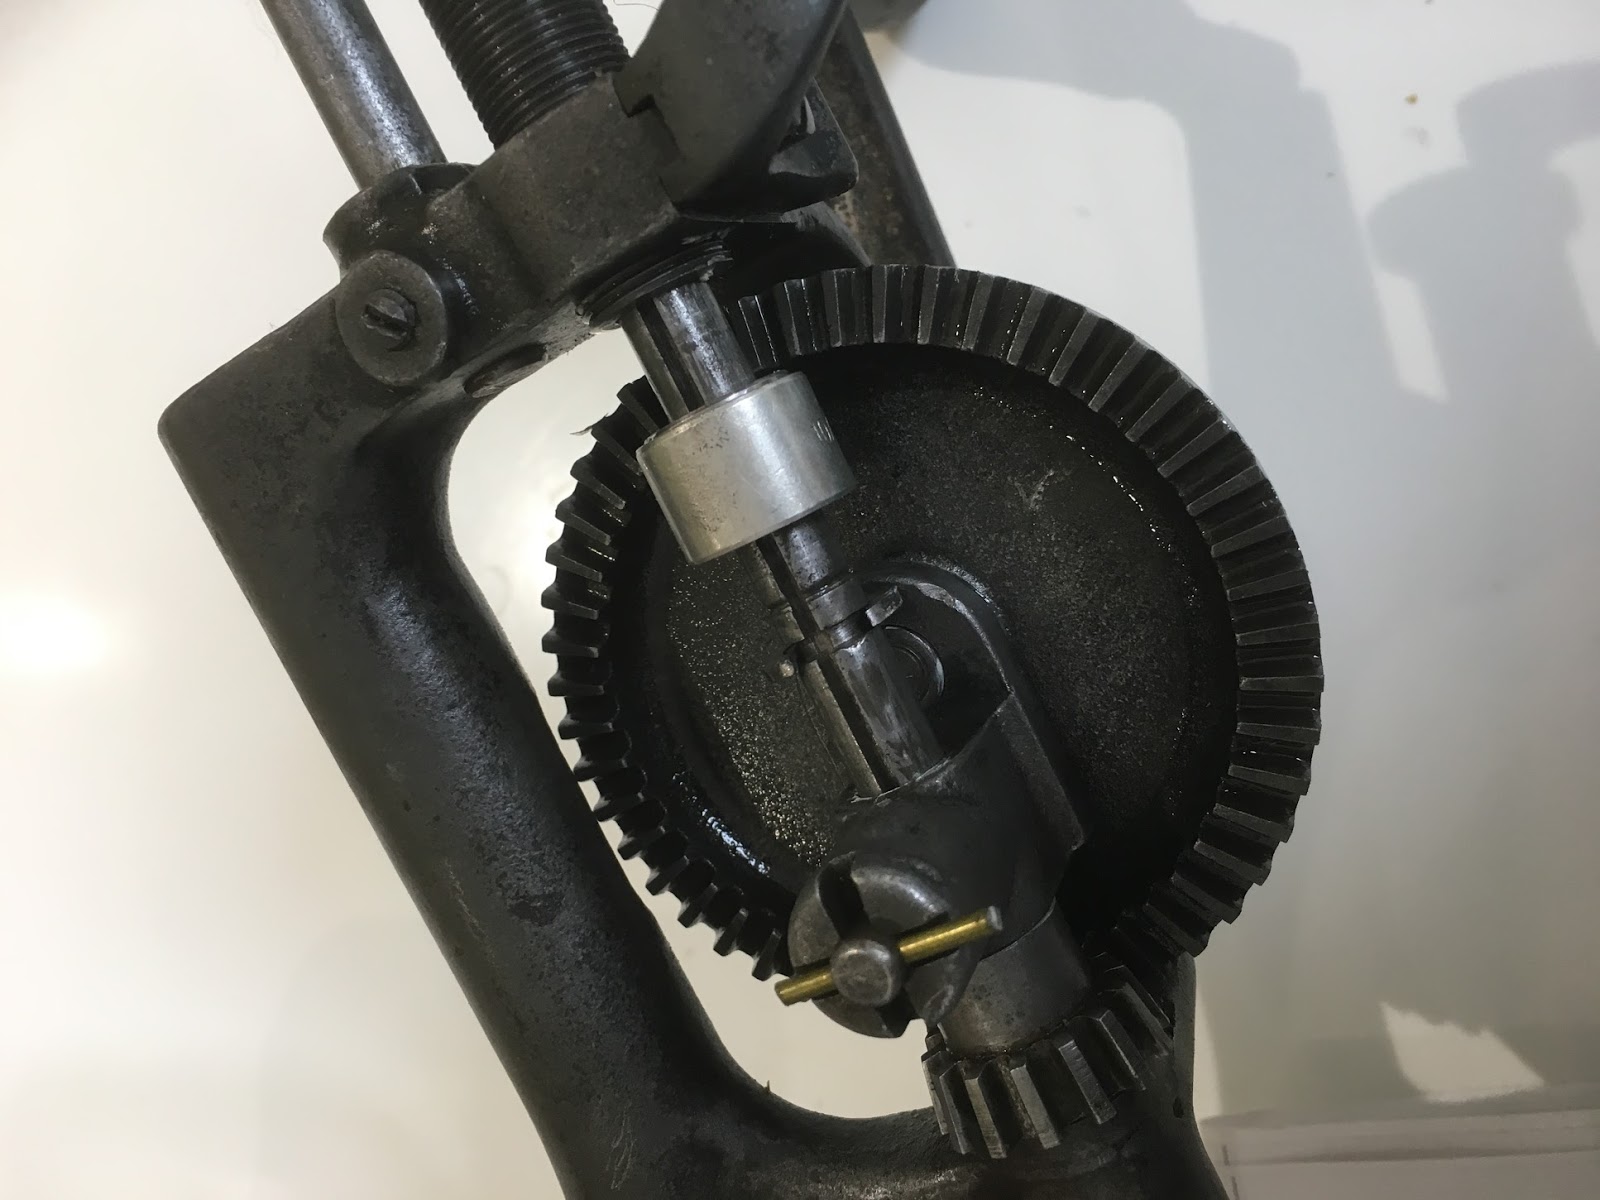
The new ball bearing and housing are shown assembled below – I made a small plastic washer to take up the slack and the drill now works.
the mechanism does occasionally stick momentarily when raising the drill upwards – I think this is due to wear on the spigot and the part that mounts he spindle to the drive shaft – but otherwise runs smoothly.
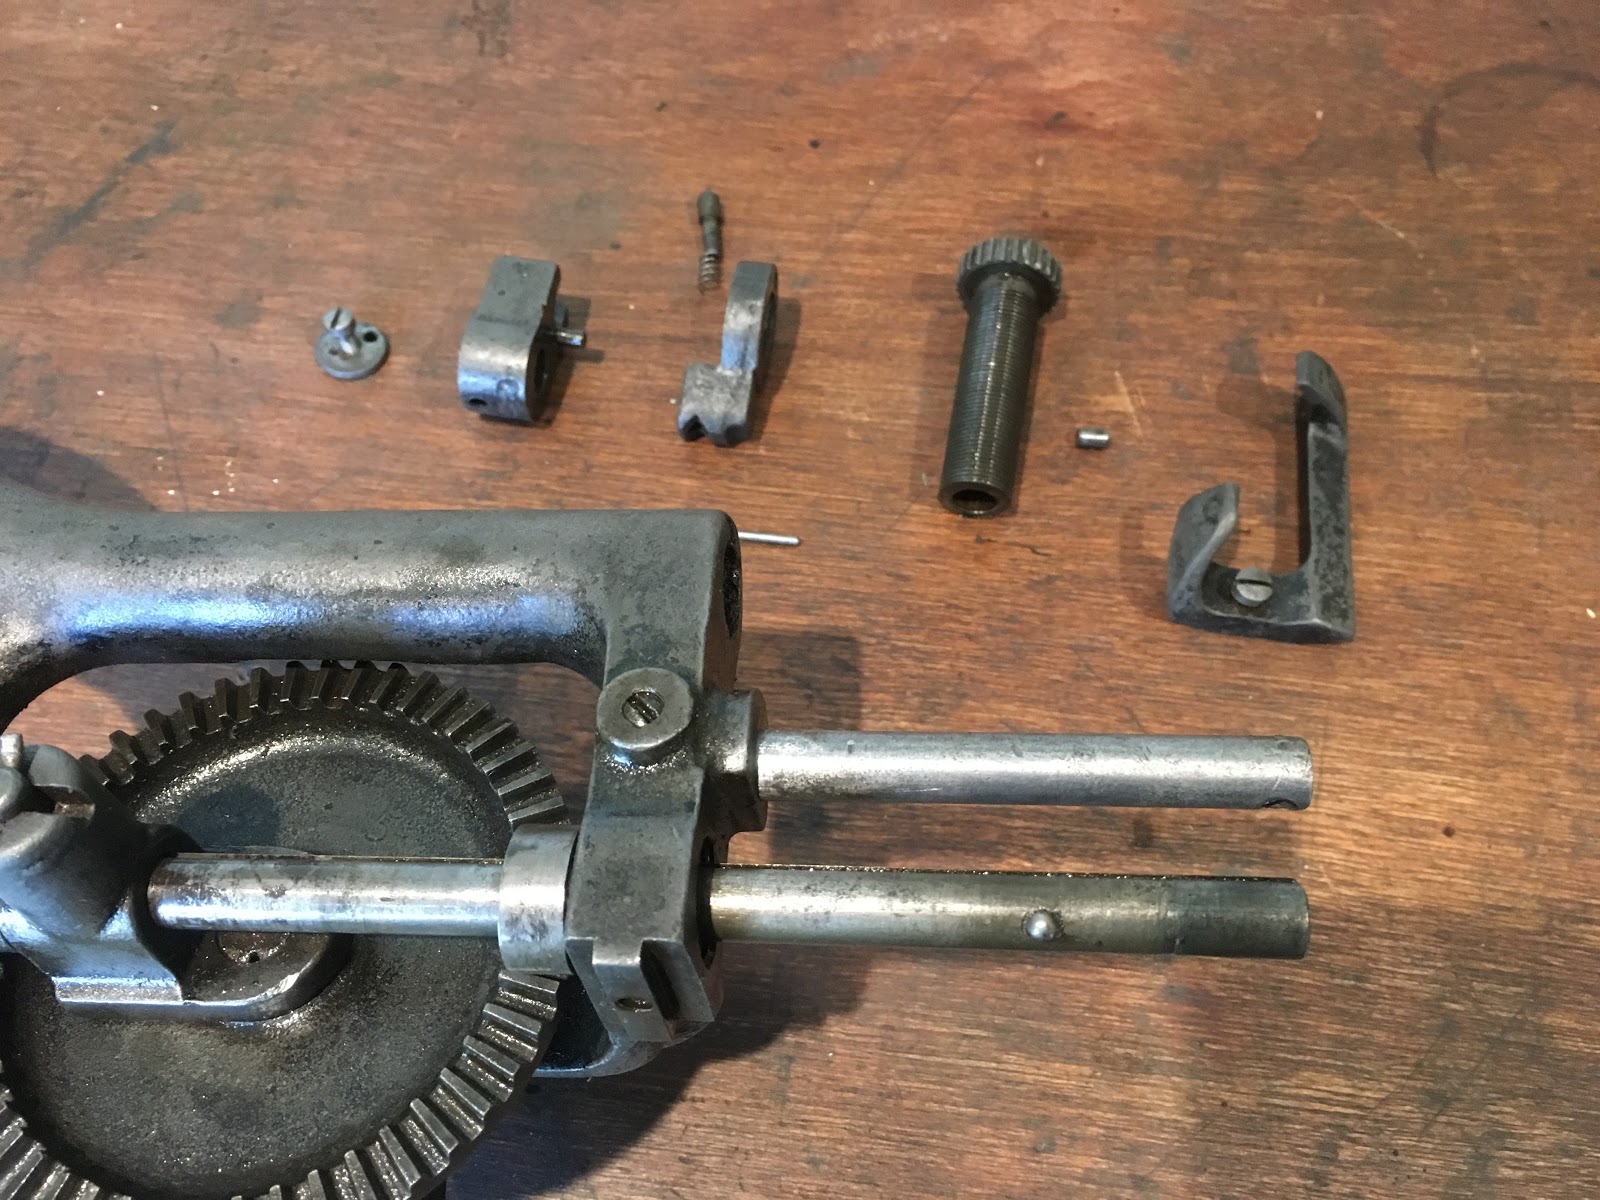
The ratchet mechanism is quite sophisticated and I explain how it works in this post.
References[+]
| ↑1 | a v. good penetrating lubricant – it actually works! |
|---|