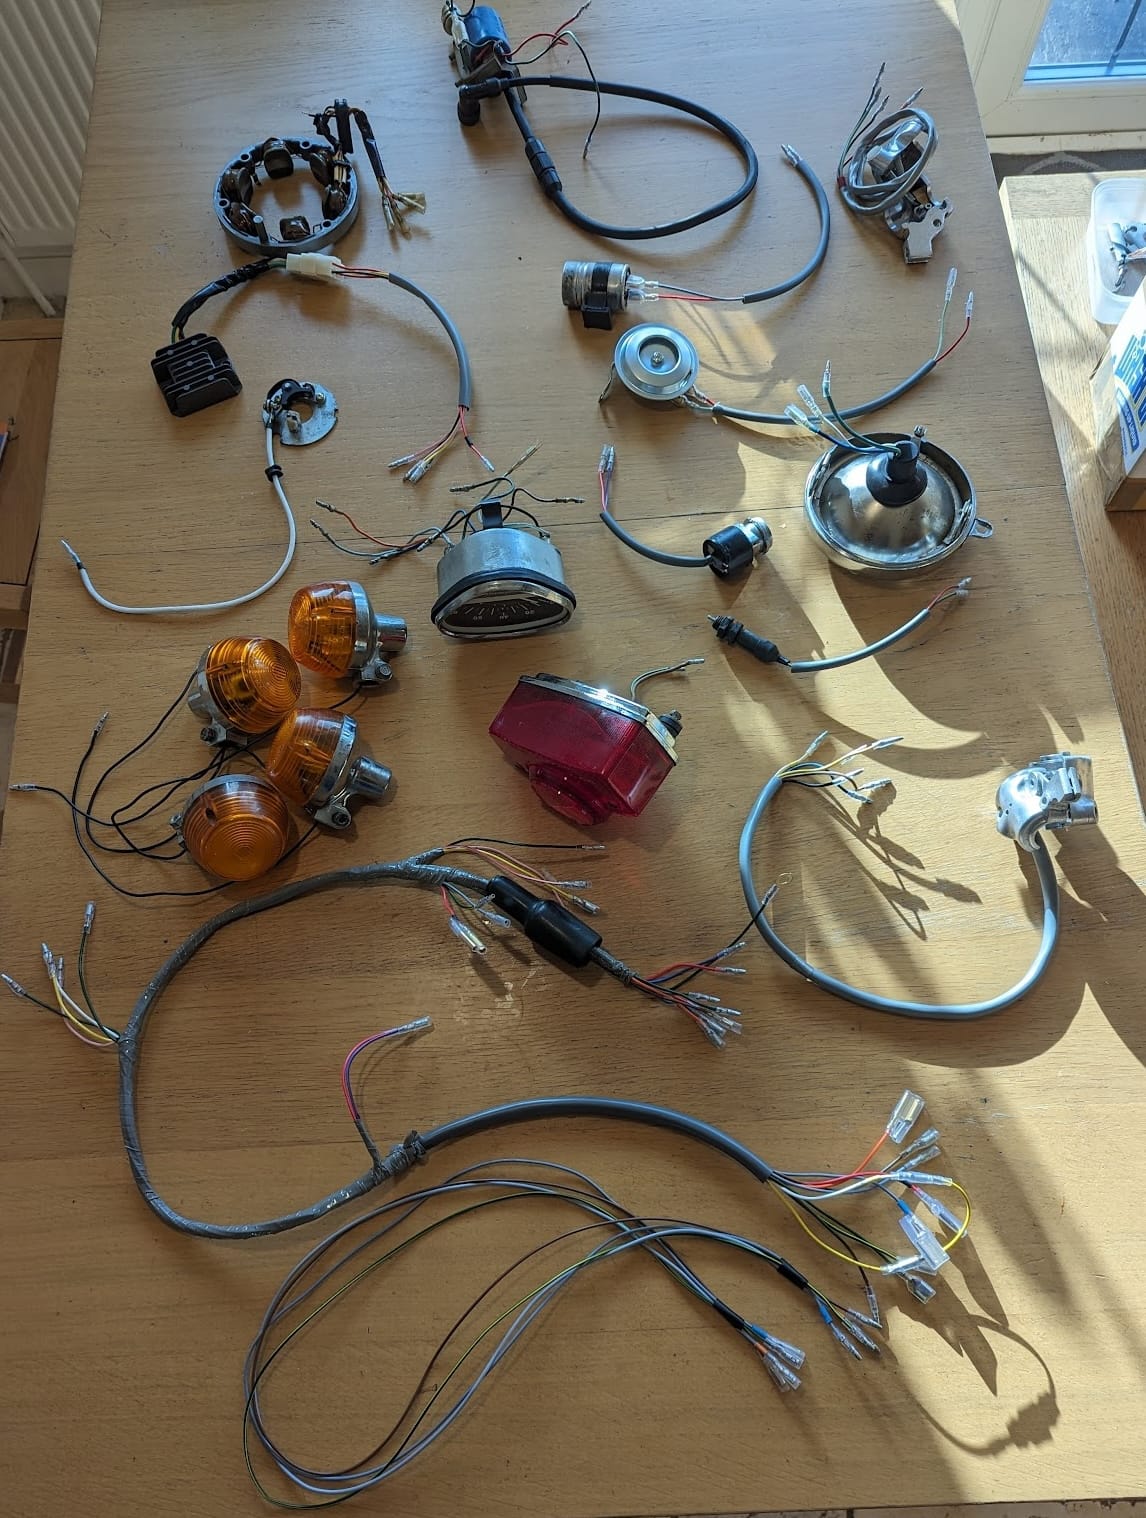
The CT90 has a simple wiring harness and making a replacement is pretty straightforward. Much of the wring on my 1969 K1 had been damaged, cut or patched so I decided to do a major overhaul, including making a brand new harness. Here are the before and after picture of the various repairs:
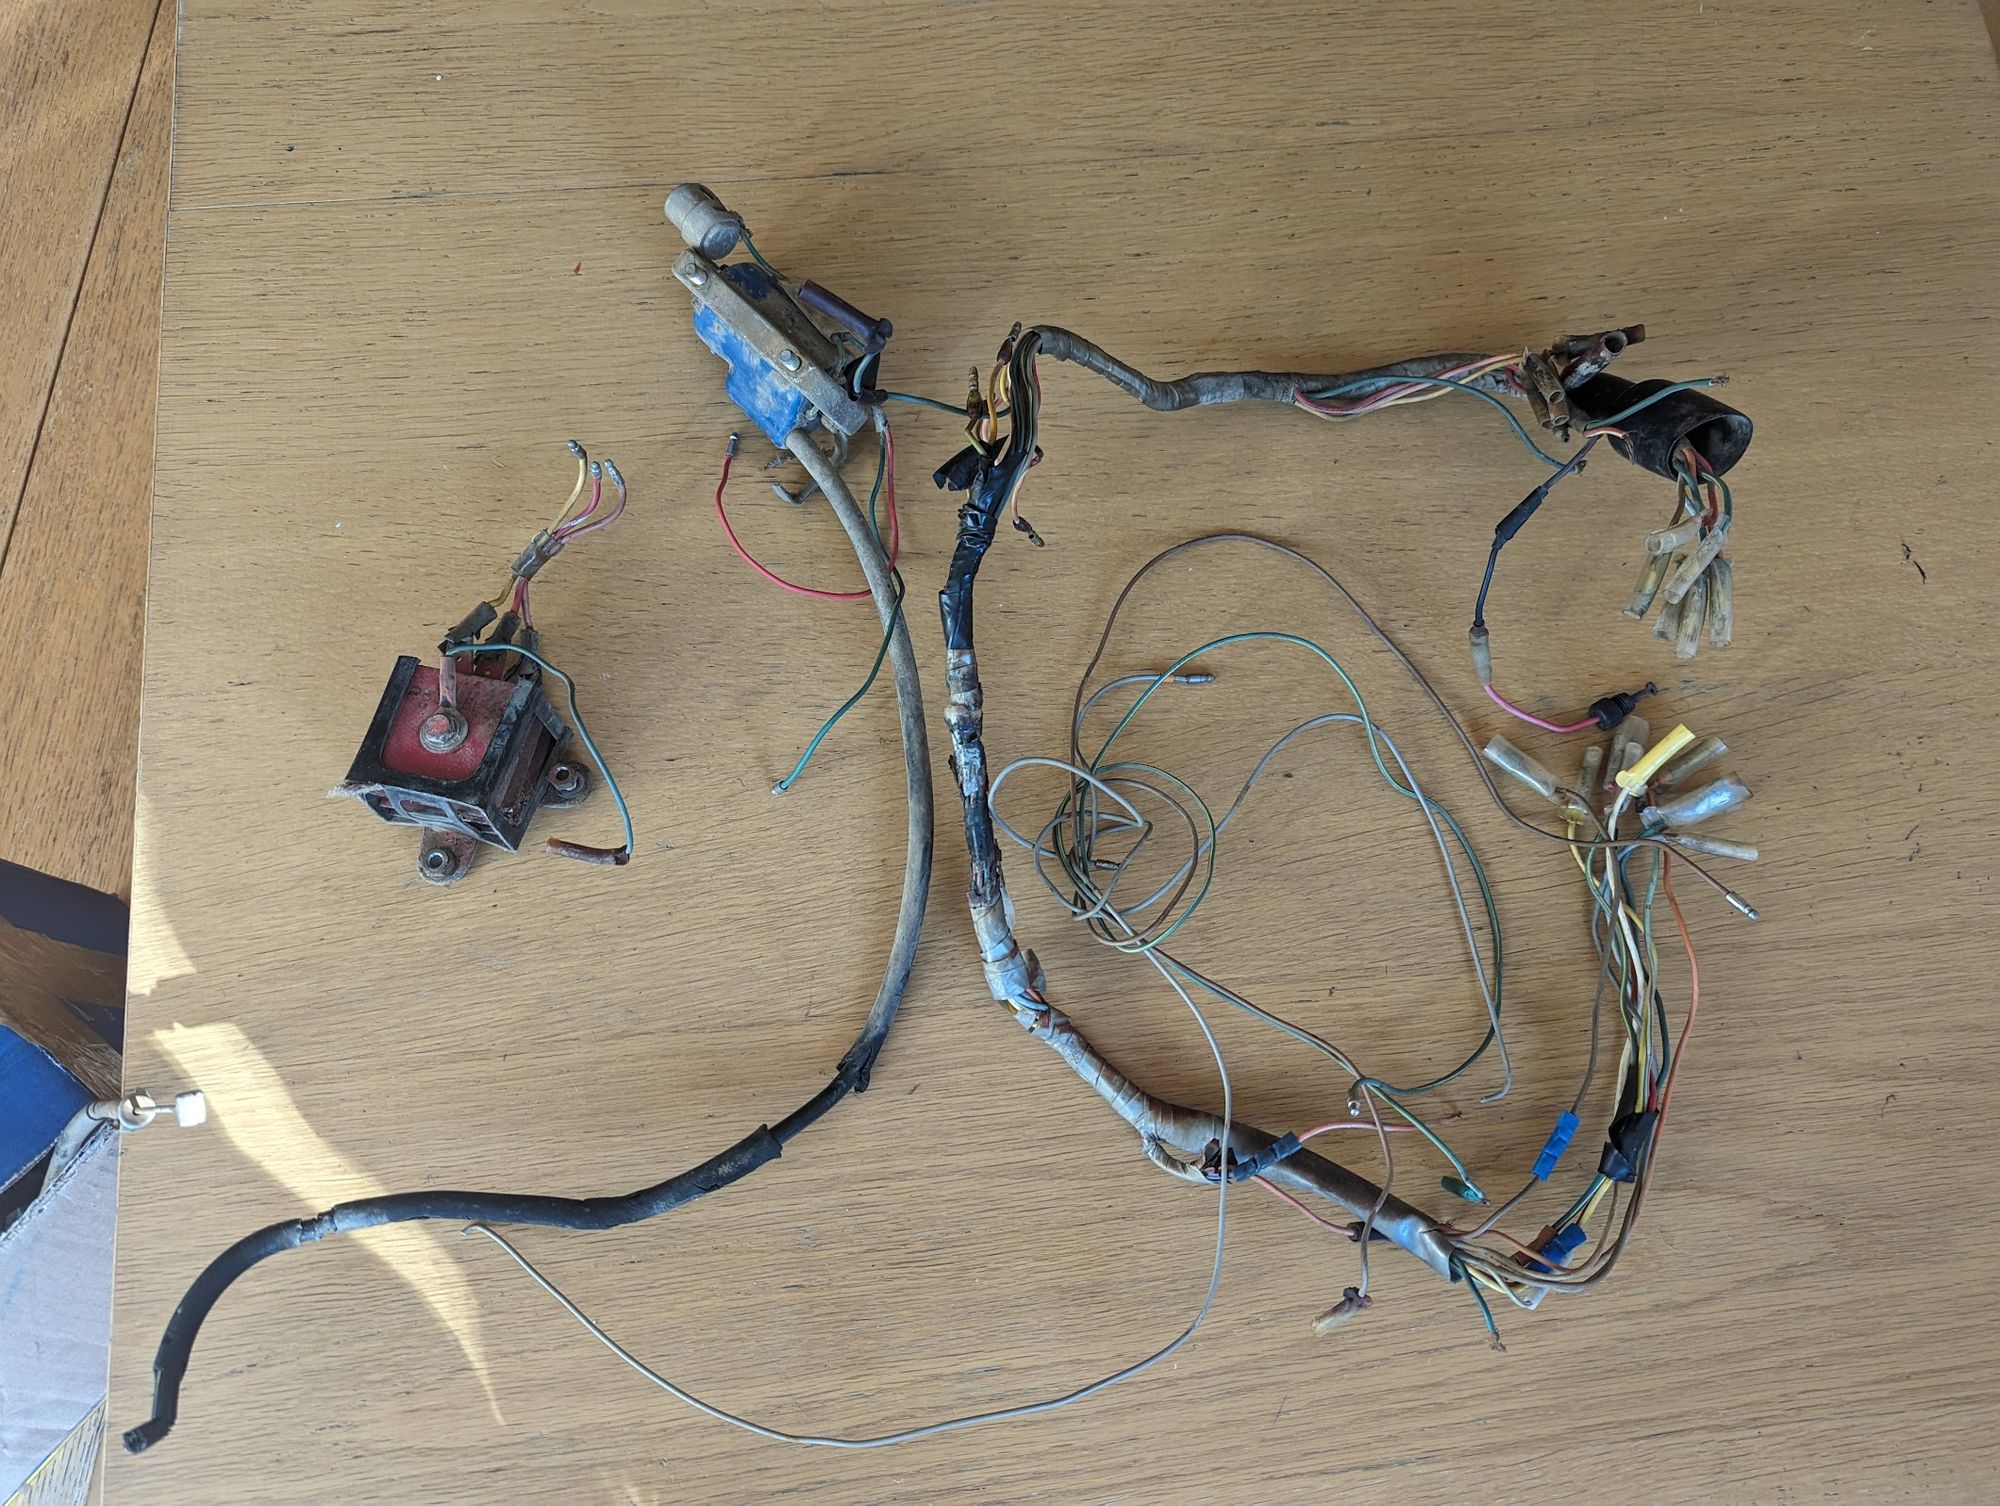
making a template
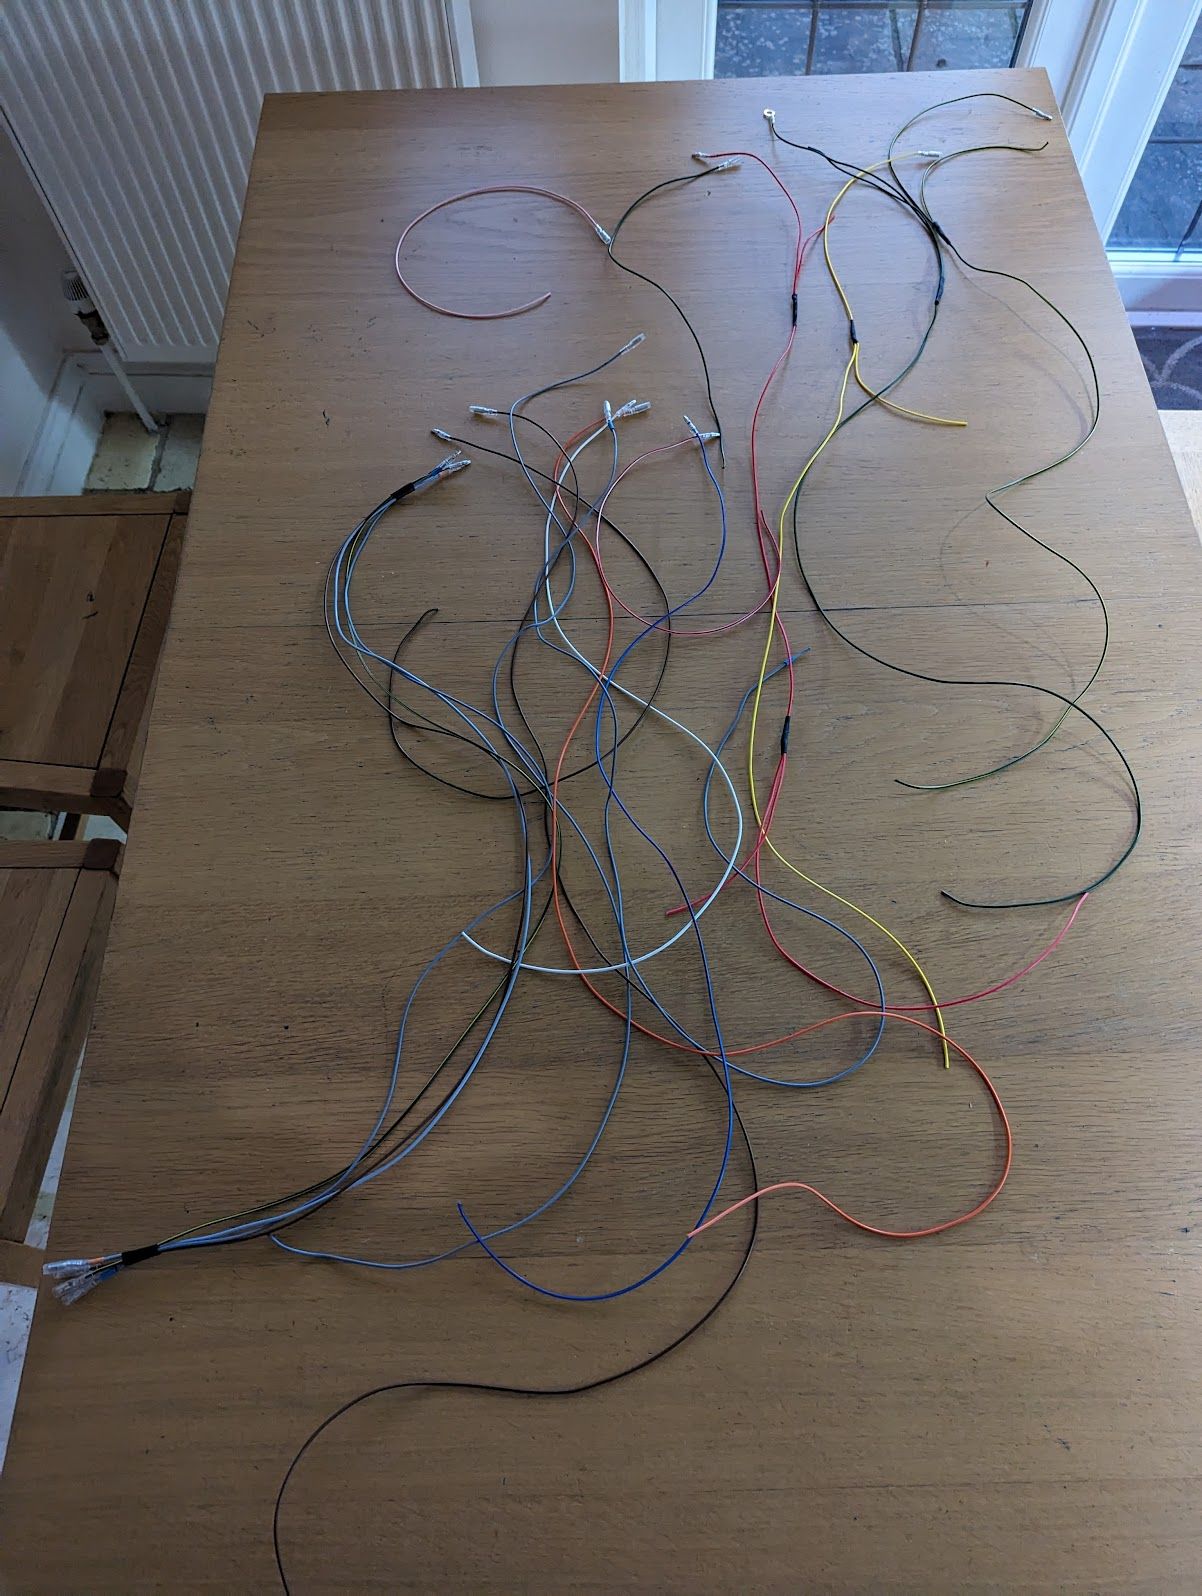
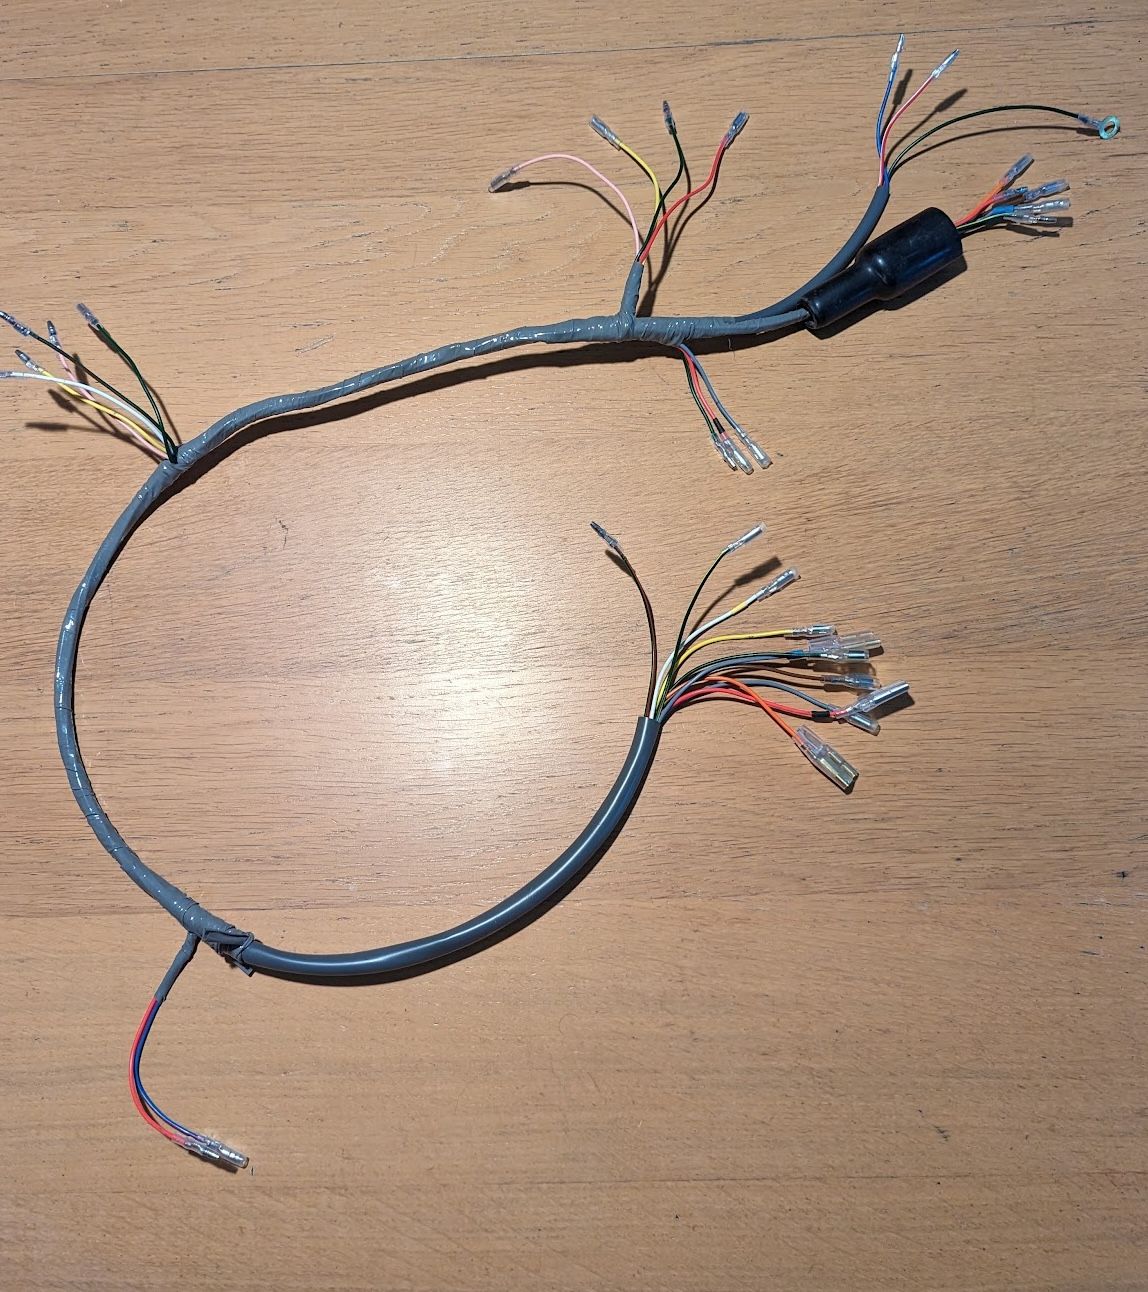
The easiest way to make a harness is to copy an existing one:
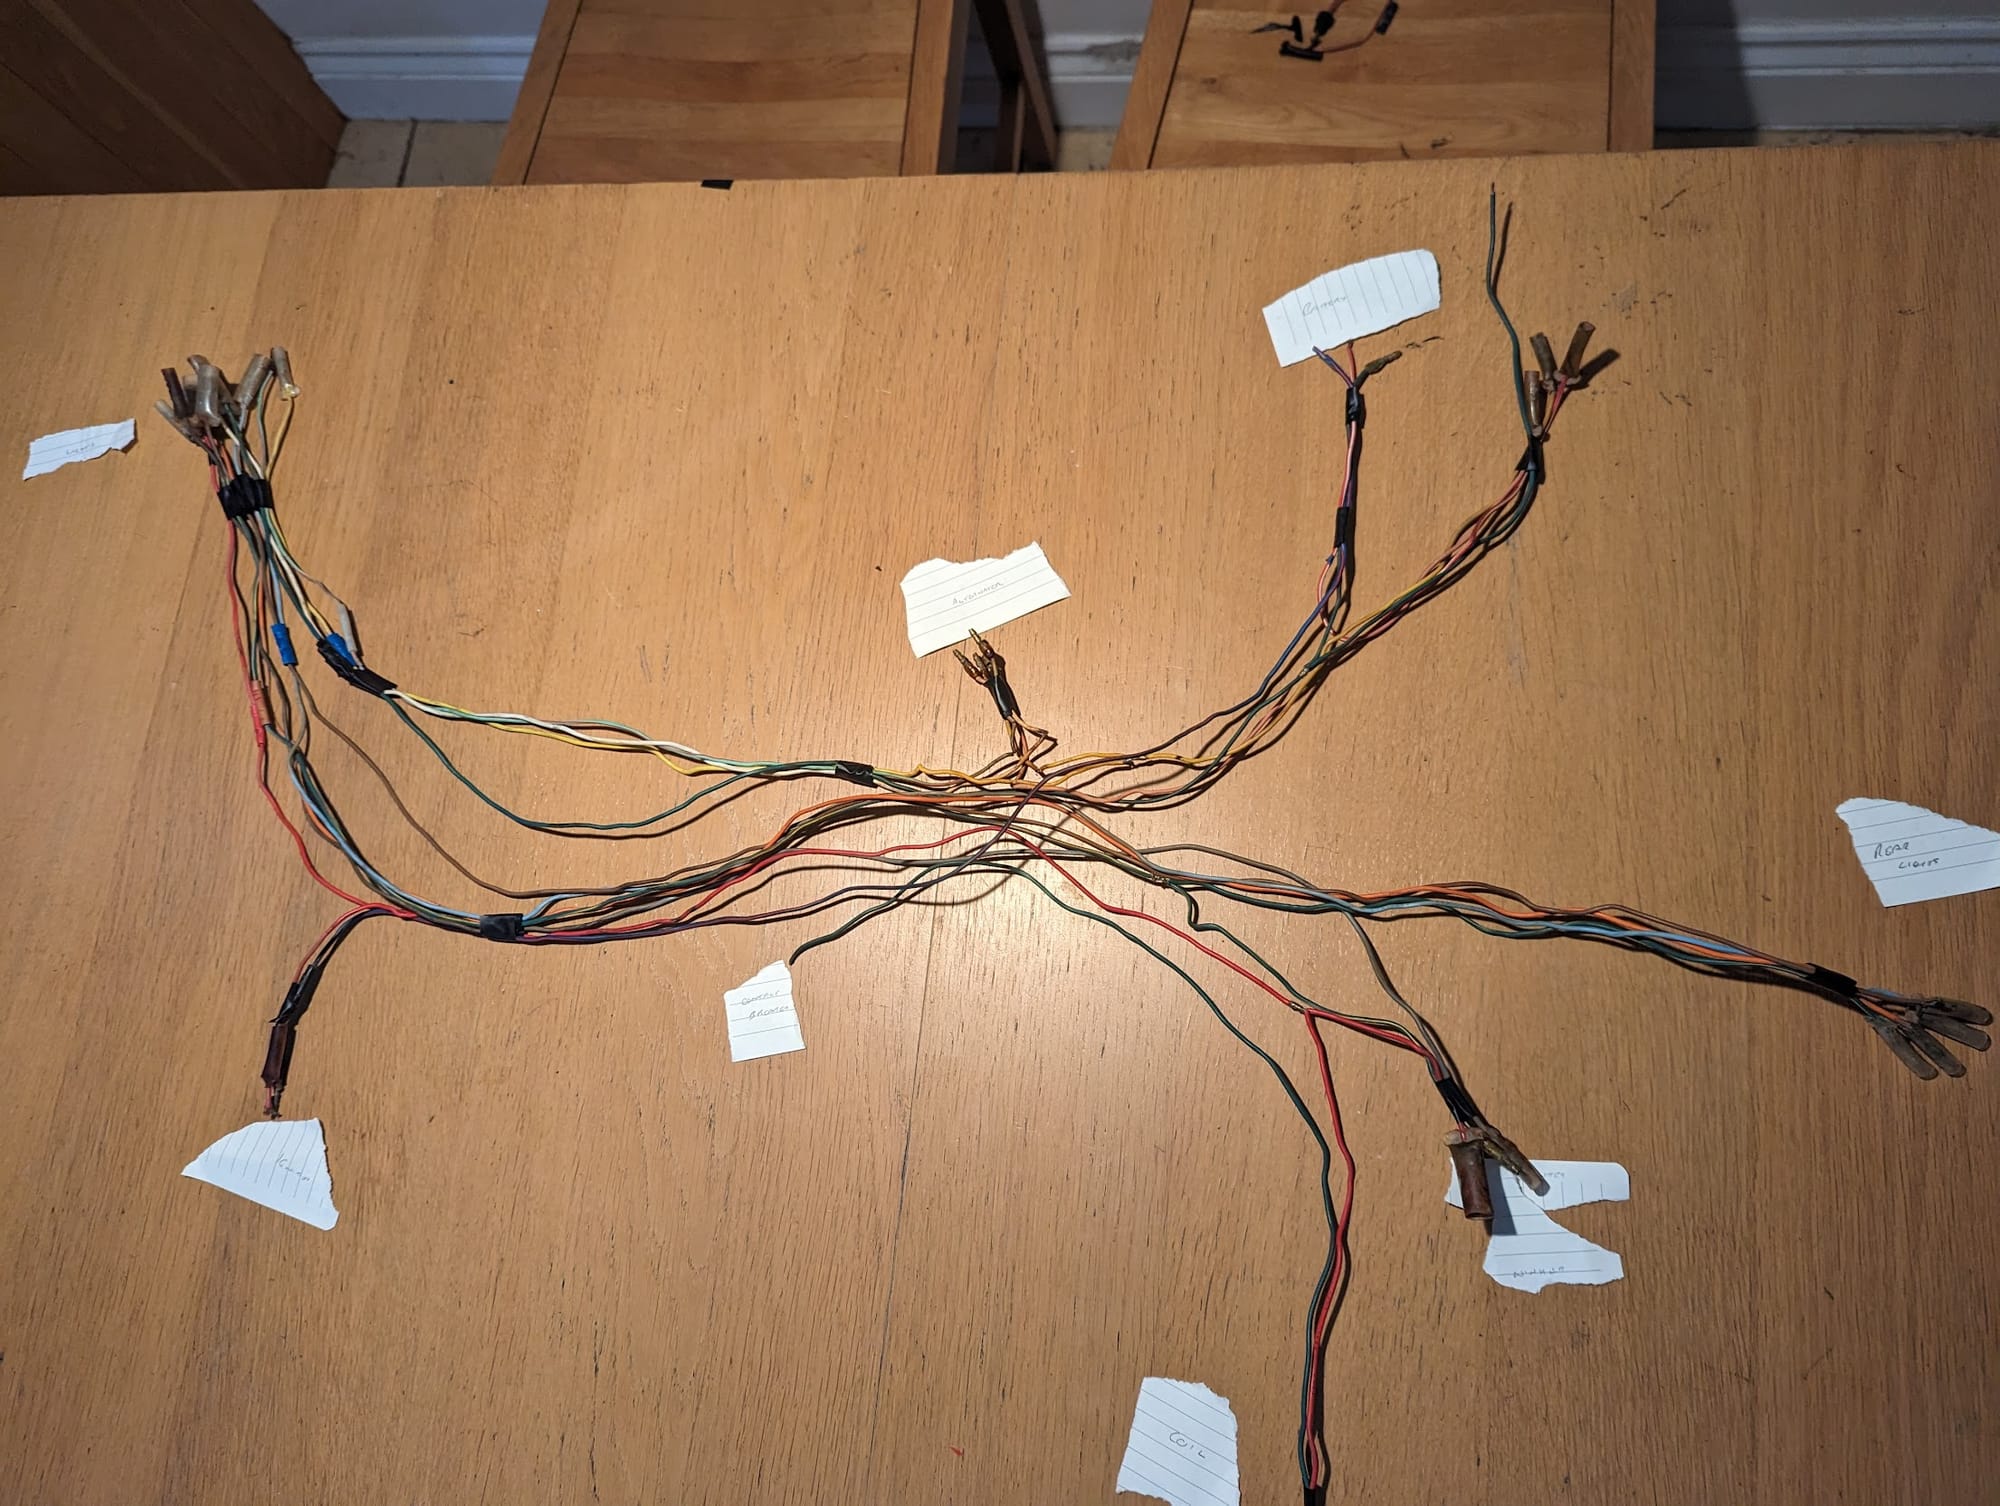
the original harness (left) and stripped to individual wires (right)
but in case you are starting from scratch, you can refer to the layout diagram that I created:
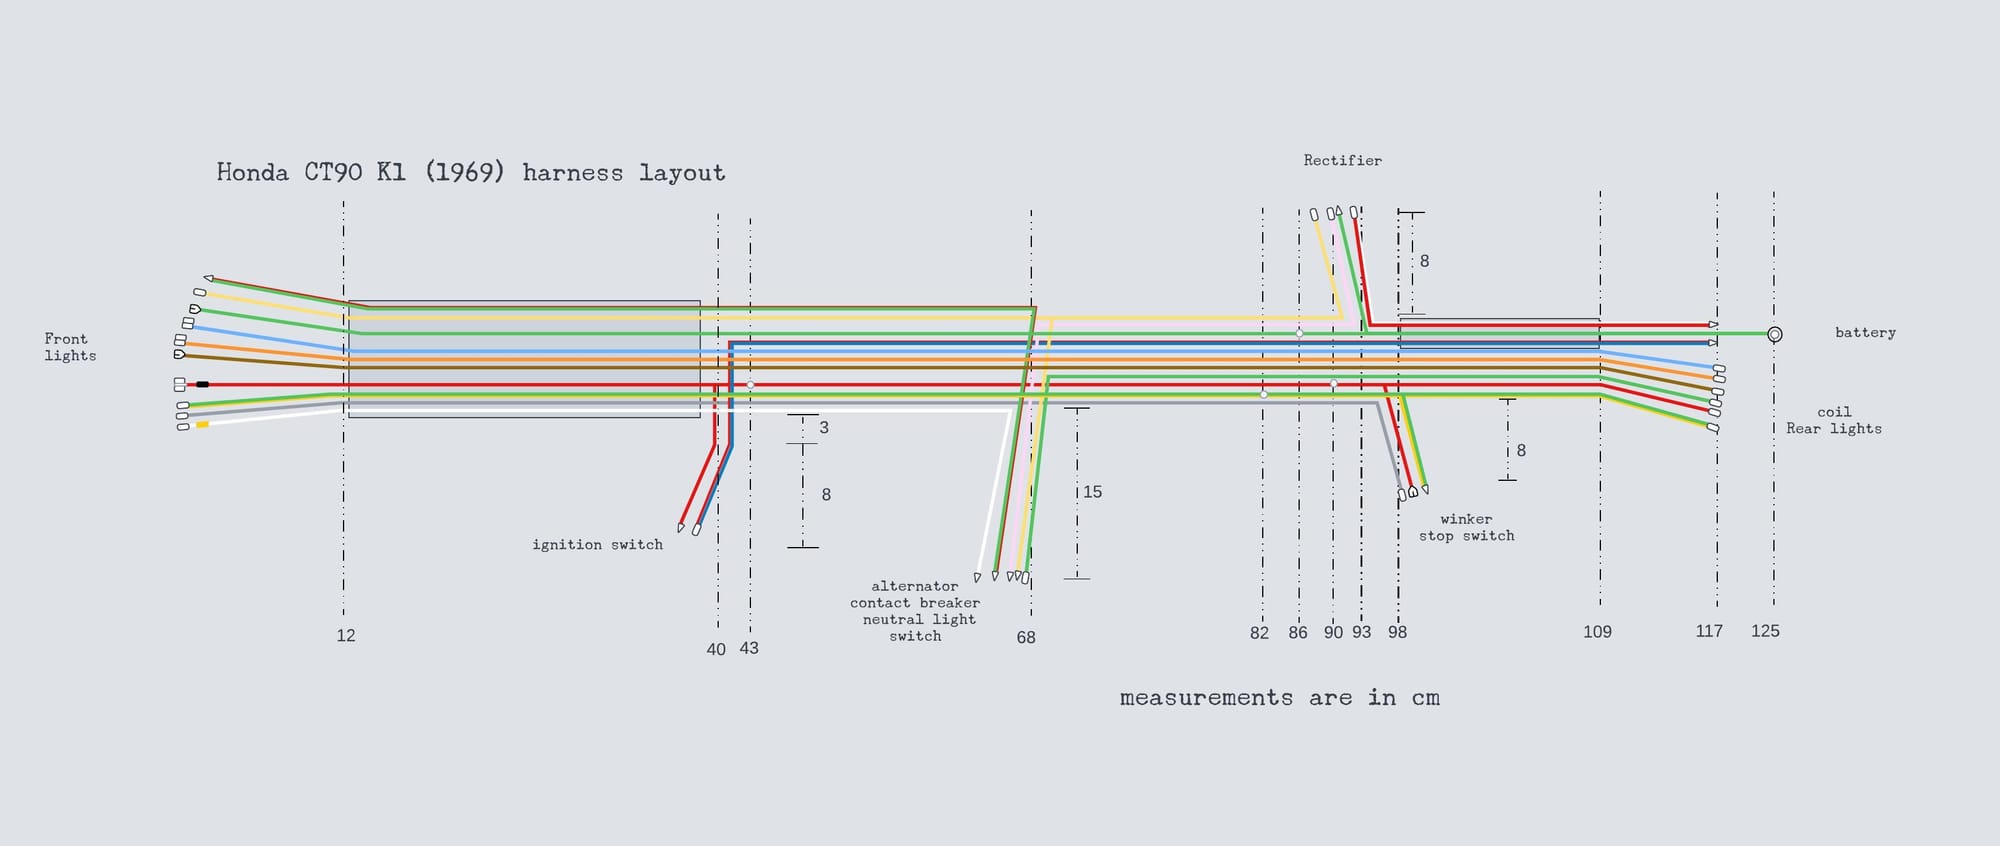
K1 wiring harness. Where wires in my original harness had been cut short, I referred to this excellent blog to confirm the wire lengths.
You can see the corresponding colourised wiring diagram here.
Note that if you have a later model, although the layout of the components is essentially the same, there are some important differences including the introduction of a kill switch in the early 70s which necessitated a couple of extra wires to the headlight bucket.
materials and tools
I used 1mm thinwall automotive cable - it is readily available in many colours and is close to the size that was fitted originally (approx 17 AWG).
If you are in the UK you can get much of what you need from Vehicle Wiring Products and Auto Sparks, although I had to shop around for some of the wires with tracer colours and I could not find light blue cables anywhere.
As far as I can tell by comparing a loom from 1969 with one from 1978, Honda used 3.5mm bullet connectors on the early 6v bikes and then switched to 3.9mm
Koyacat Automotive and Marine Cables (UK) do all the bullet connectors you need, including the 3 and 4 way connectors needed at the headlight end.
The harness is covered with grey PVC sheathing in a couple of places and the remainder is wrapped in non-adhesive grey PVC harness tape
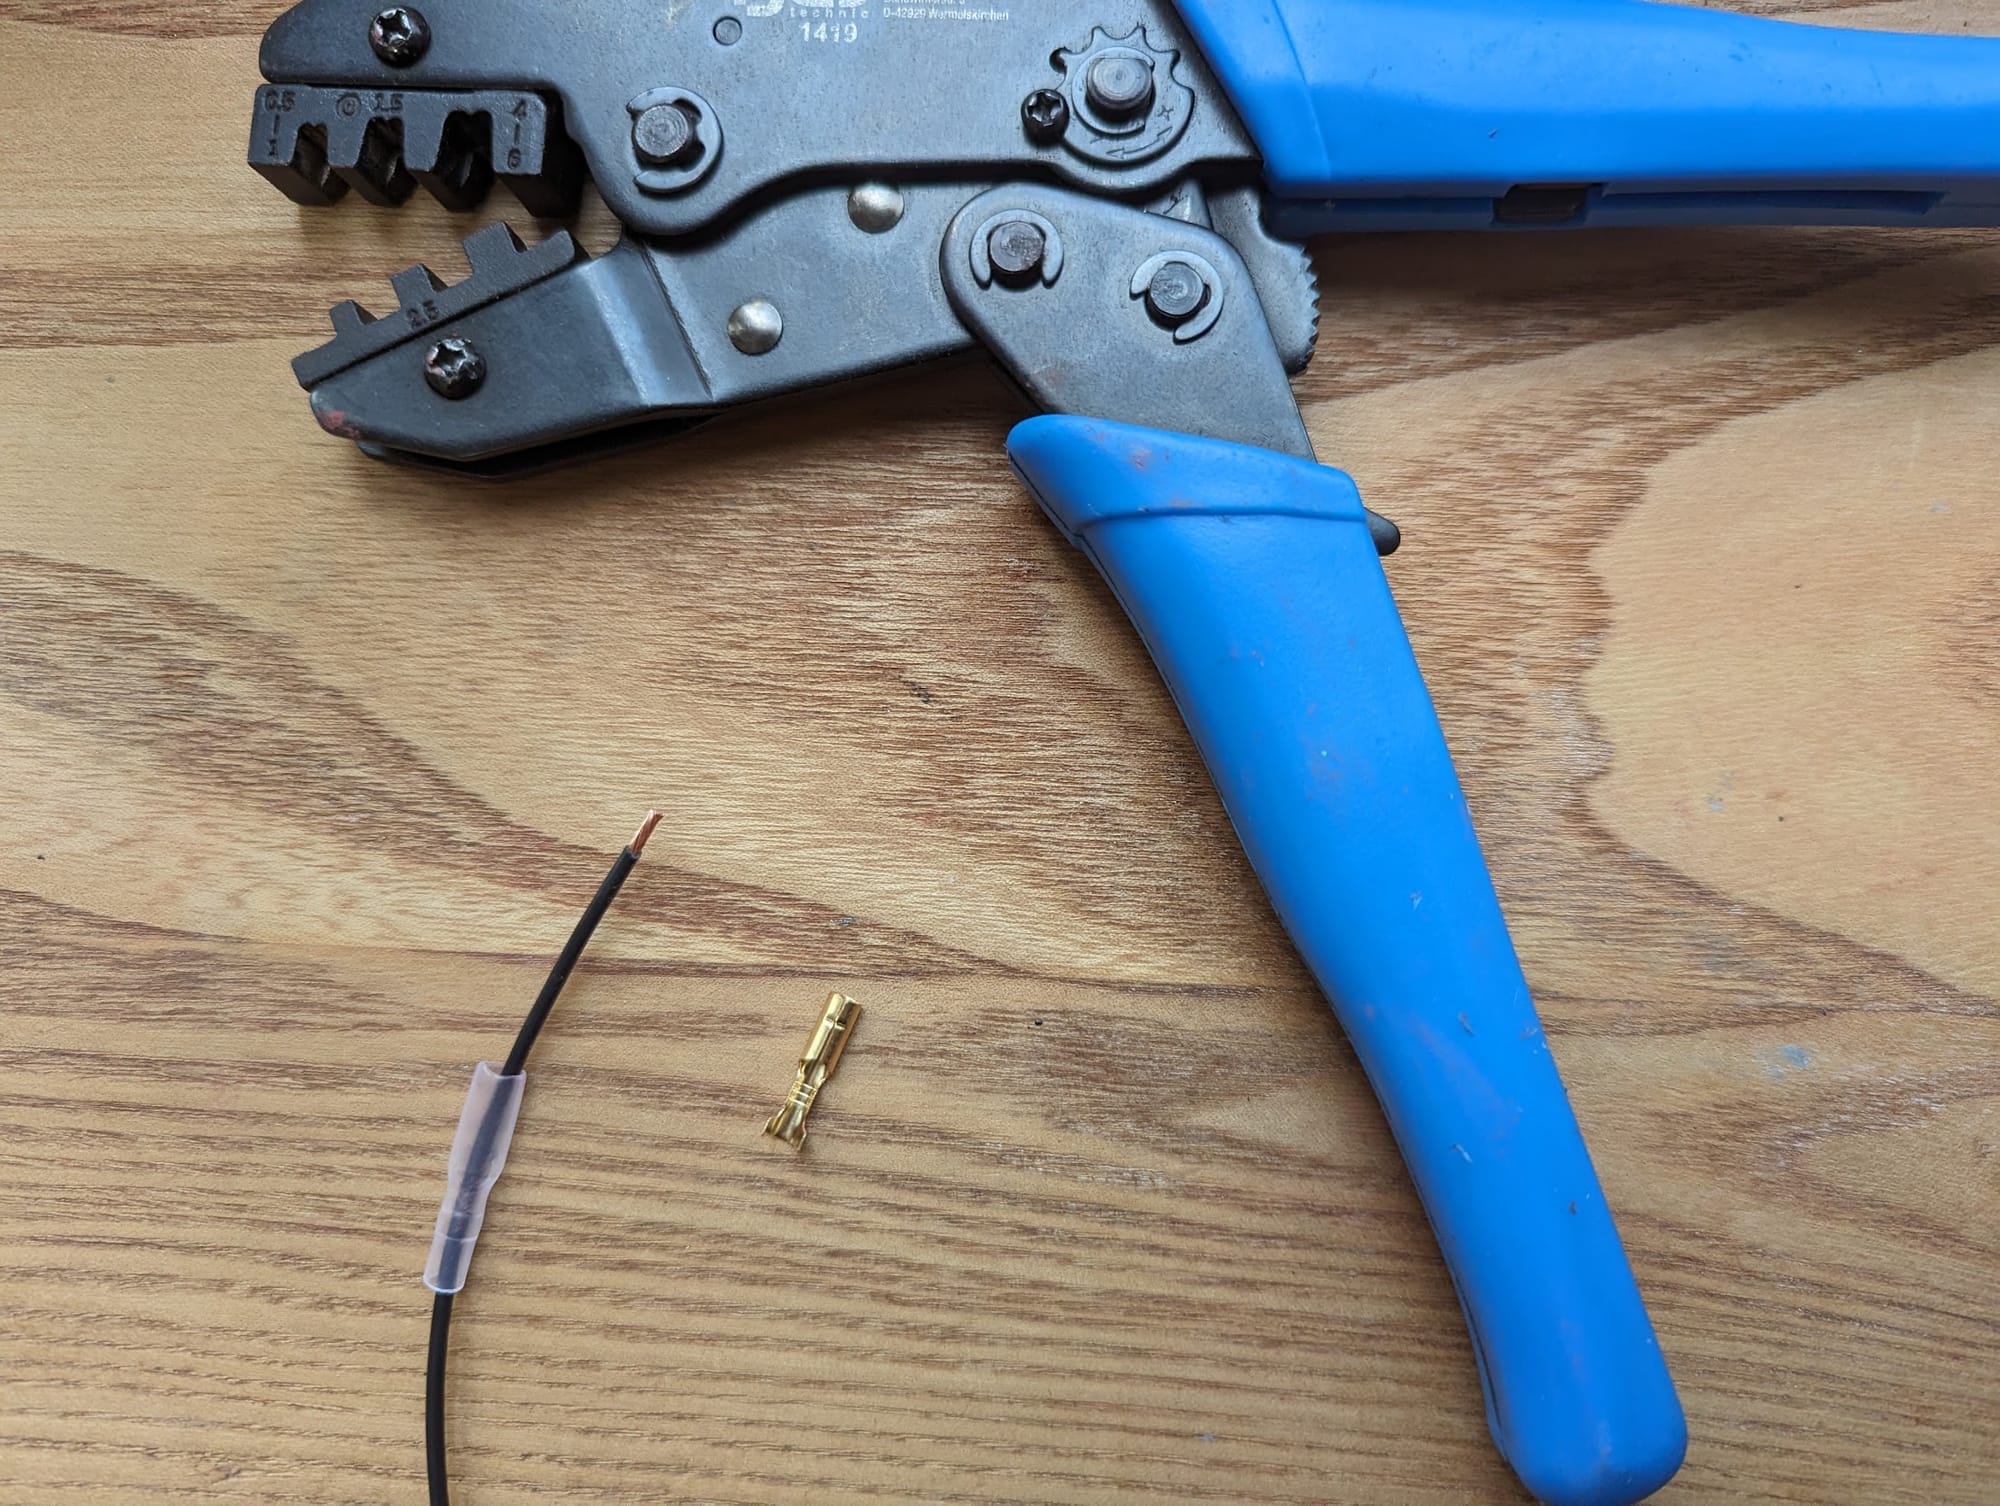
You will need a decent set of ratchet crimpers (I have a BGS 1419), and a good wire stripper is very helpful.
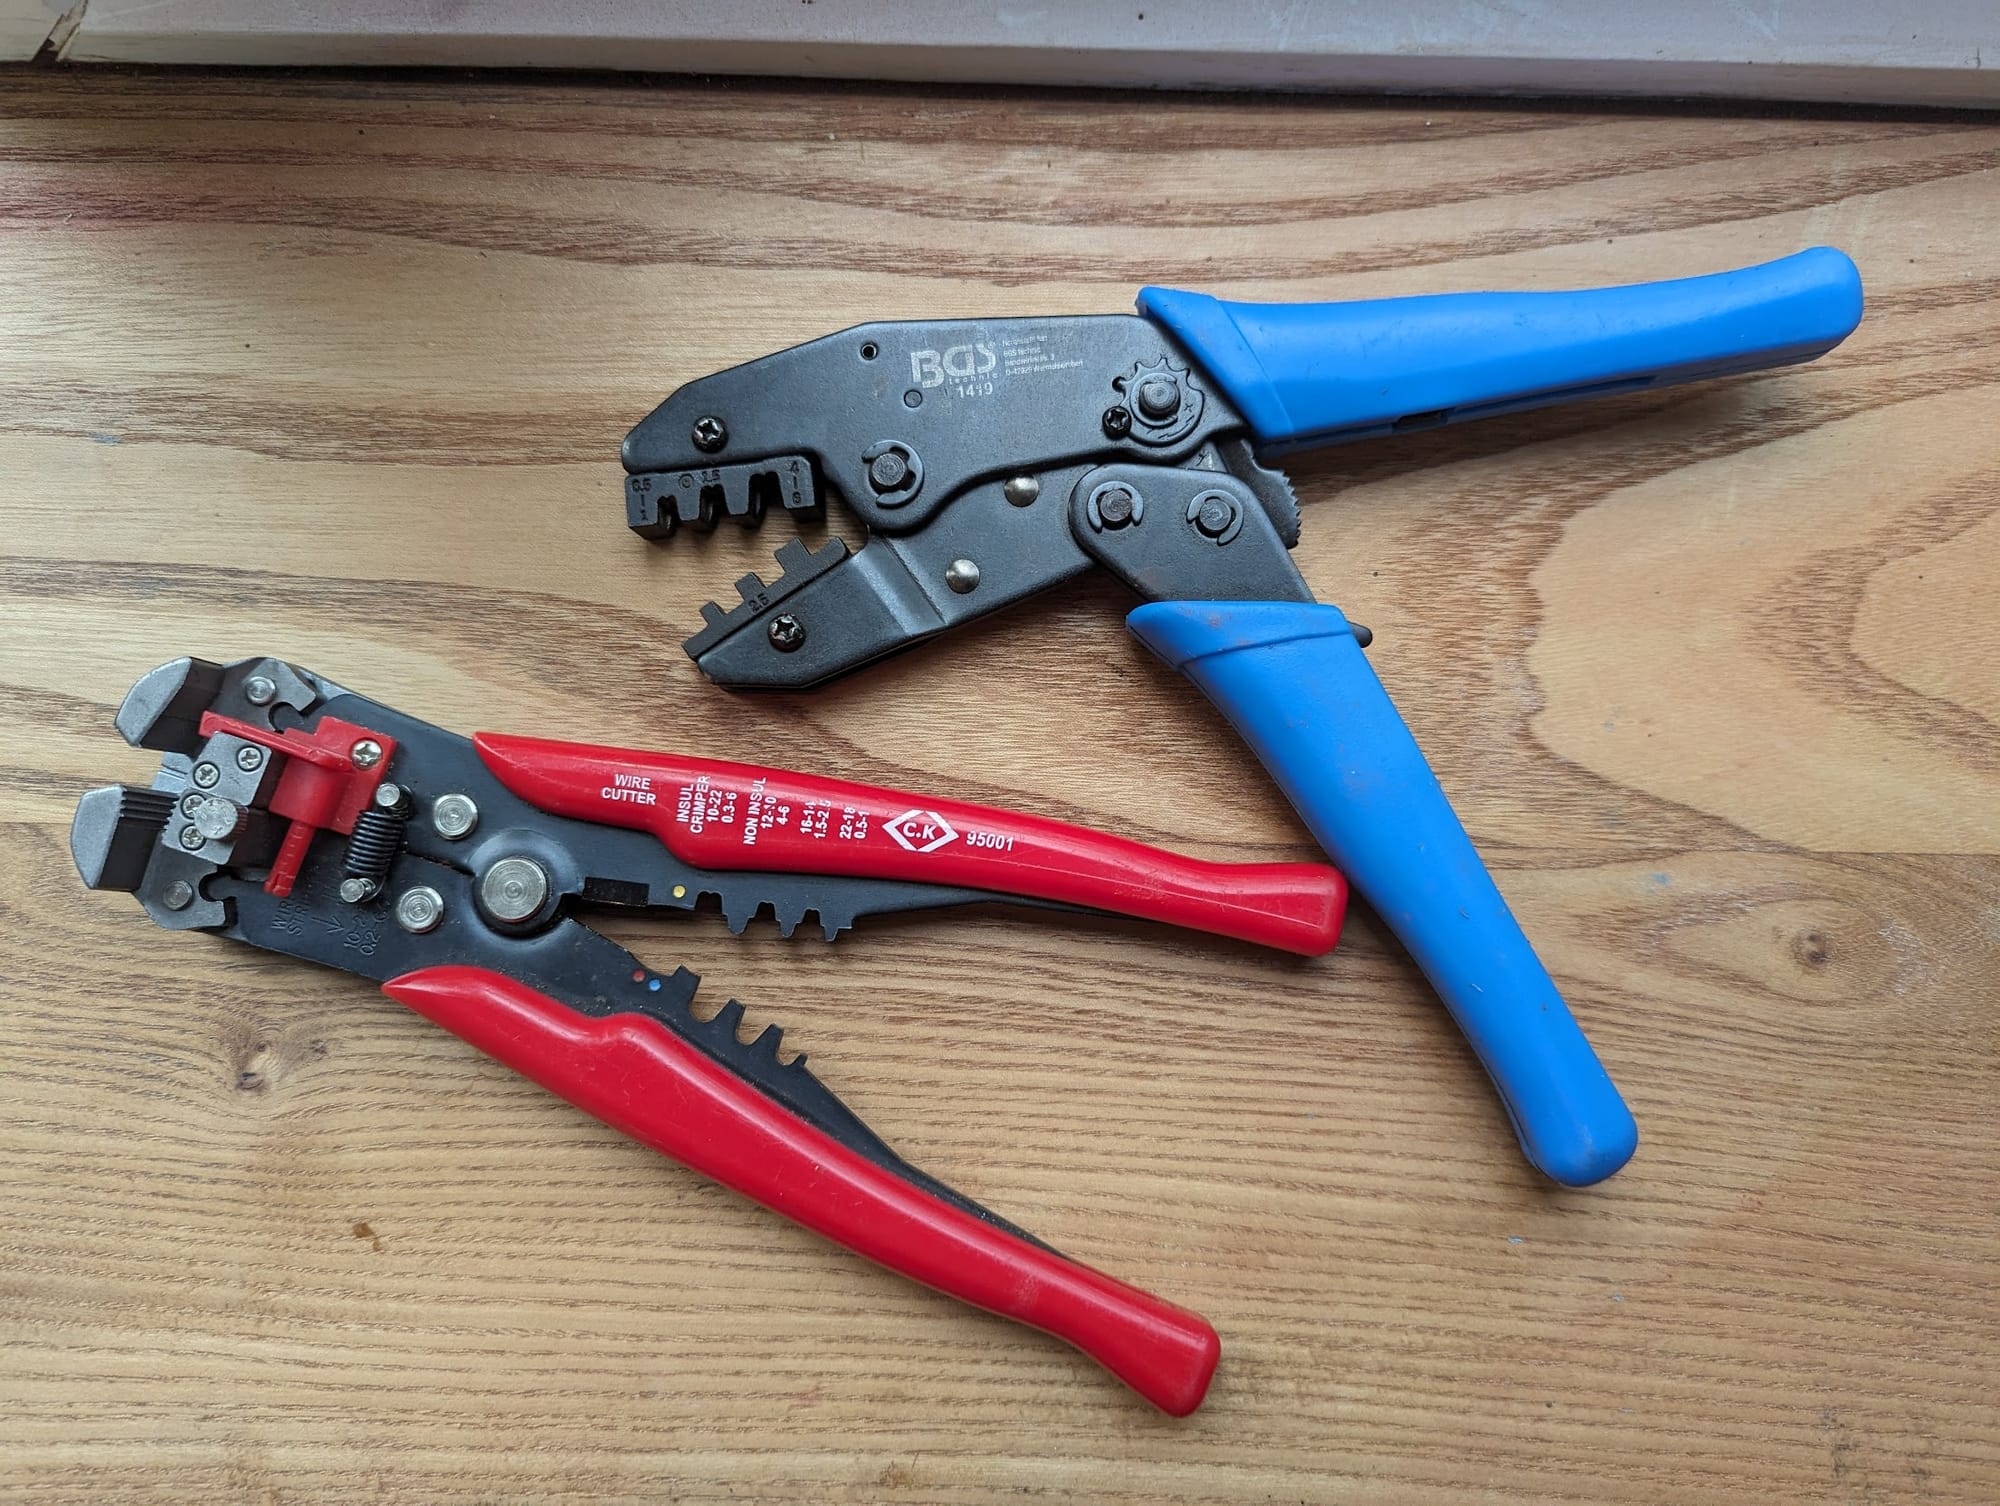
Finally some coloured shrink wrap tubing comes in handy and you will need a soldering iron.
construction
There are several parts on the harness where short extension wires are spliced on to longer wires (these are marked by the white circles in the diagram above), so the first job after cutting the wires to length is to make these joints. Here is an example of Honda's (or rather Sumitomo - who made the harnesses for Honda back in the 60s) efforts:
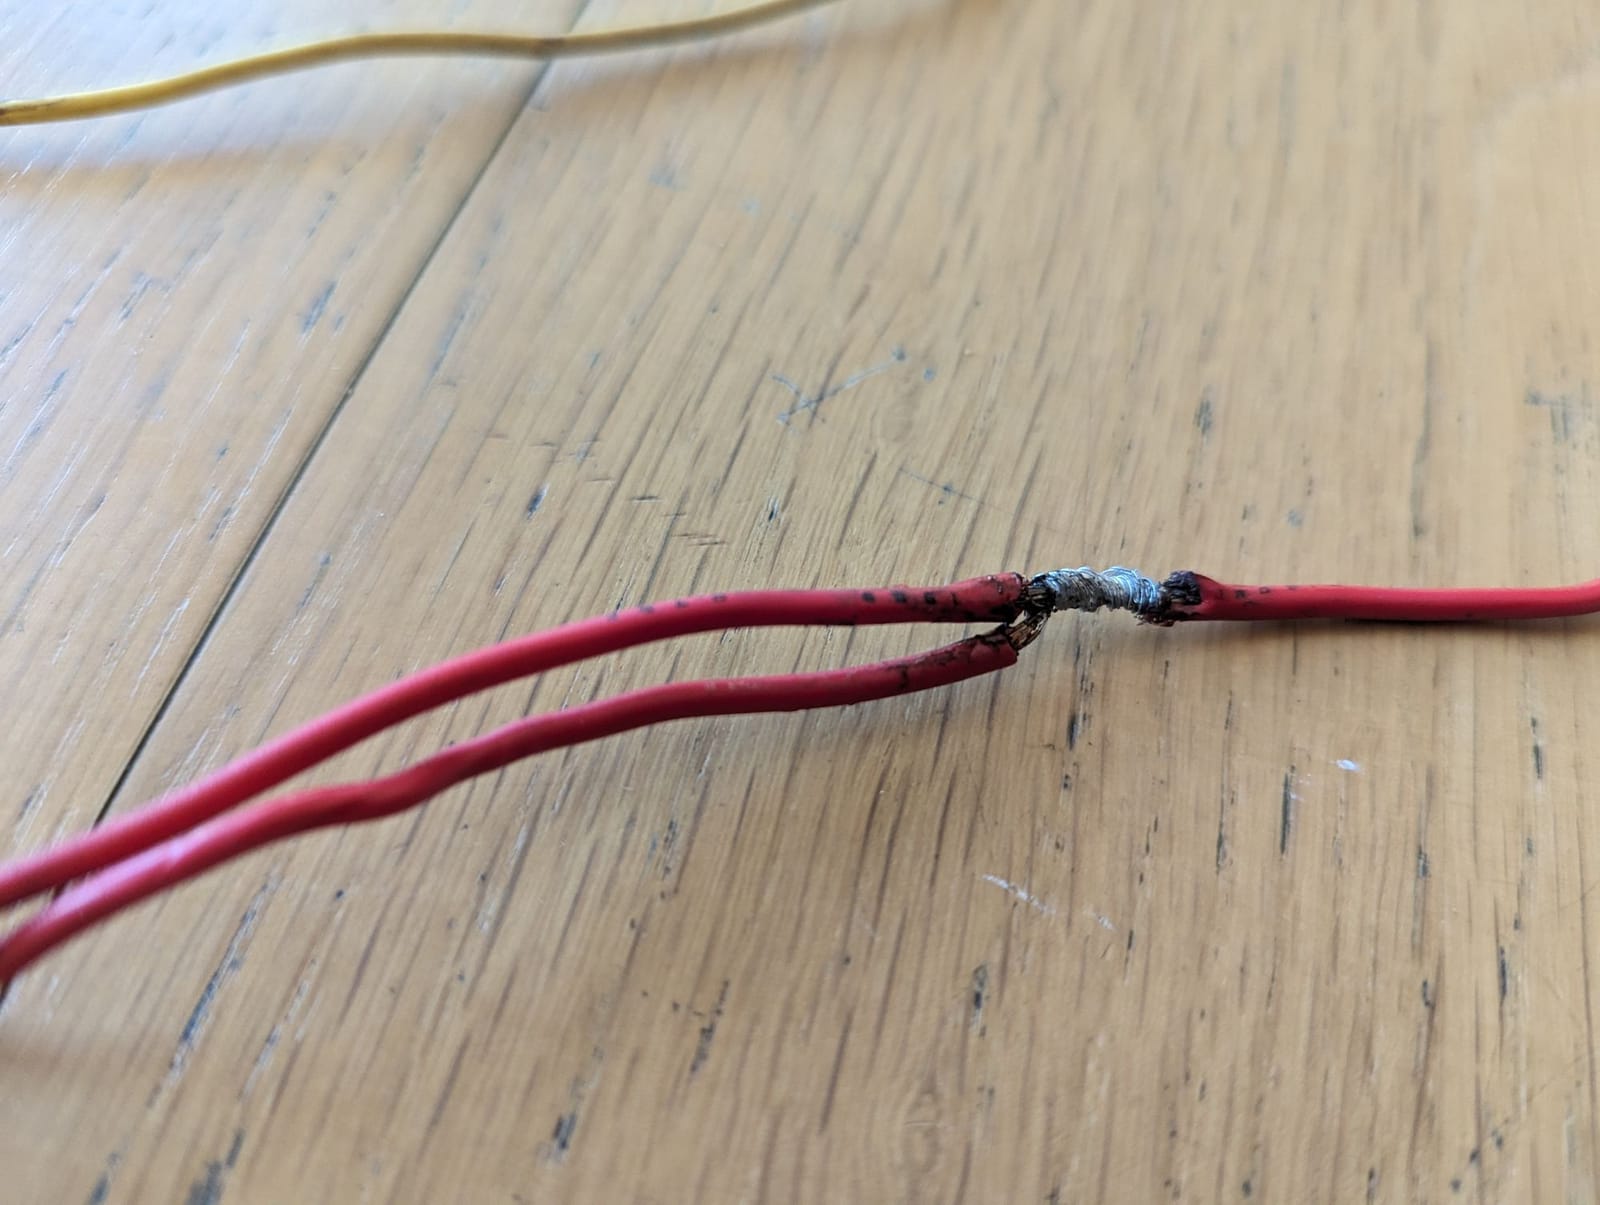
On closer examination, the splices were created by cutting out a section of insulation on the longer wire and wrapping the spliced wire end around it prior to soldering:
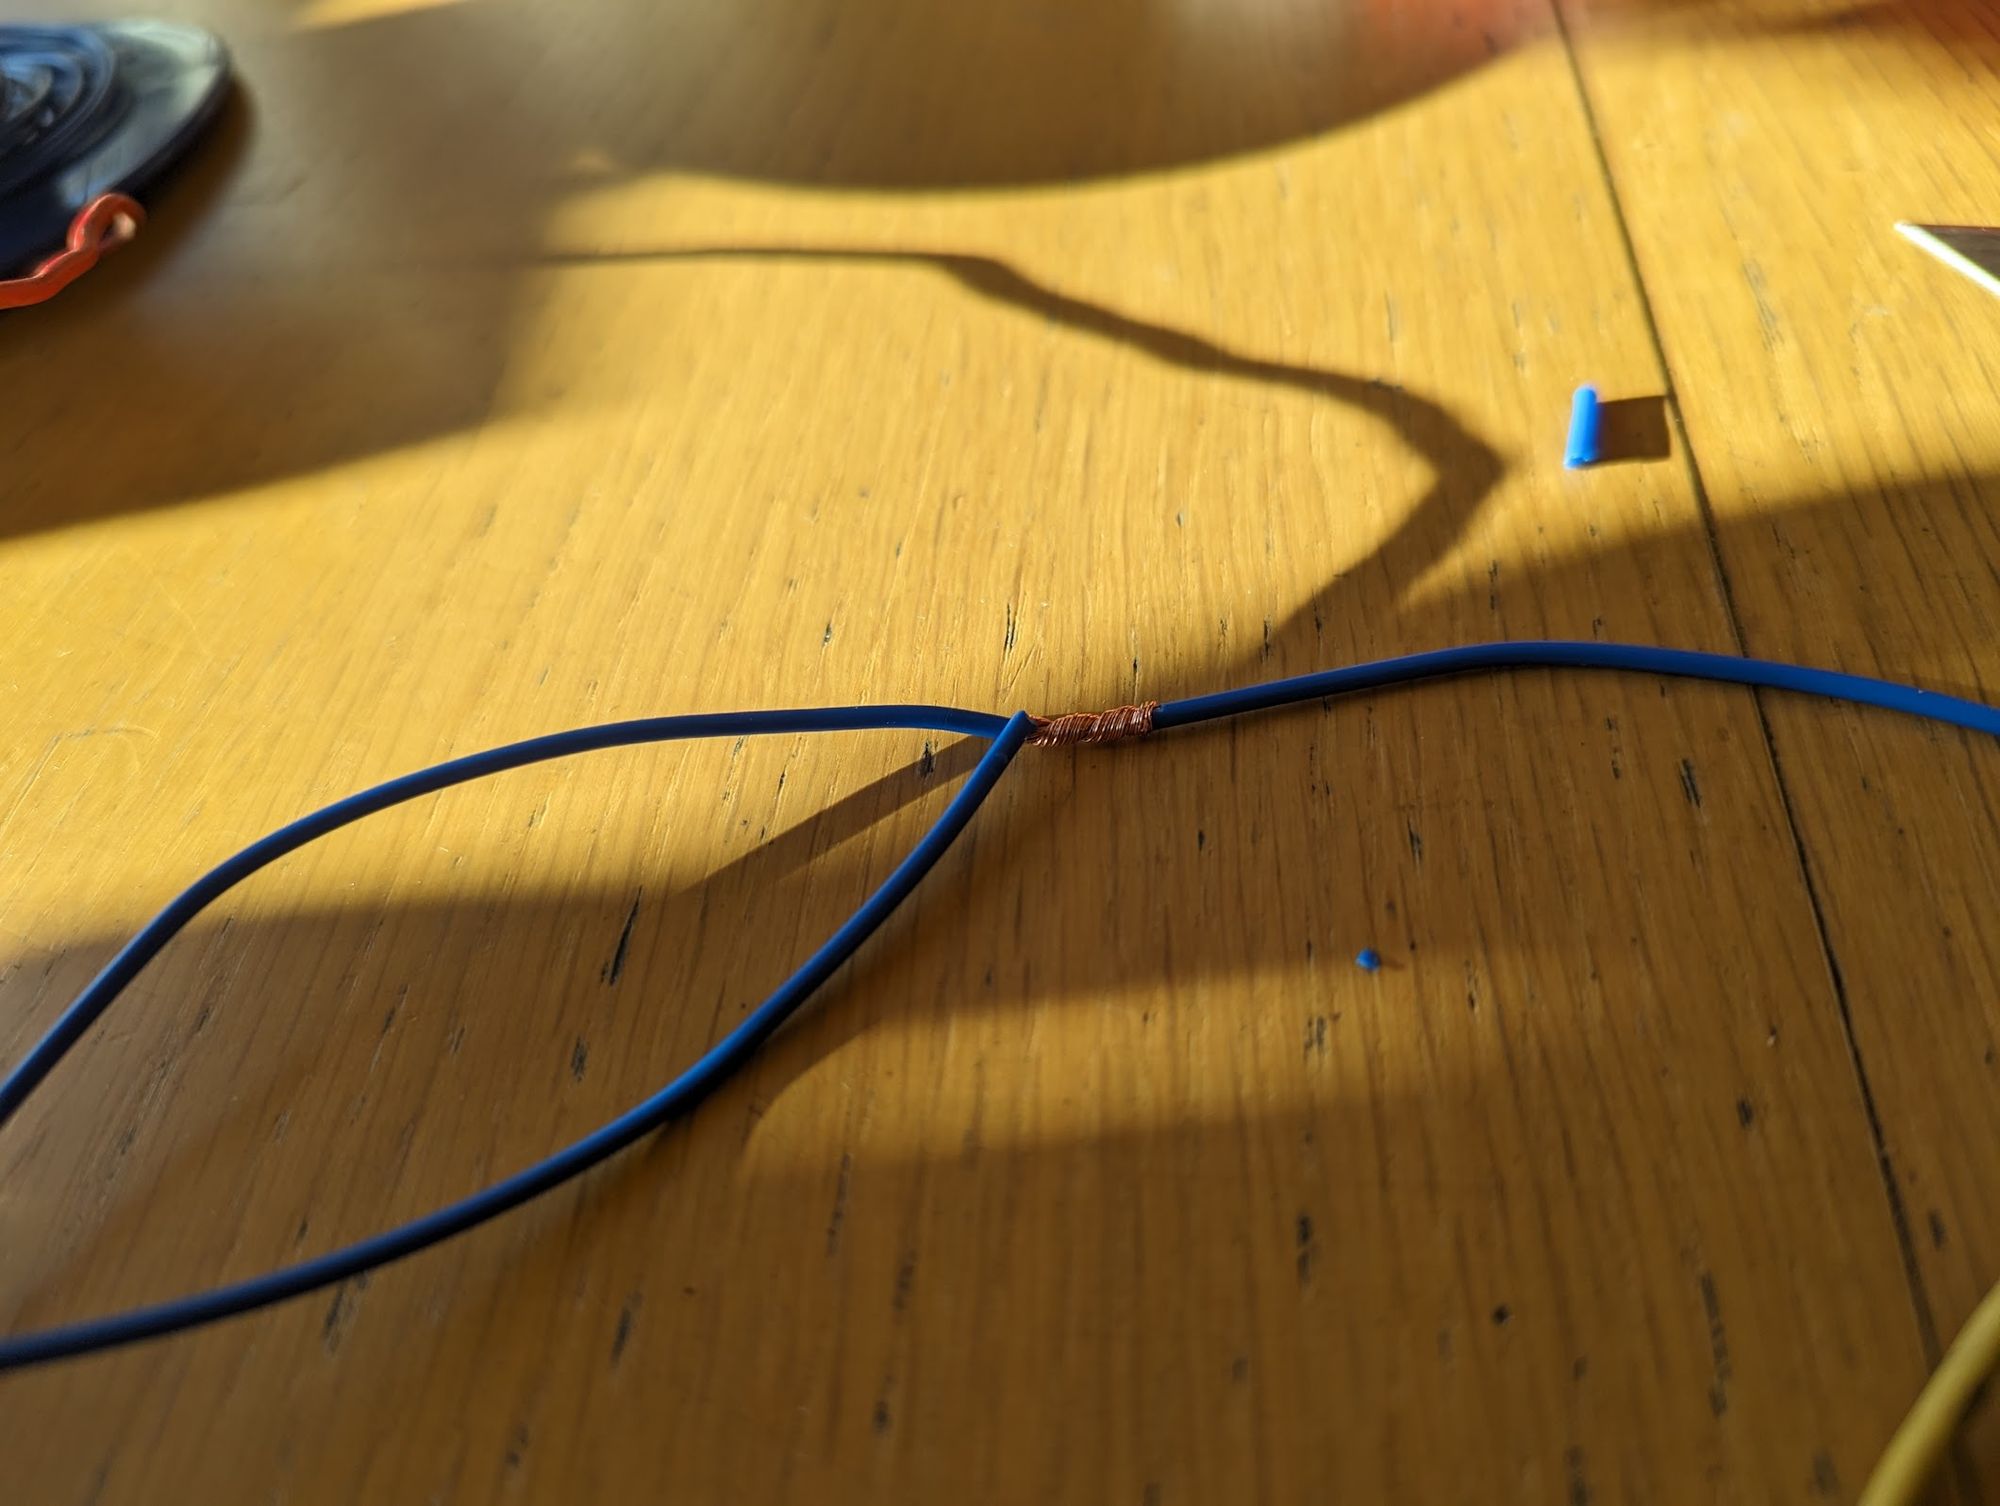
... there is no magic to soldering the wires, just use the soldering iron to heat up the wires from underneath and then melt the solder into the joint where it is drawn through the wire creating a solid bond. I used lead solder with flux core as I find it easier to use than the non-poisonous stuff.
The original spliced joints were wrapped in clear tape, but I used a decent quality shrink wrap instead. The resulting joints are good and strong.
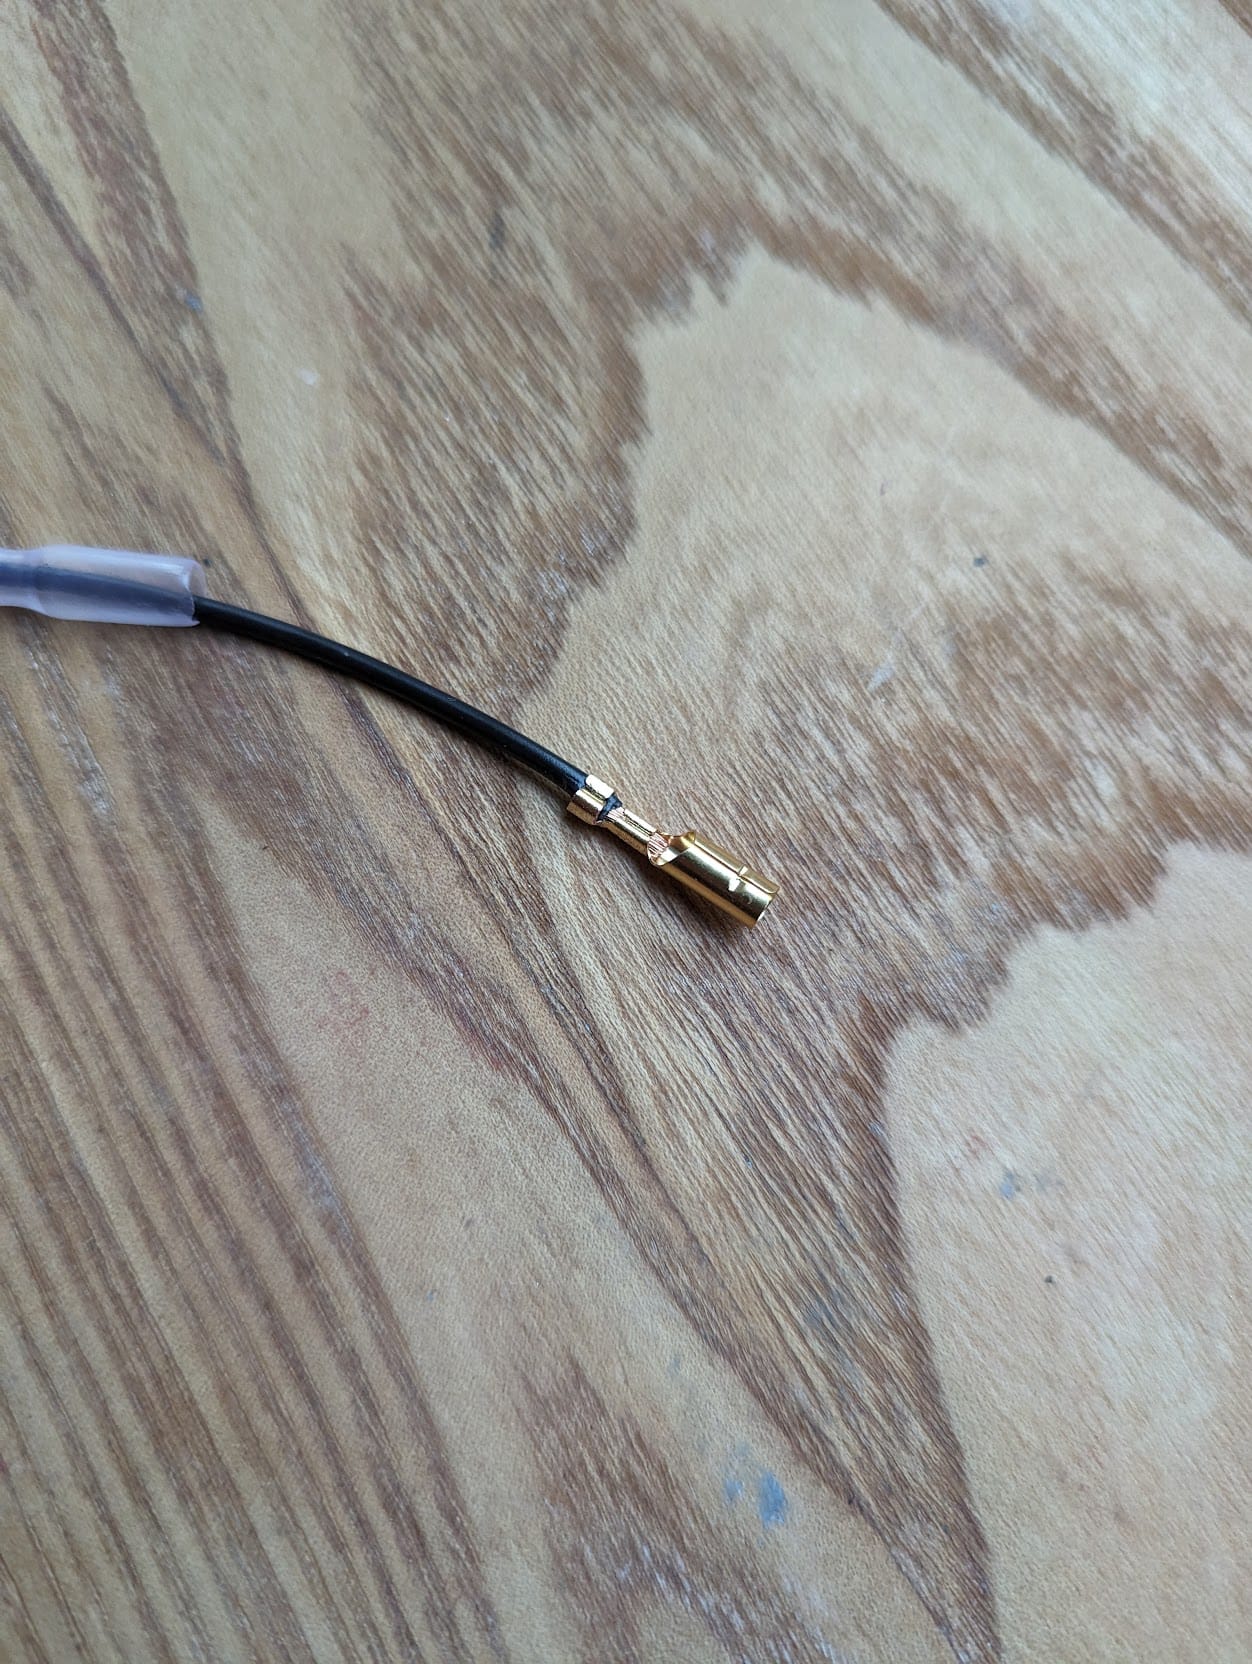
Once all the wires are prepared you can fix on the bullet connectors. Note that there are special multi way connectors used at the headlight end of the harness:
- the orange and light blue wires have three socket connectors: these are for the turn signals (winkers). Although turn signals were not fitted as standard the bikes came with the wiring so that they could be retrofitted
- The red wire with a black tag (power) has a 4 socket connector
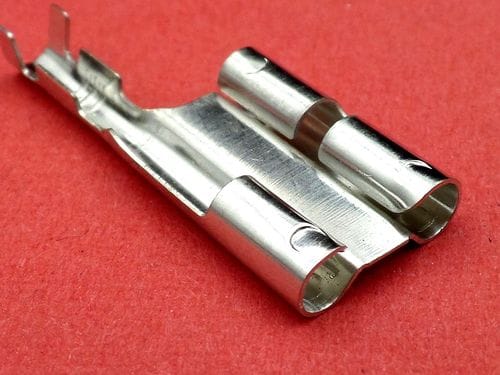
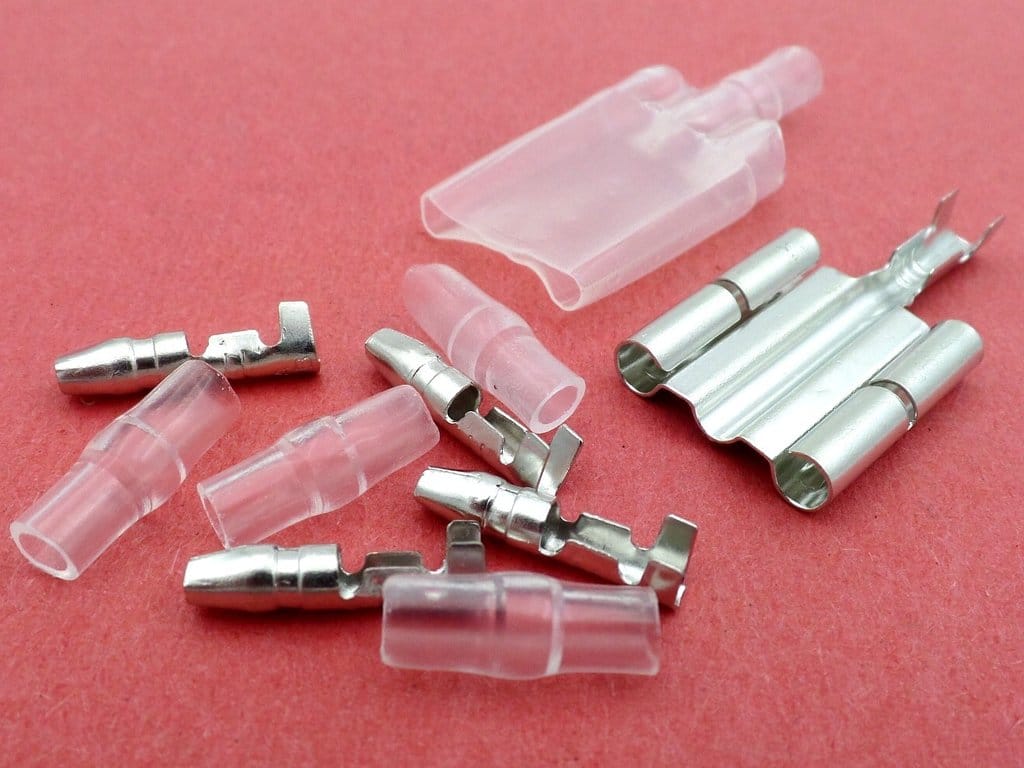
three socket connector (left) and four socket connector (right) - pictures from Kojaycat
Two socket connectors are used in a couple of places but these are easier to find.
The crimping tool takes a bit of getting used to: look closely at the jaws that accept the connectors and you will see that the slots are narrower towards one end. The narrower end for the "wings" on the connector that grip the bare wire and the fatter end grips the insulation.
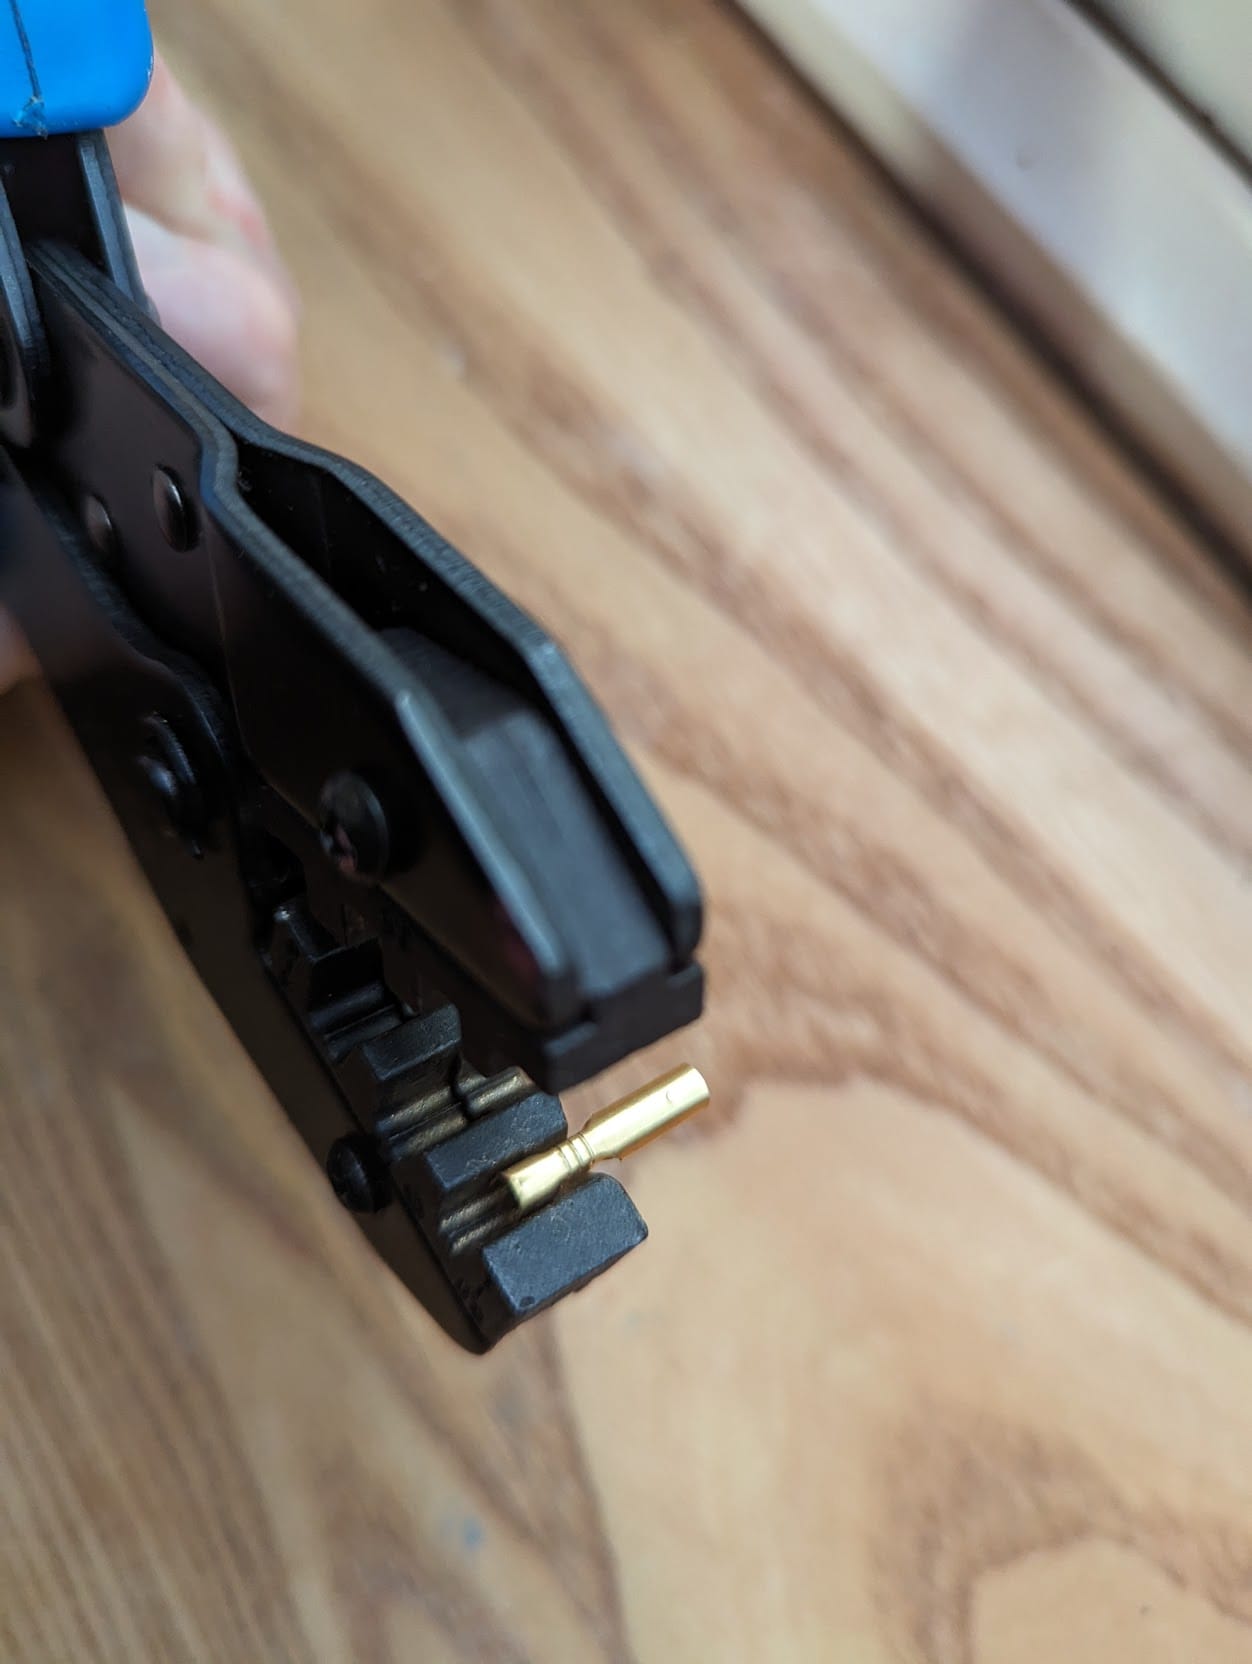
Trim about 4mm of insulation from the wire, place the connector in the jaws and squeeze the handle fa few times to ensure the connection is firm.
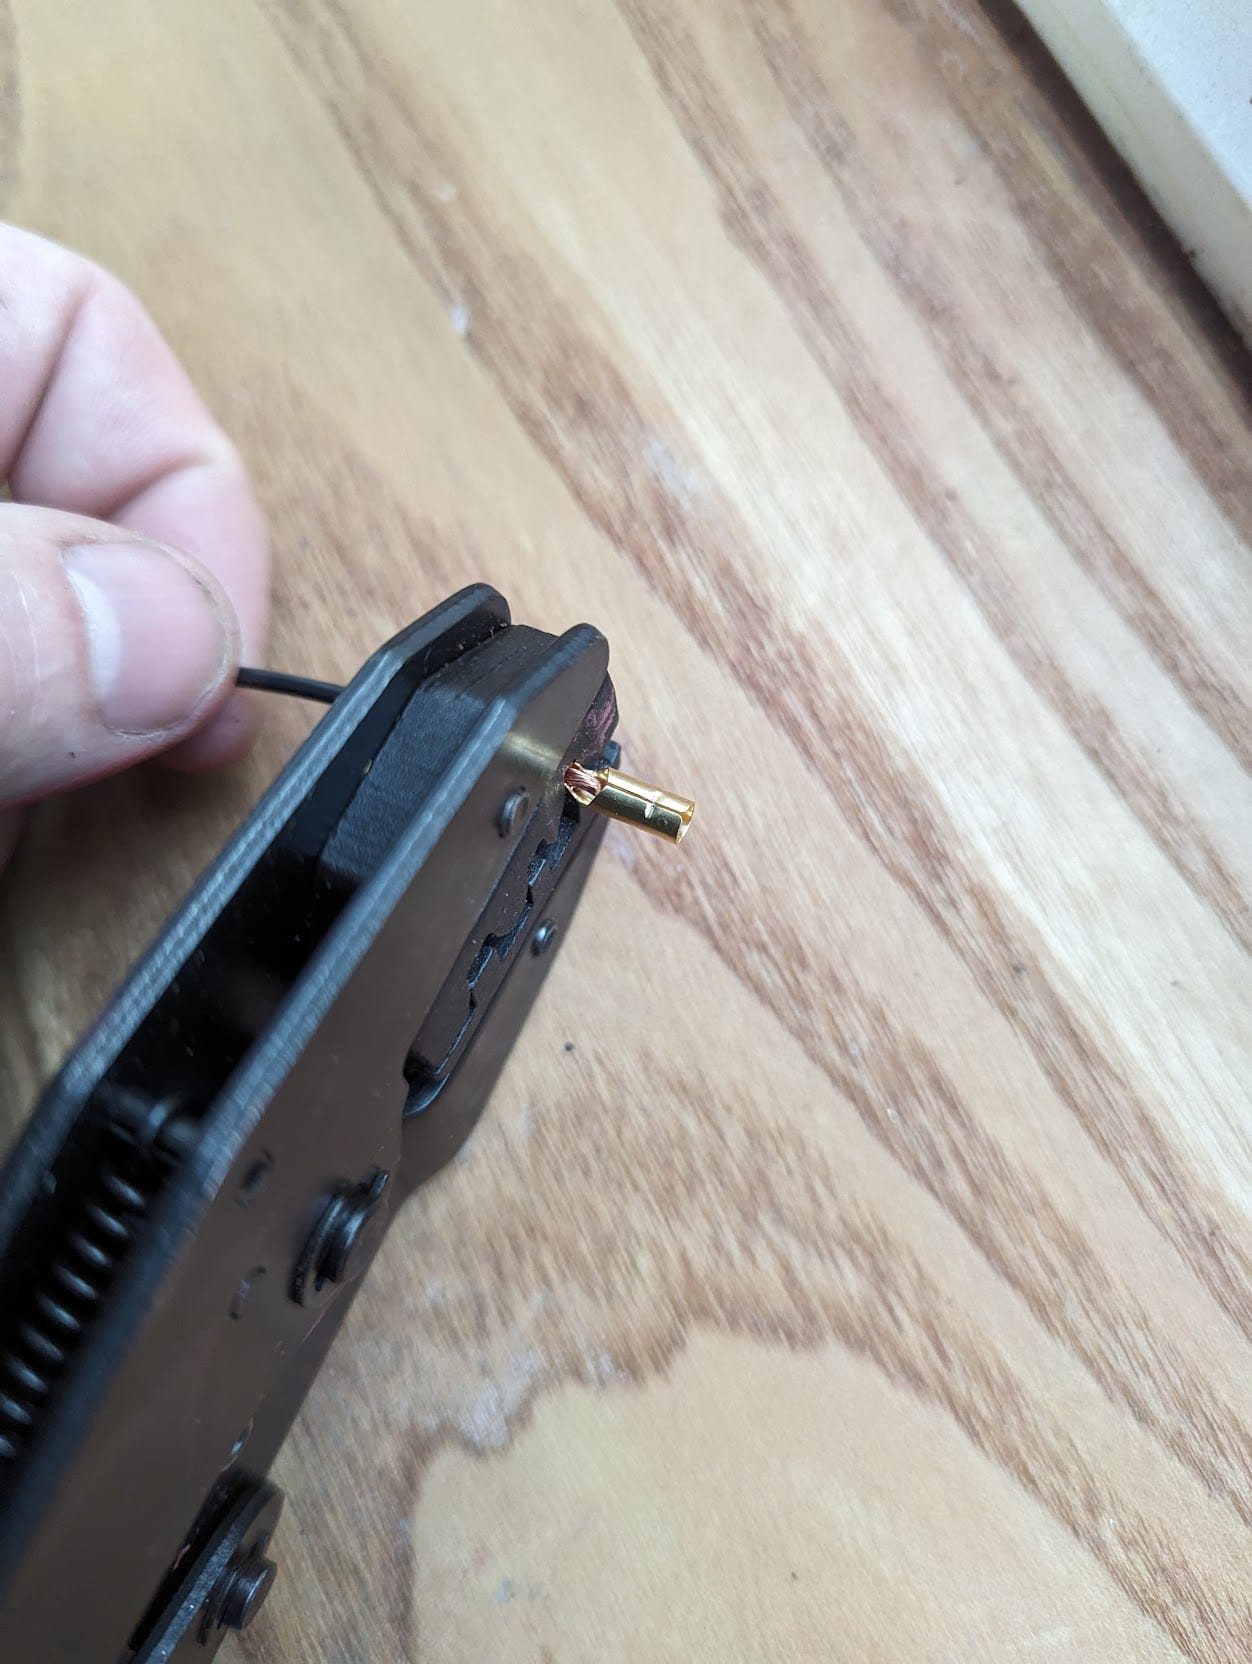
To crimp the bullet connector place the bullet connector in the jaw and squeeze gently to hold it in place before finally inserting the wire and crimping.
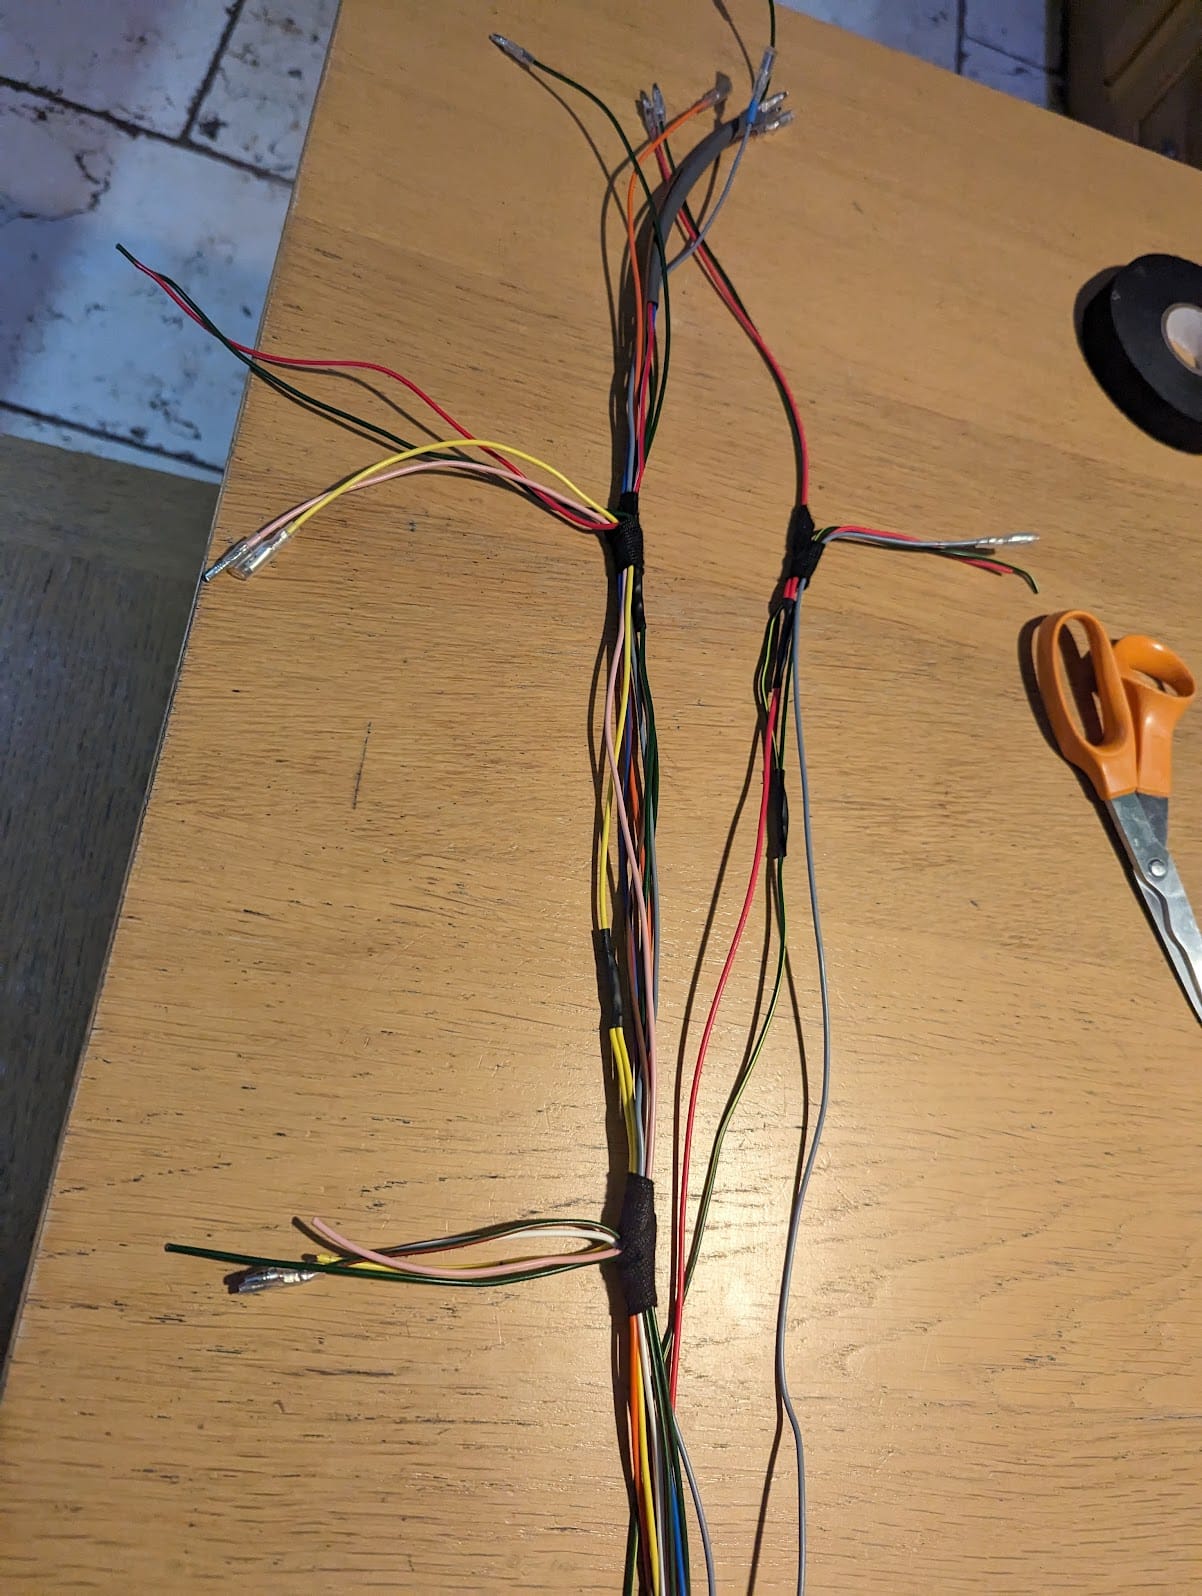
Here are the component wires ready for wrapping:
wrapping
I found it easiest to layout the wires in small groups and then to tape up each of the t-shape extensions that come of the main loom
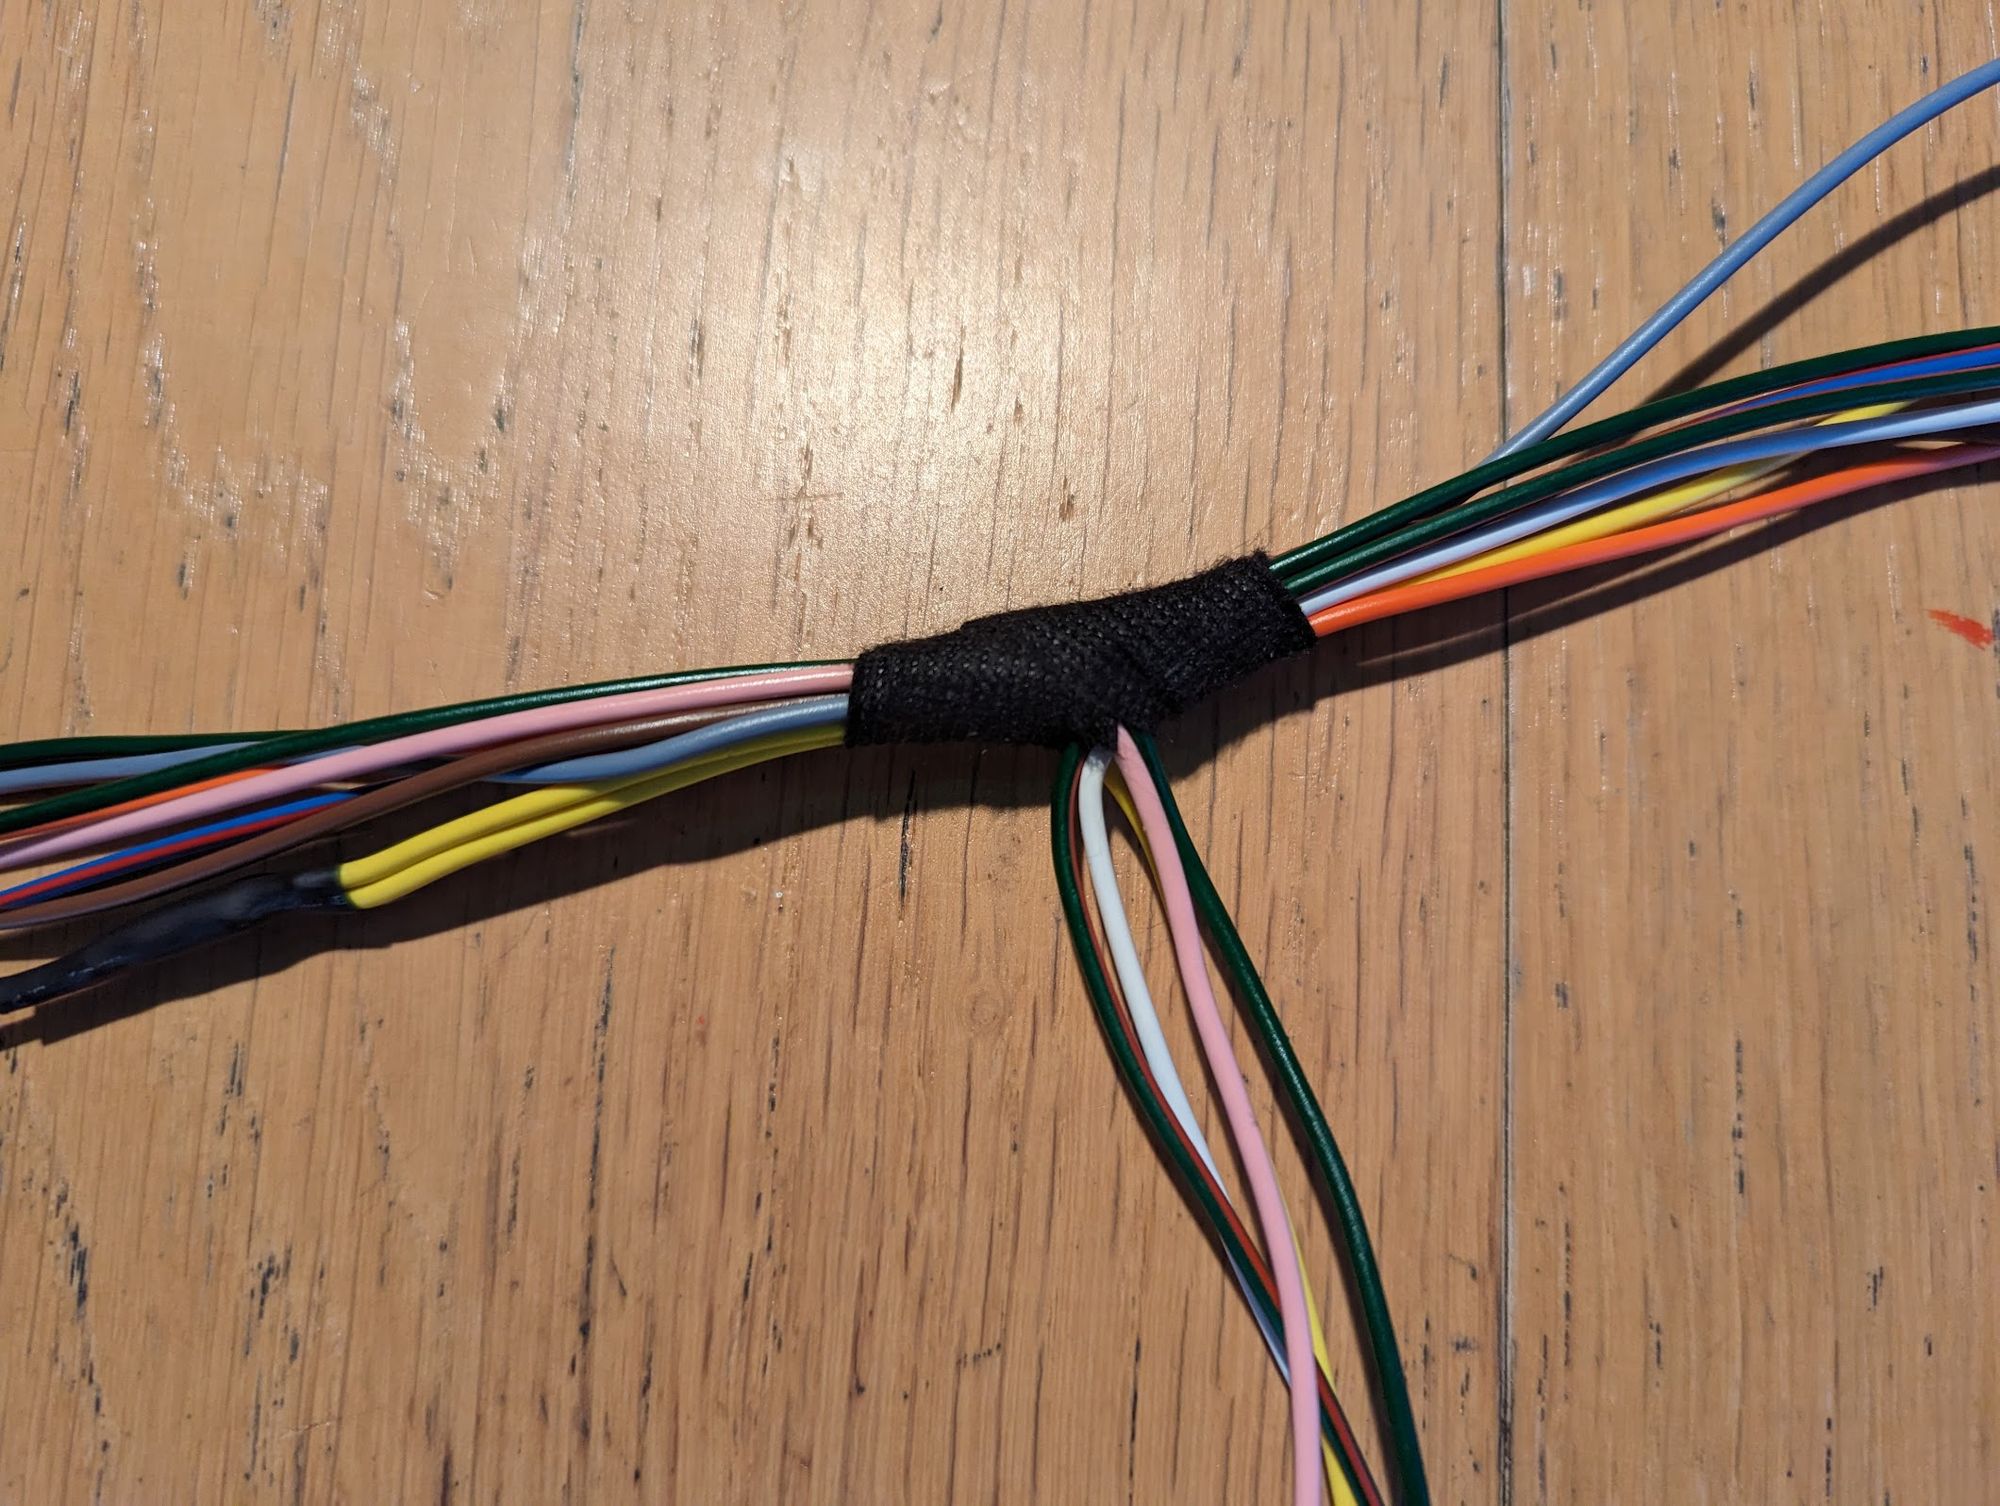
once you have done this you can fit the lengths of pvc tubing and cover the rest of wiring with the grey pvc wrap
That's it! A very satisfying job.